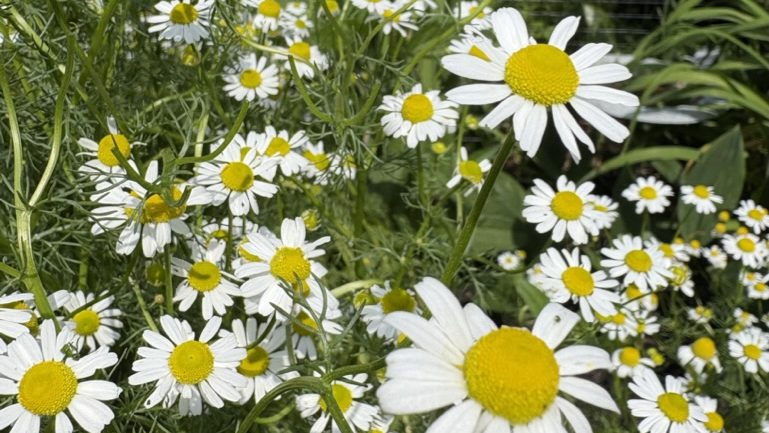
Chamomile blooms right around the height of the sun’s arc, beginning before the summer solstice in the Northeast
Thoughts of chamomile seem apropos of the moment. Calming and helpful with digestion and anxiety, chamomile is, in its small but lovely way, an antidote to the fever pitch of the news this summer.
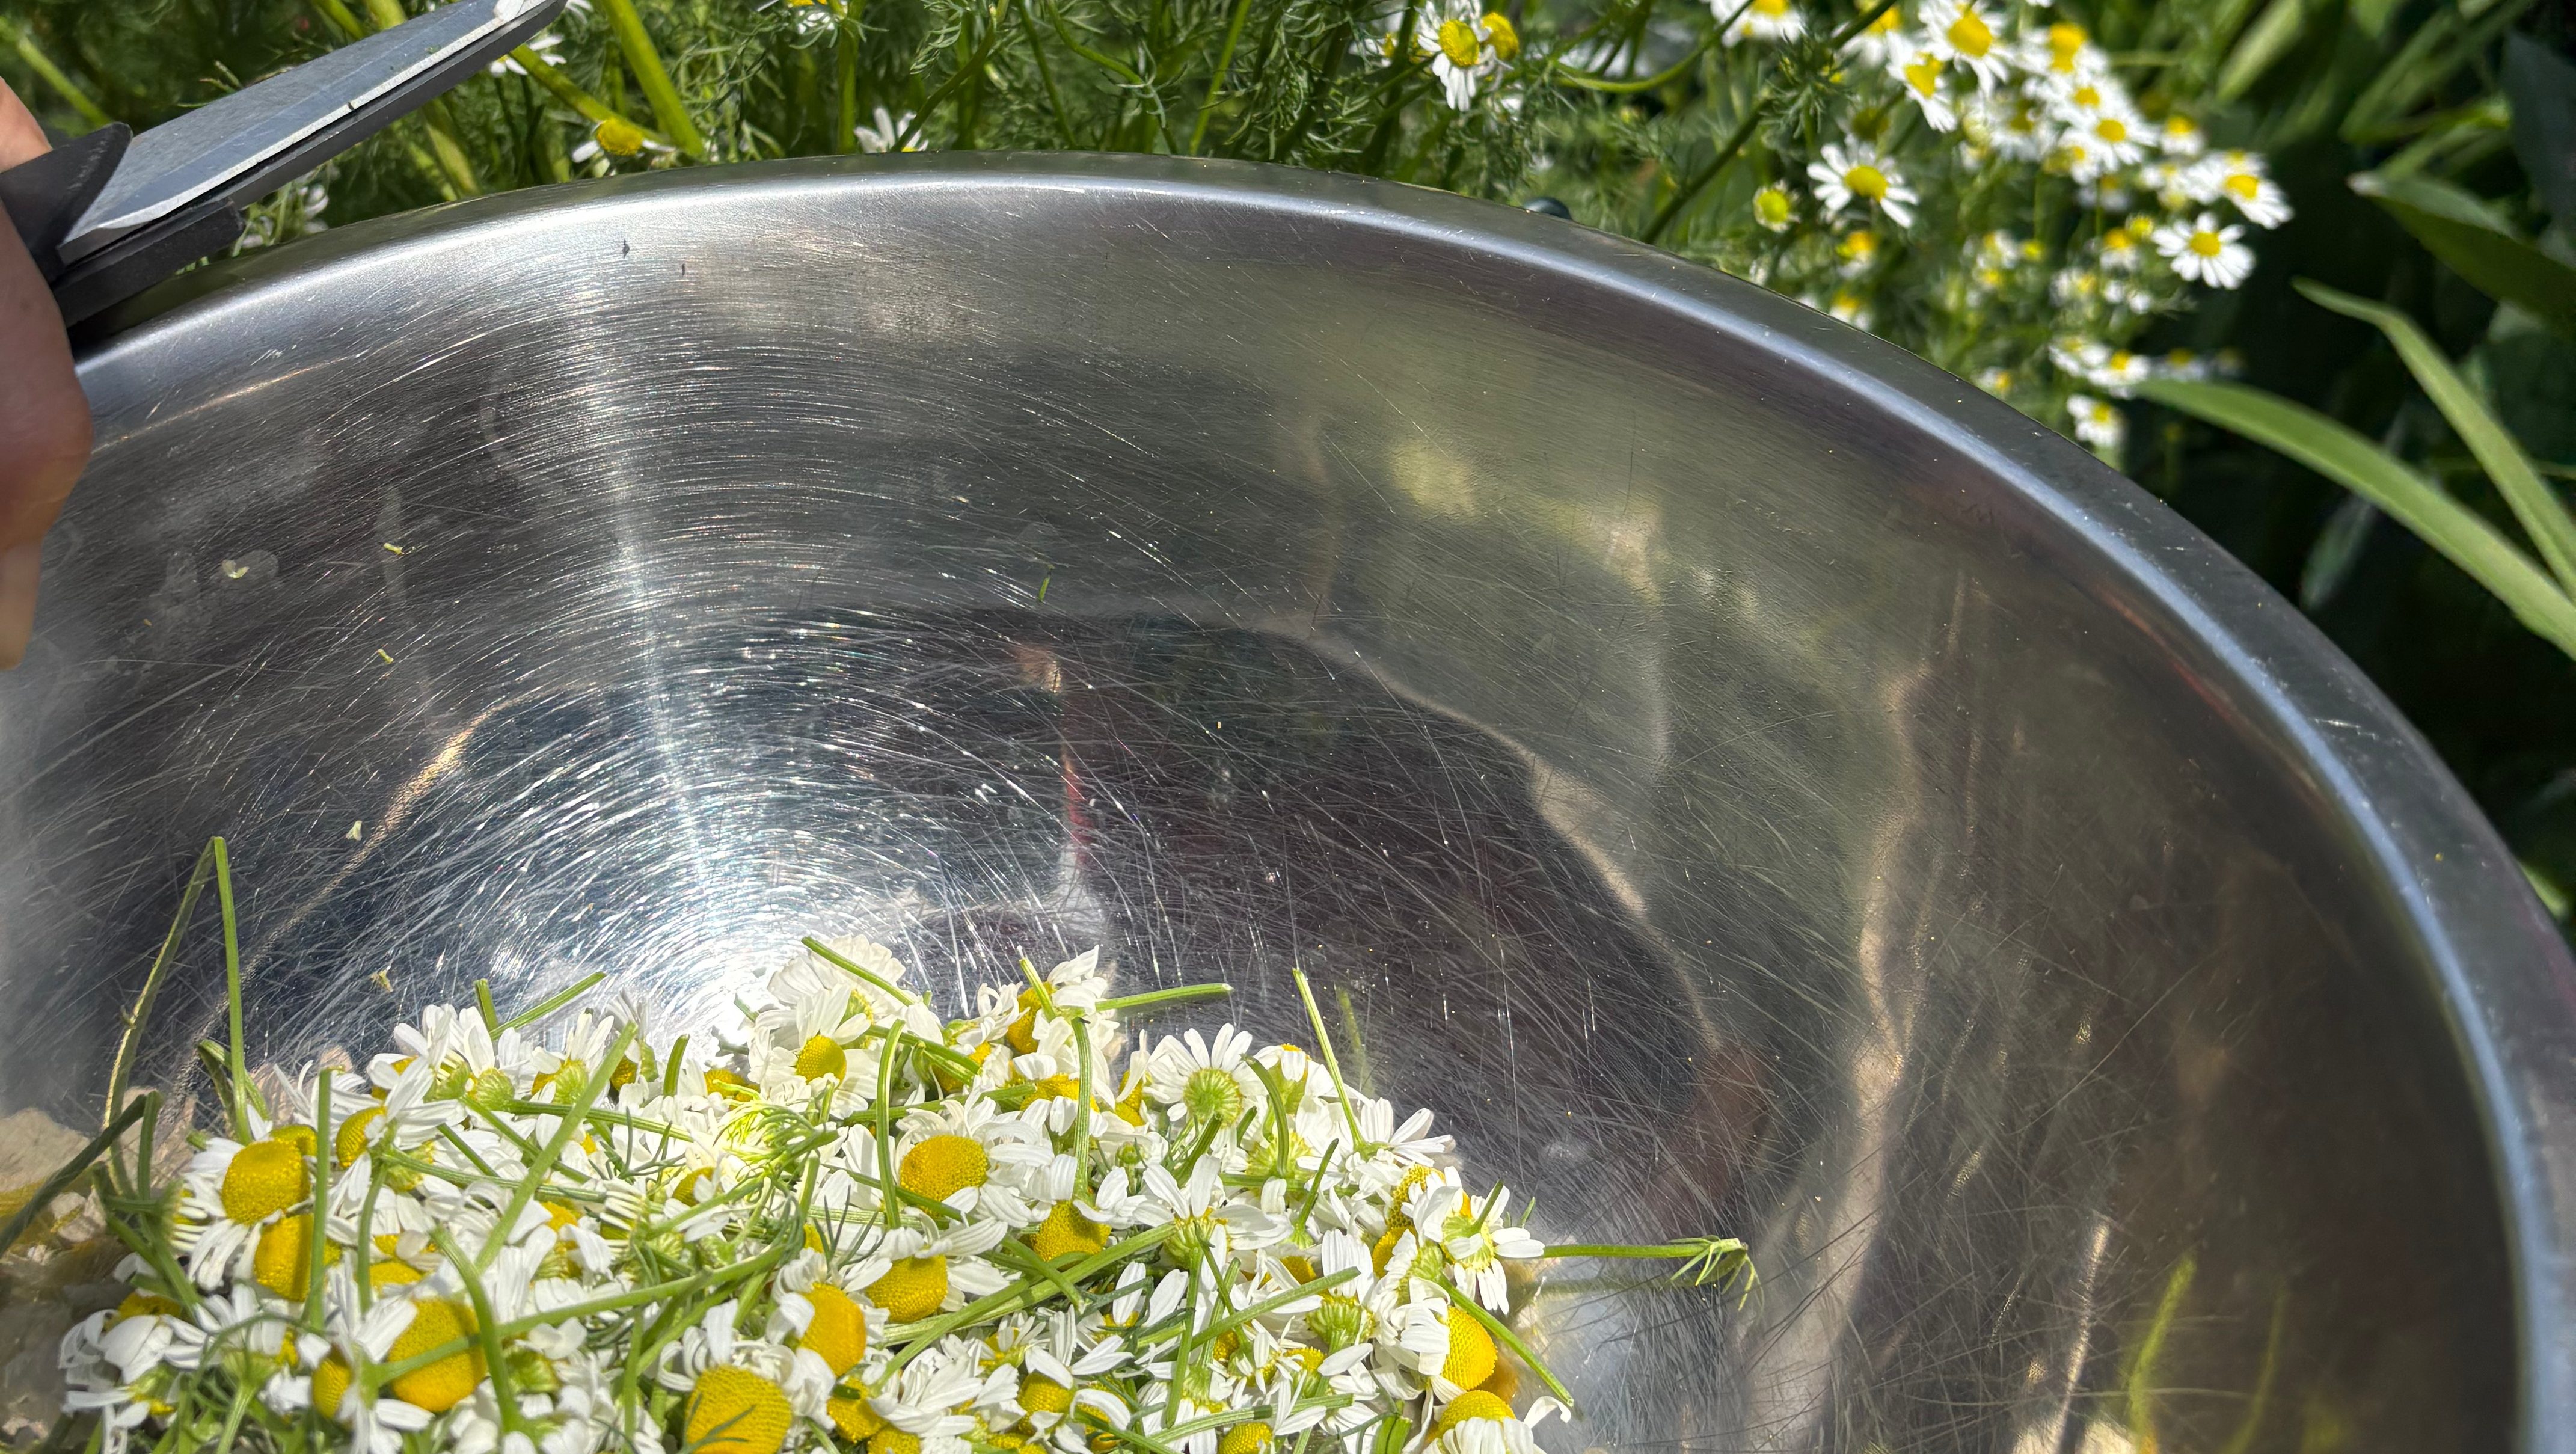
It’s easy to grow, not picky, not overly flashy or showy; in fact its a bit ordinary. All it asks for is a sunny spot and a bit of water during a dry spell. In return it gives a profusion of cheerful blossoms all summer long that you can snip and dry for tea or put into alcohol to tincture for the same benefits. Simple, lovely.
chamomile grows alongside roses and peonies in my garden, giving me cheerful blooms all summer.
Wishing everyone a bit of sunny calm today on the longest day of the year in the northern hemisphere.
Recently my husband, who’s an ER doc, agreed to work an extra shift to help a colleague who needed the time off. It was a late night shift at a hospital over two hours from our house, which meant sleeping in the sleep room they reserve for doctors who are wiped out and need to rest. It also happened to be back-to-back with another late night shift, so it promised to be a tiring 48 hours.
Jon doesn’t sleep well at the hospital, though he’s done it many times in this situation. It’s a good idea because a long drive after a ten hour shift is sometimes not safe; that said, in general he gets a rotten night’s sleep because of traffic through or noise outside of the room.
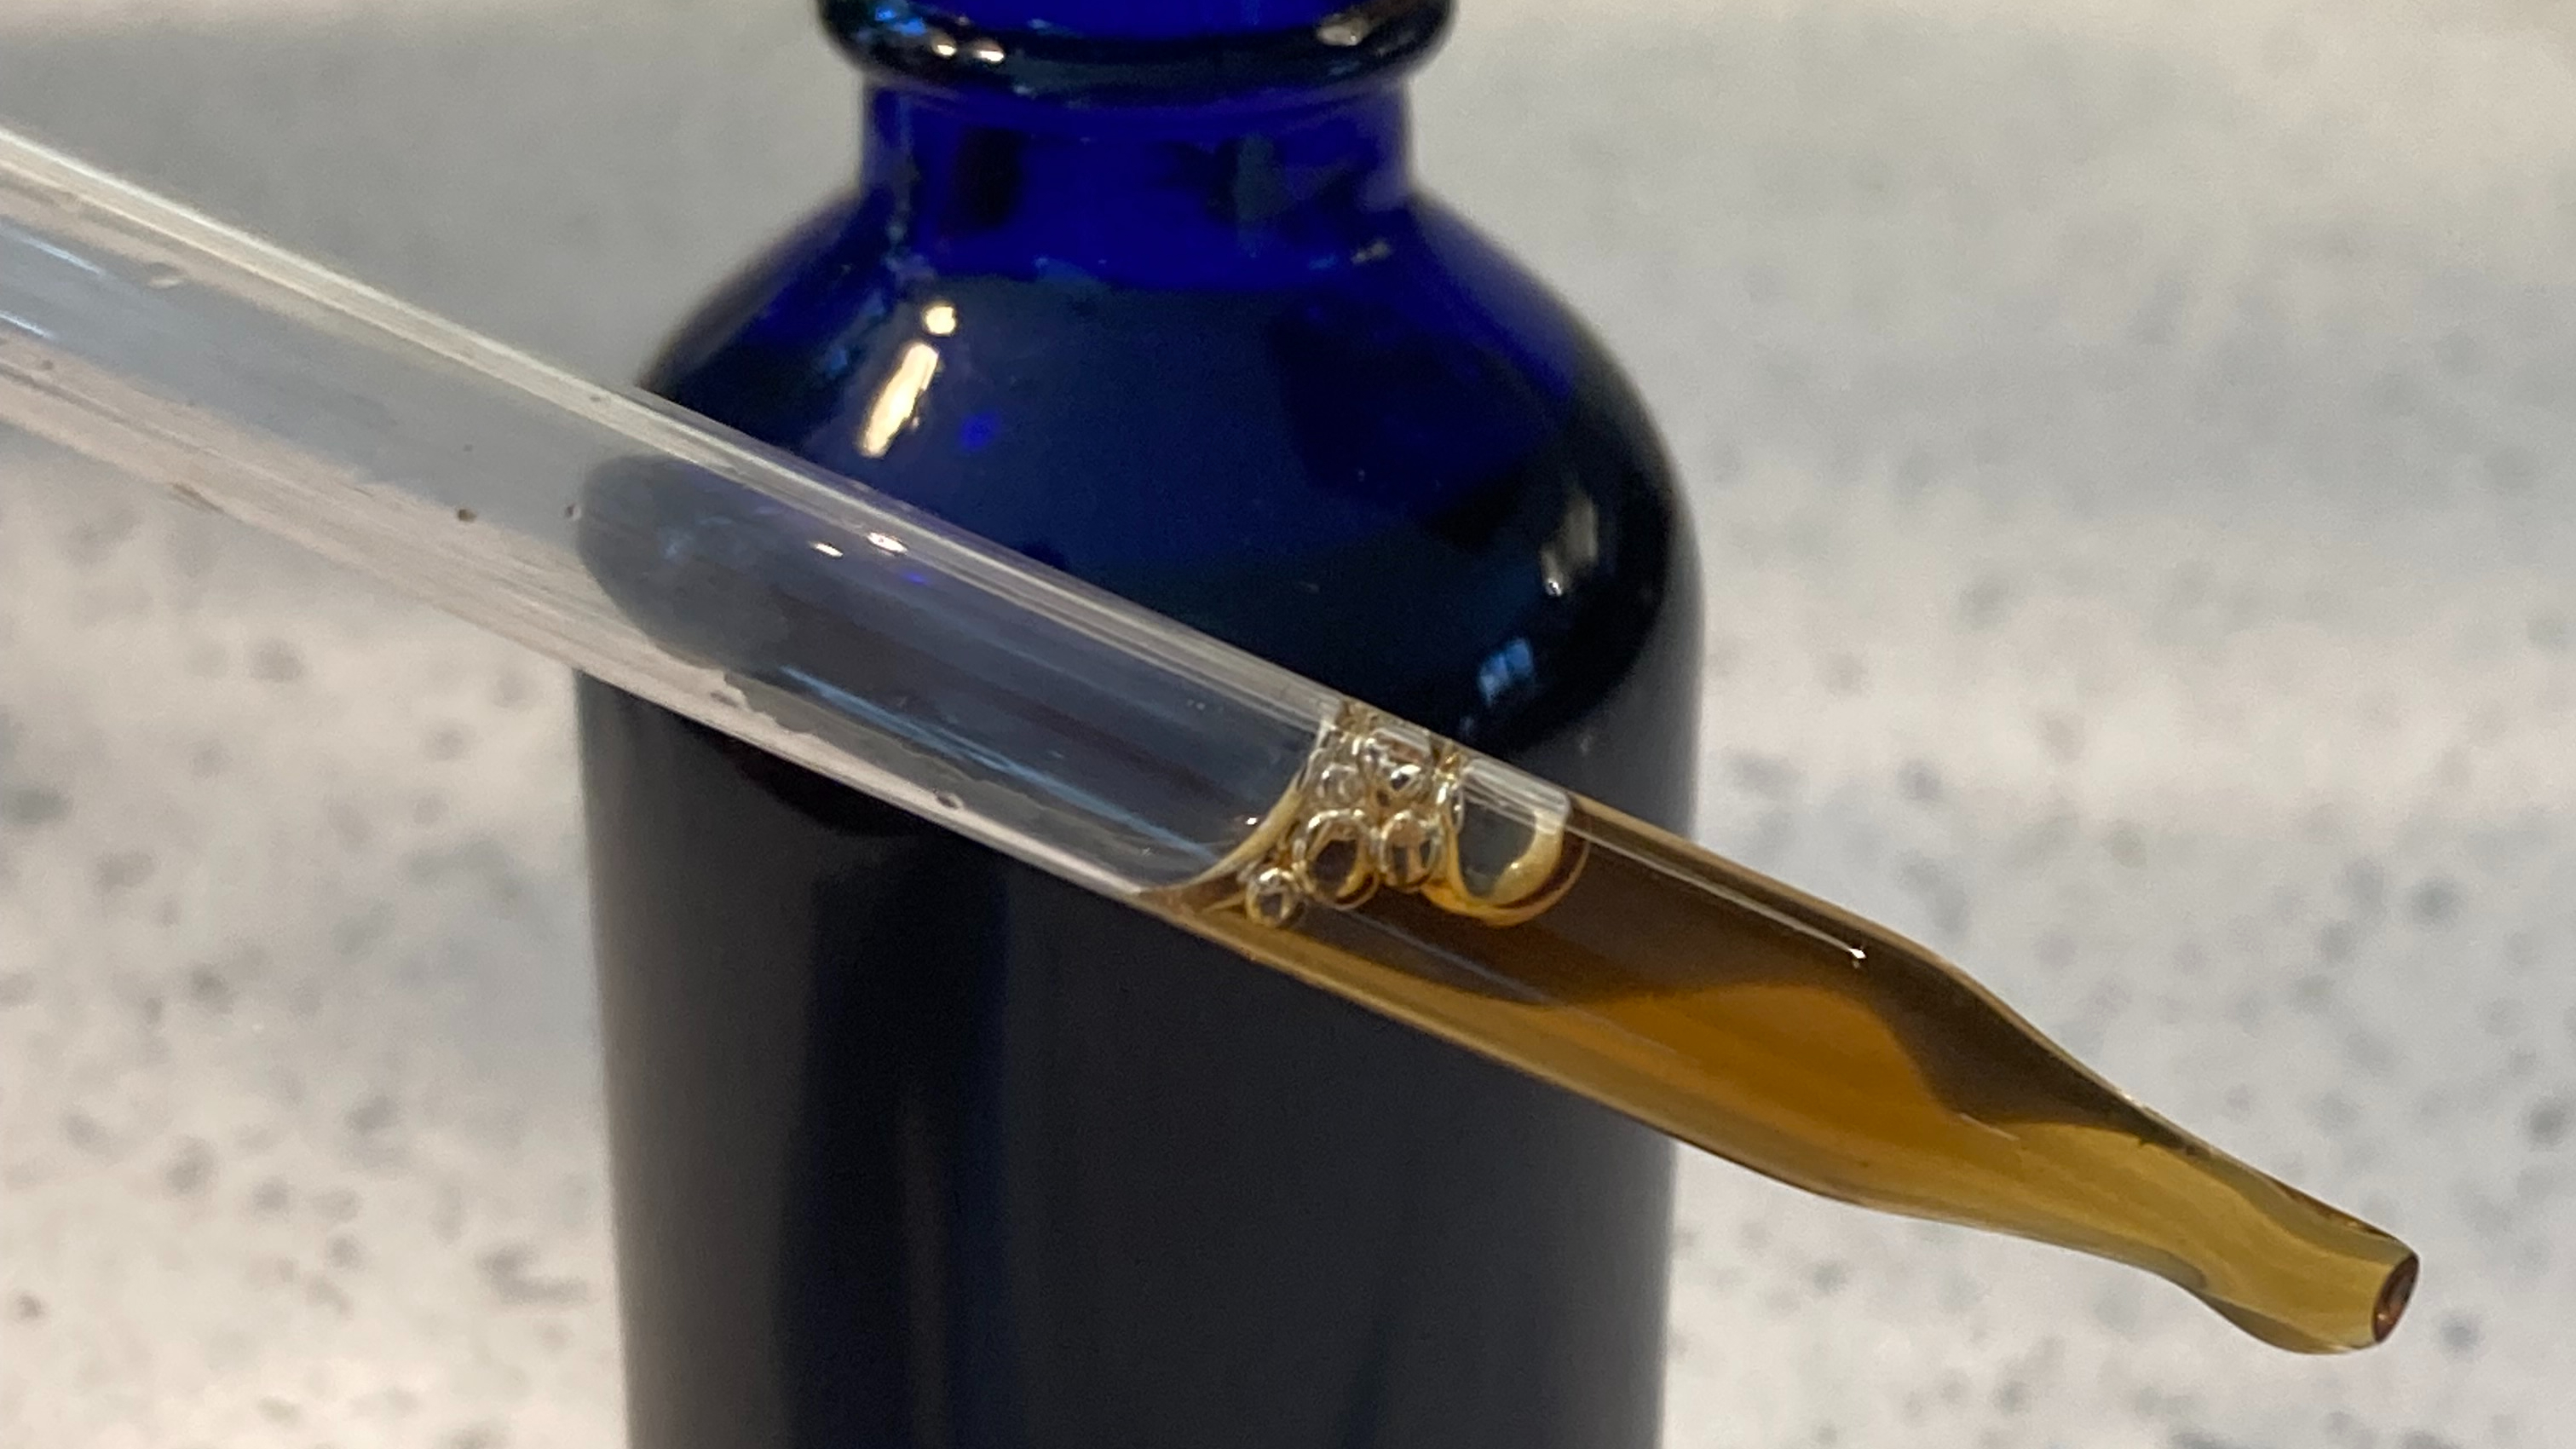
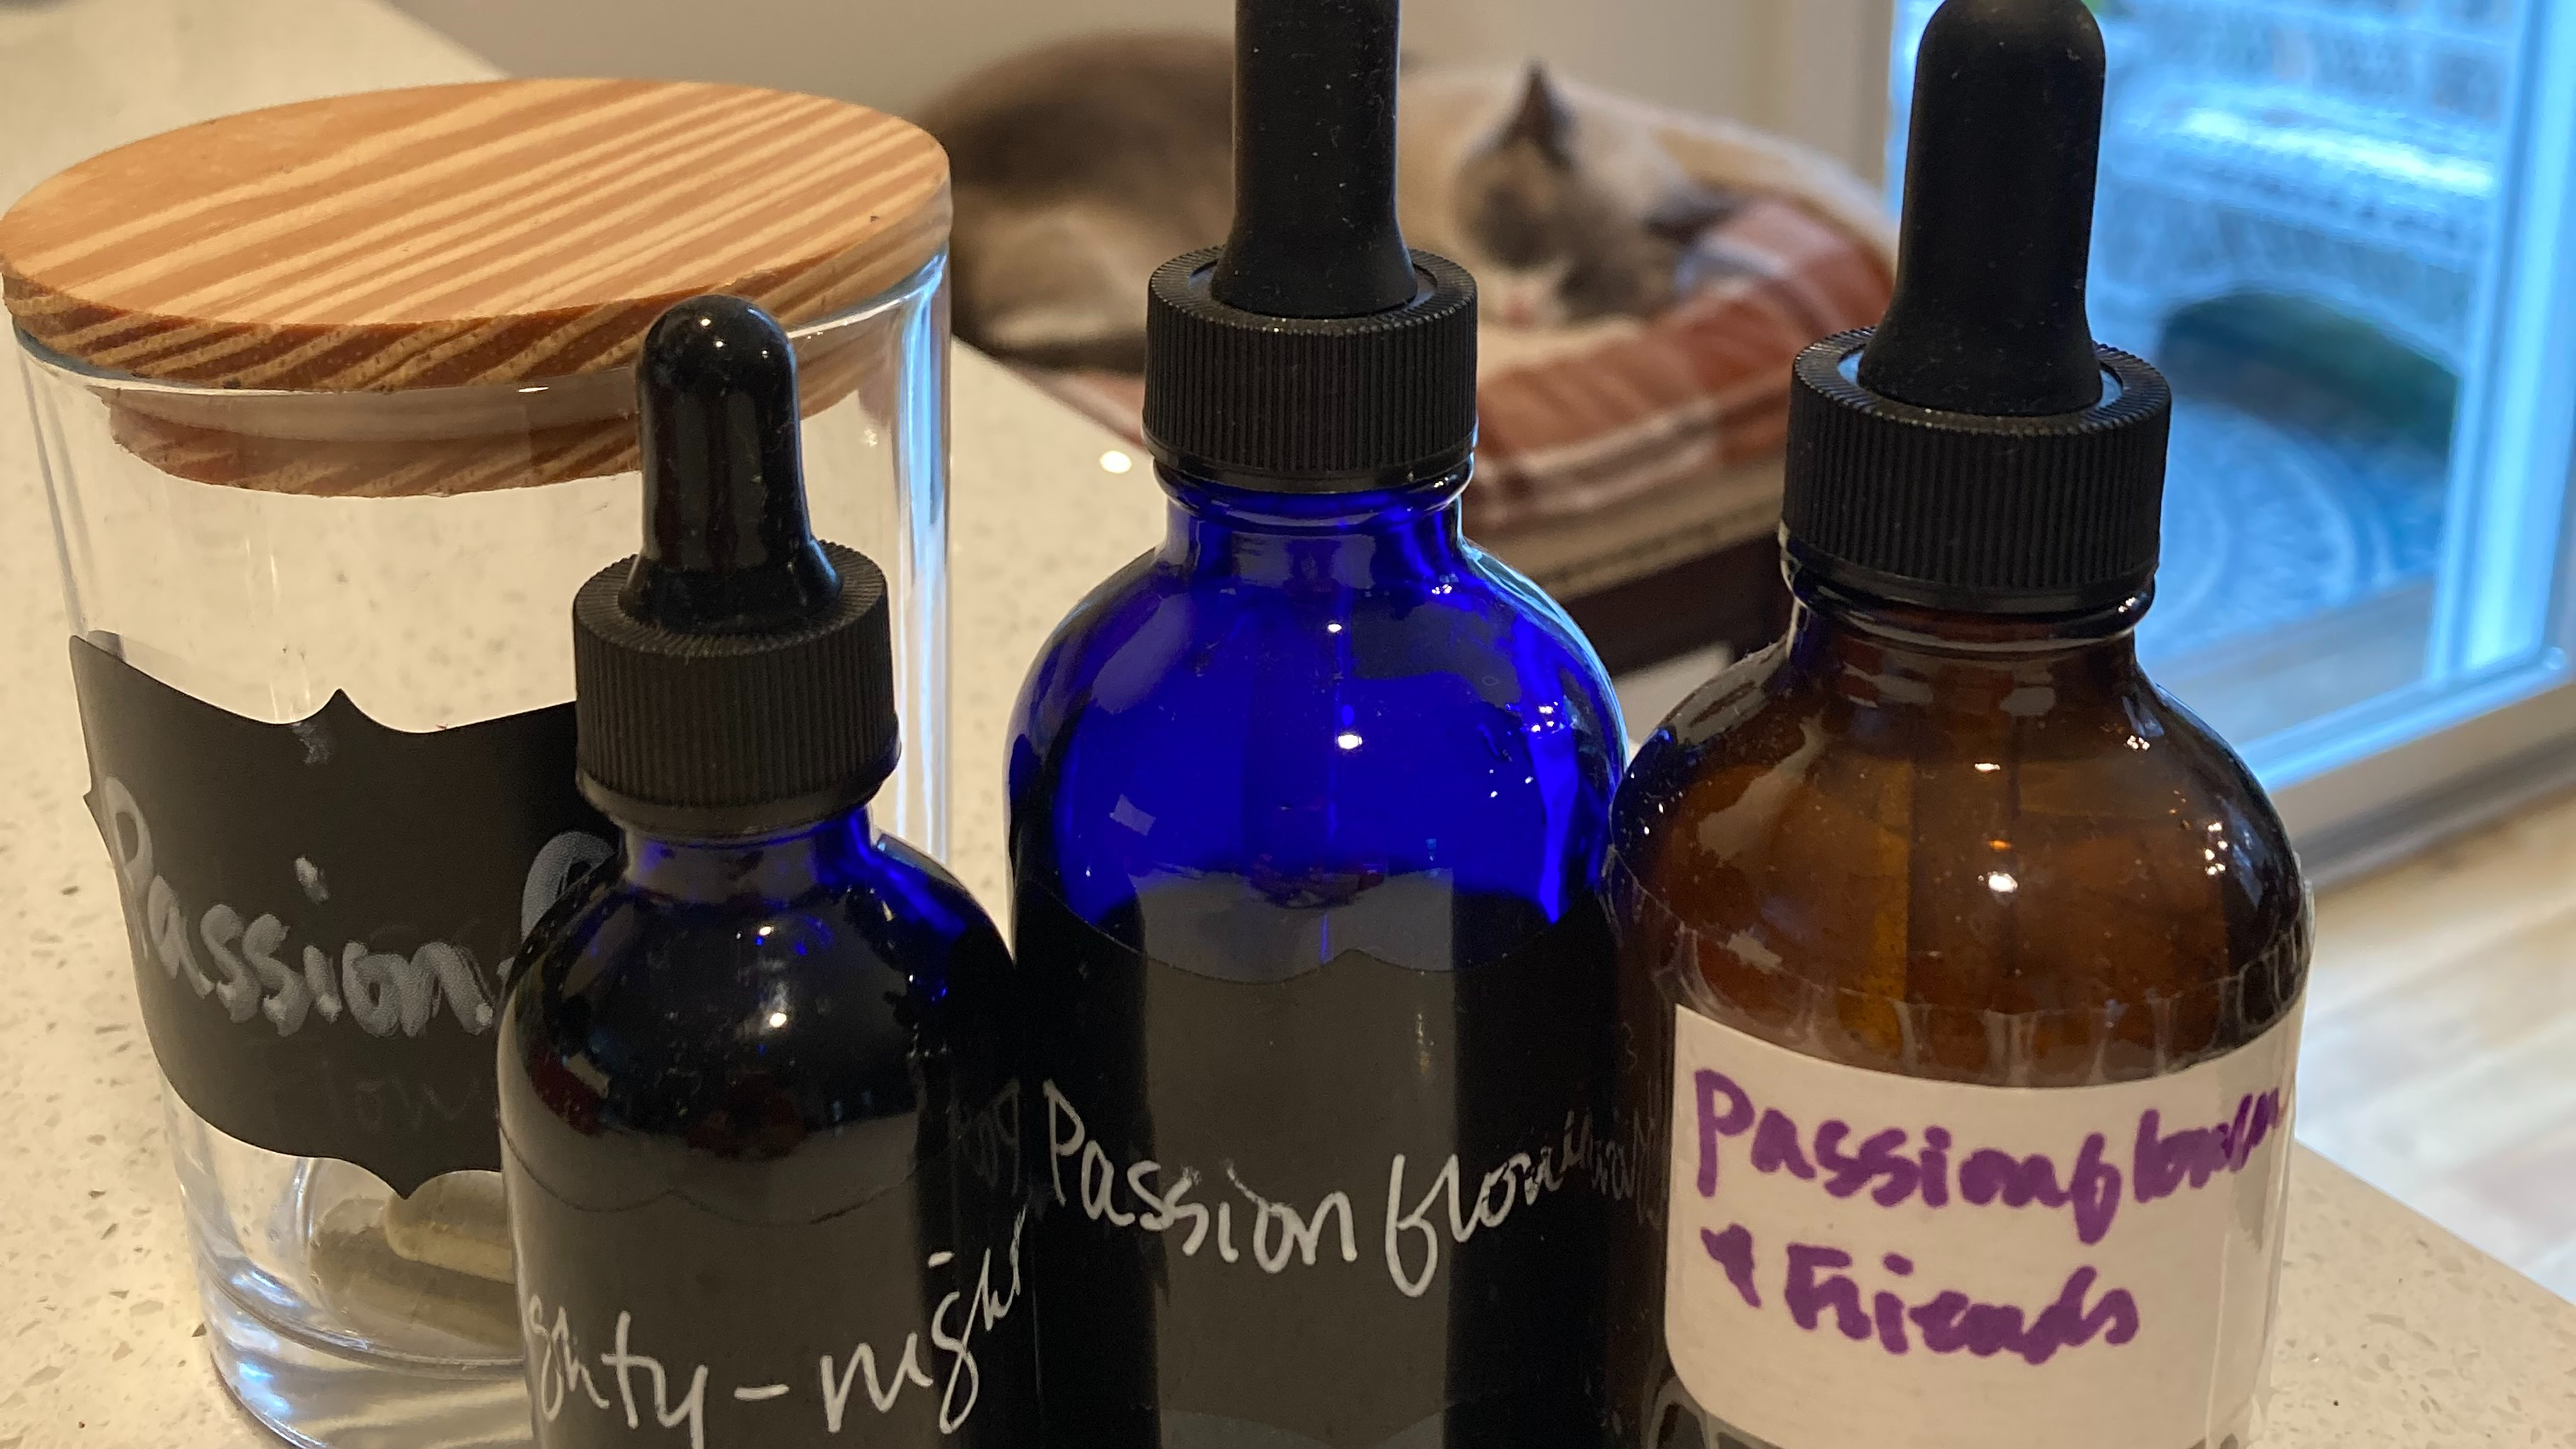
This time I thought to send him with some Valerian tincture and some Passionflower capsules. The Passionflower is relaxing, quiets an overactive mind. Jon doesn’t have that problem but with all the commotion around him I thought it wasn’t a bad idea to have Passionflower on board to ease him back into a restful mental space. More valuable though in this setting was the Valerian. It’s a sedative herb – inducing sleep for most people who take it. I figured the herb would put him to sleep and help him stay asleep.
Every once in a while I’m told Valerian meets a person that it keeps awake – having the opposite effect it usually has. But I’ve never met a person that has had that experience, so I felt reasonably confident sending it with Jon to help him rest.
He came home the next day saying “wow! that’s some powerful sh*&#t!” It really helped; he’d been able to sleep, and had a better couple of days for having rested. In fact, he asked for more on a follow-on night when he was feeling wired at bedtime. In the second case I thought maybe a back rub would be better, and he settled for that and fell asleep.
All the same, Valerian has a new friend in Jon.
If you are interested in learning more about Valerian or other herbal remedies you can find me at bespoke-herbals.com. Wishing you a restful winter’s rest.
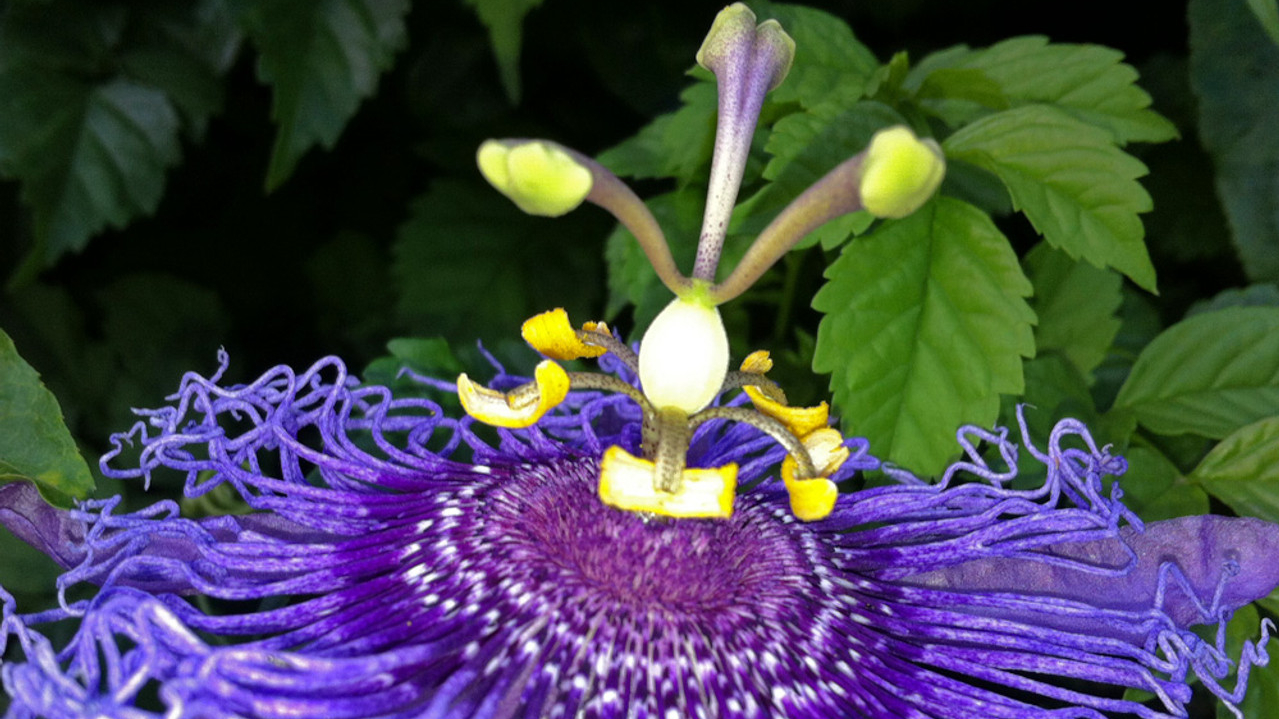
That may seem a little provocative but this is a concrete statement I’m prepared to stand behind. I’ve never met a plant that did more for people during the night than Passionflower.
Sure, Valerian helps you sleep… but Passionflower quiets the night-time ruminating, worrying, anxious, and repetitive thoughts that are so common for people. Categorized as sedative, nervine and anti-spasmodic, Passiflora incarnata is a perennial native to the southeastern US, and the flowers and fruits are the medicinal parts of this plant.
People for whom I’ve recommended it say things like “the best night’s sleep I’ve had in as long as I can remember,” and “wow the Passionflower is awesome!” For my part, I can say that when I take passionflower tincture or a capsule before bed I reliably sleep much more soundly than I do without it. My mind is calm. Also, I am prone to grinding my teeth at night and the passionflower eases that noticeably, too.
There’s more to passionflower than its bed-time virtues. Great for over-active and anxious minds it can be taken during the day, too, to help with anxiety. But I think that Passionflower’s super power is it’s ability to calm the mind for sleep.
I’ll leave it there for now, except to note that I’ve seen in some recent literature that Passionflower isn’t recommended for people who take beta-blockers, or for young children. On reviewing this in the American Herbal Products Association’s Botanical Safety Handbook, though, no safety precautions are reported with the exception of some people reporting allergies to Passionflower.
Safe, effective, and sure to support a better night’s sleep – a pretty good bed partner, wouldn’t you agree?
The content presented here is for informational and educational purposes only and does not substitute professional medical advice with healthcare professionals.
That last piece of leftover pie I had for breakfast this morning left me thinking “I need a cup of peppermint tea.” Too many sweets over the last few days has taken a toll.
I drink peppermint tea whenever my stomach’s unhappy. Peppermint, the binomial name is Mentha piperita, is known to have other health benefits but it’s enough for me that that it tastes great and soothes my stomach. It’s fabulous after dinner with honey (and maybe even a dollop of cream) for a sweet treat, too.
To make it:
Boil water
Pop a peppermint tea bag into a mug of the boiling water.
Cover the tea – this keeps those volatile oils in your teacup. You can use a little dessert plate over the cup if I don’t have a proper teacup.
Let the tea steep for at least 5 minutes (10-15 minutes is better).
Enjoy the mint on its own or add honey or milk if that appeals.
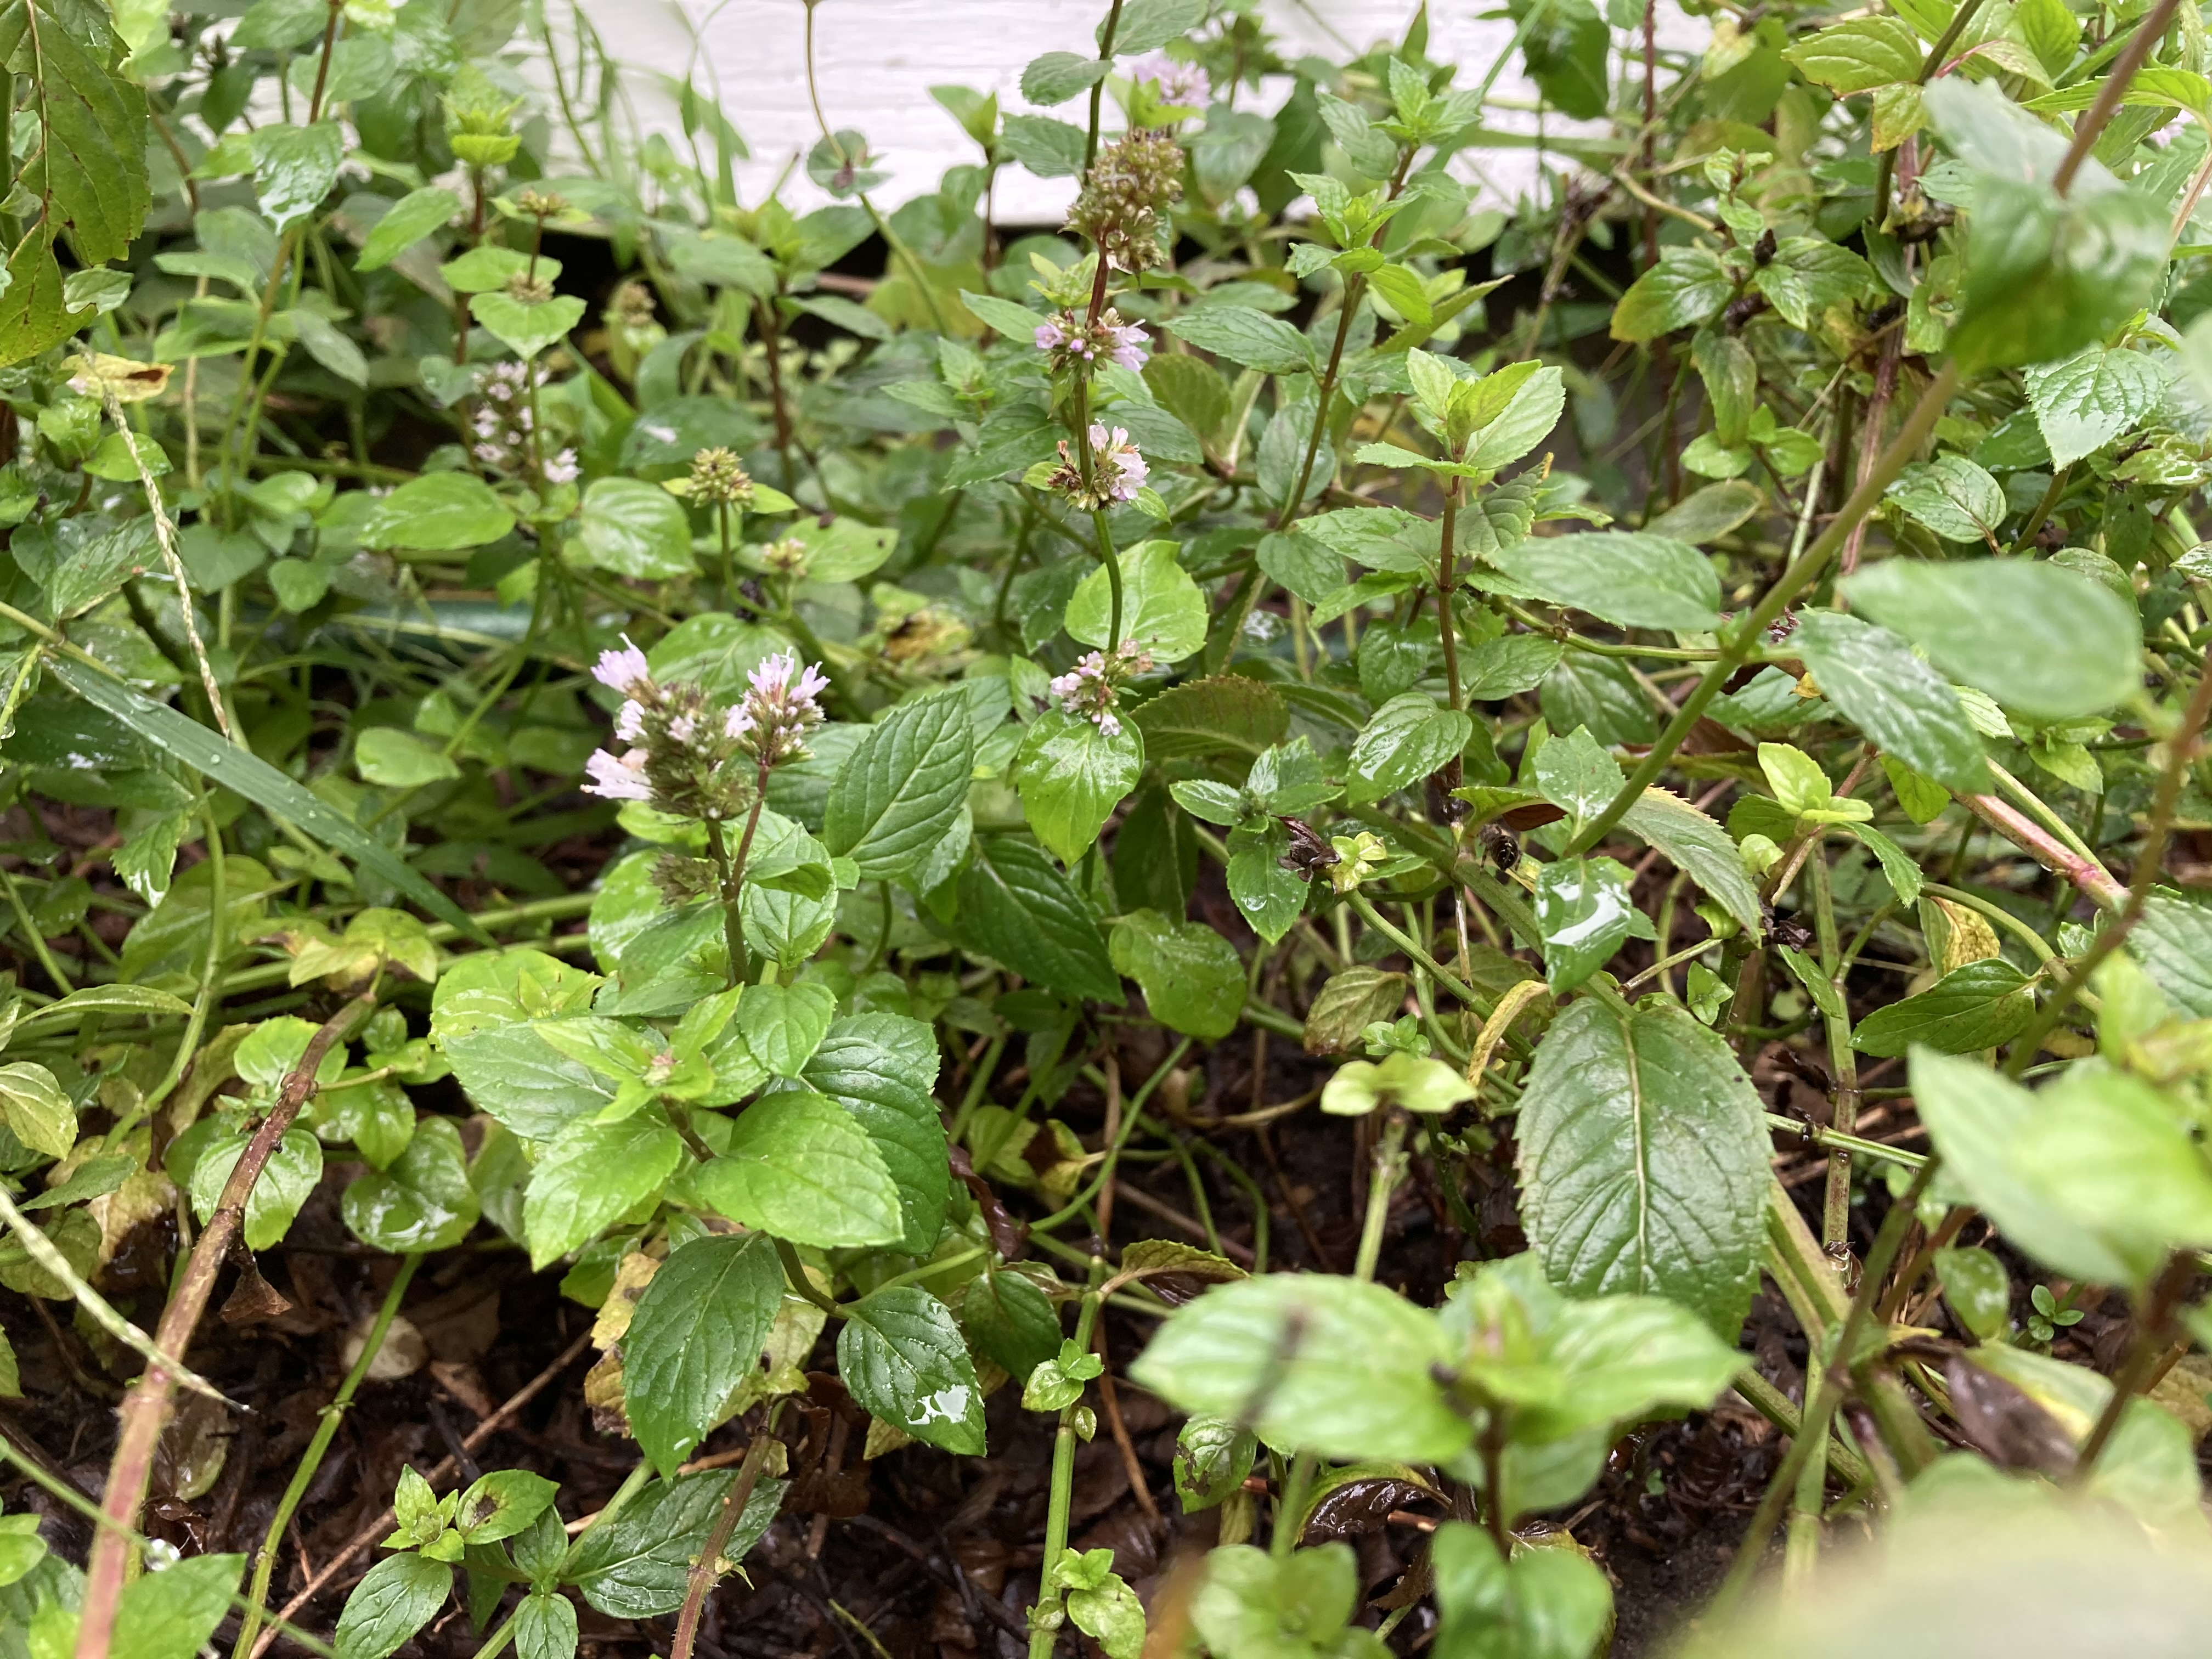
You can buy peppermint tea bags at the grocery. Or you can grow it! It’s easy… so easy, in fact, that it will spread if left alone.
The peppermint show above is in my garden. Peppermint is perennial. If you plant it in good soil it will grow in sun or part shade. It isn’t fussy and I’ve never needed to water it once it was established, though it thrives with periodic watering. But be careful! It will take over your garden if you let it!
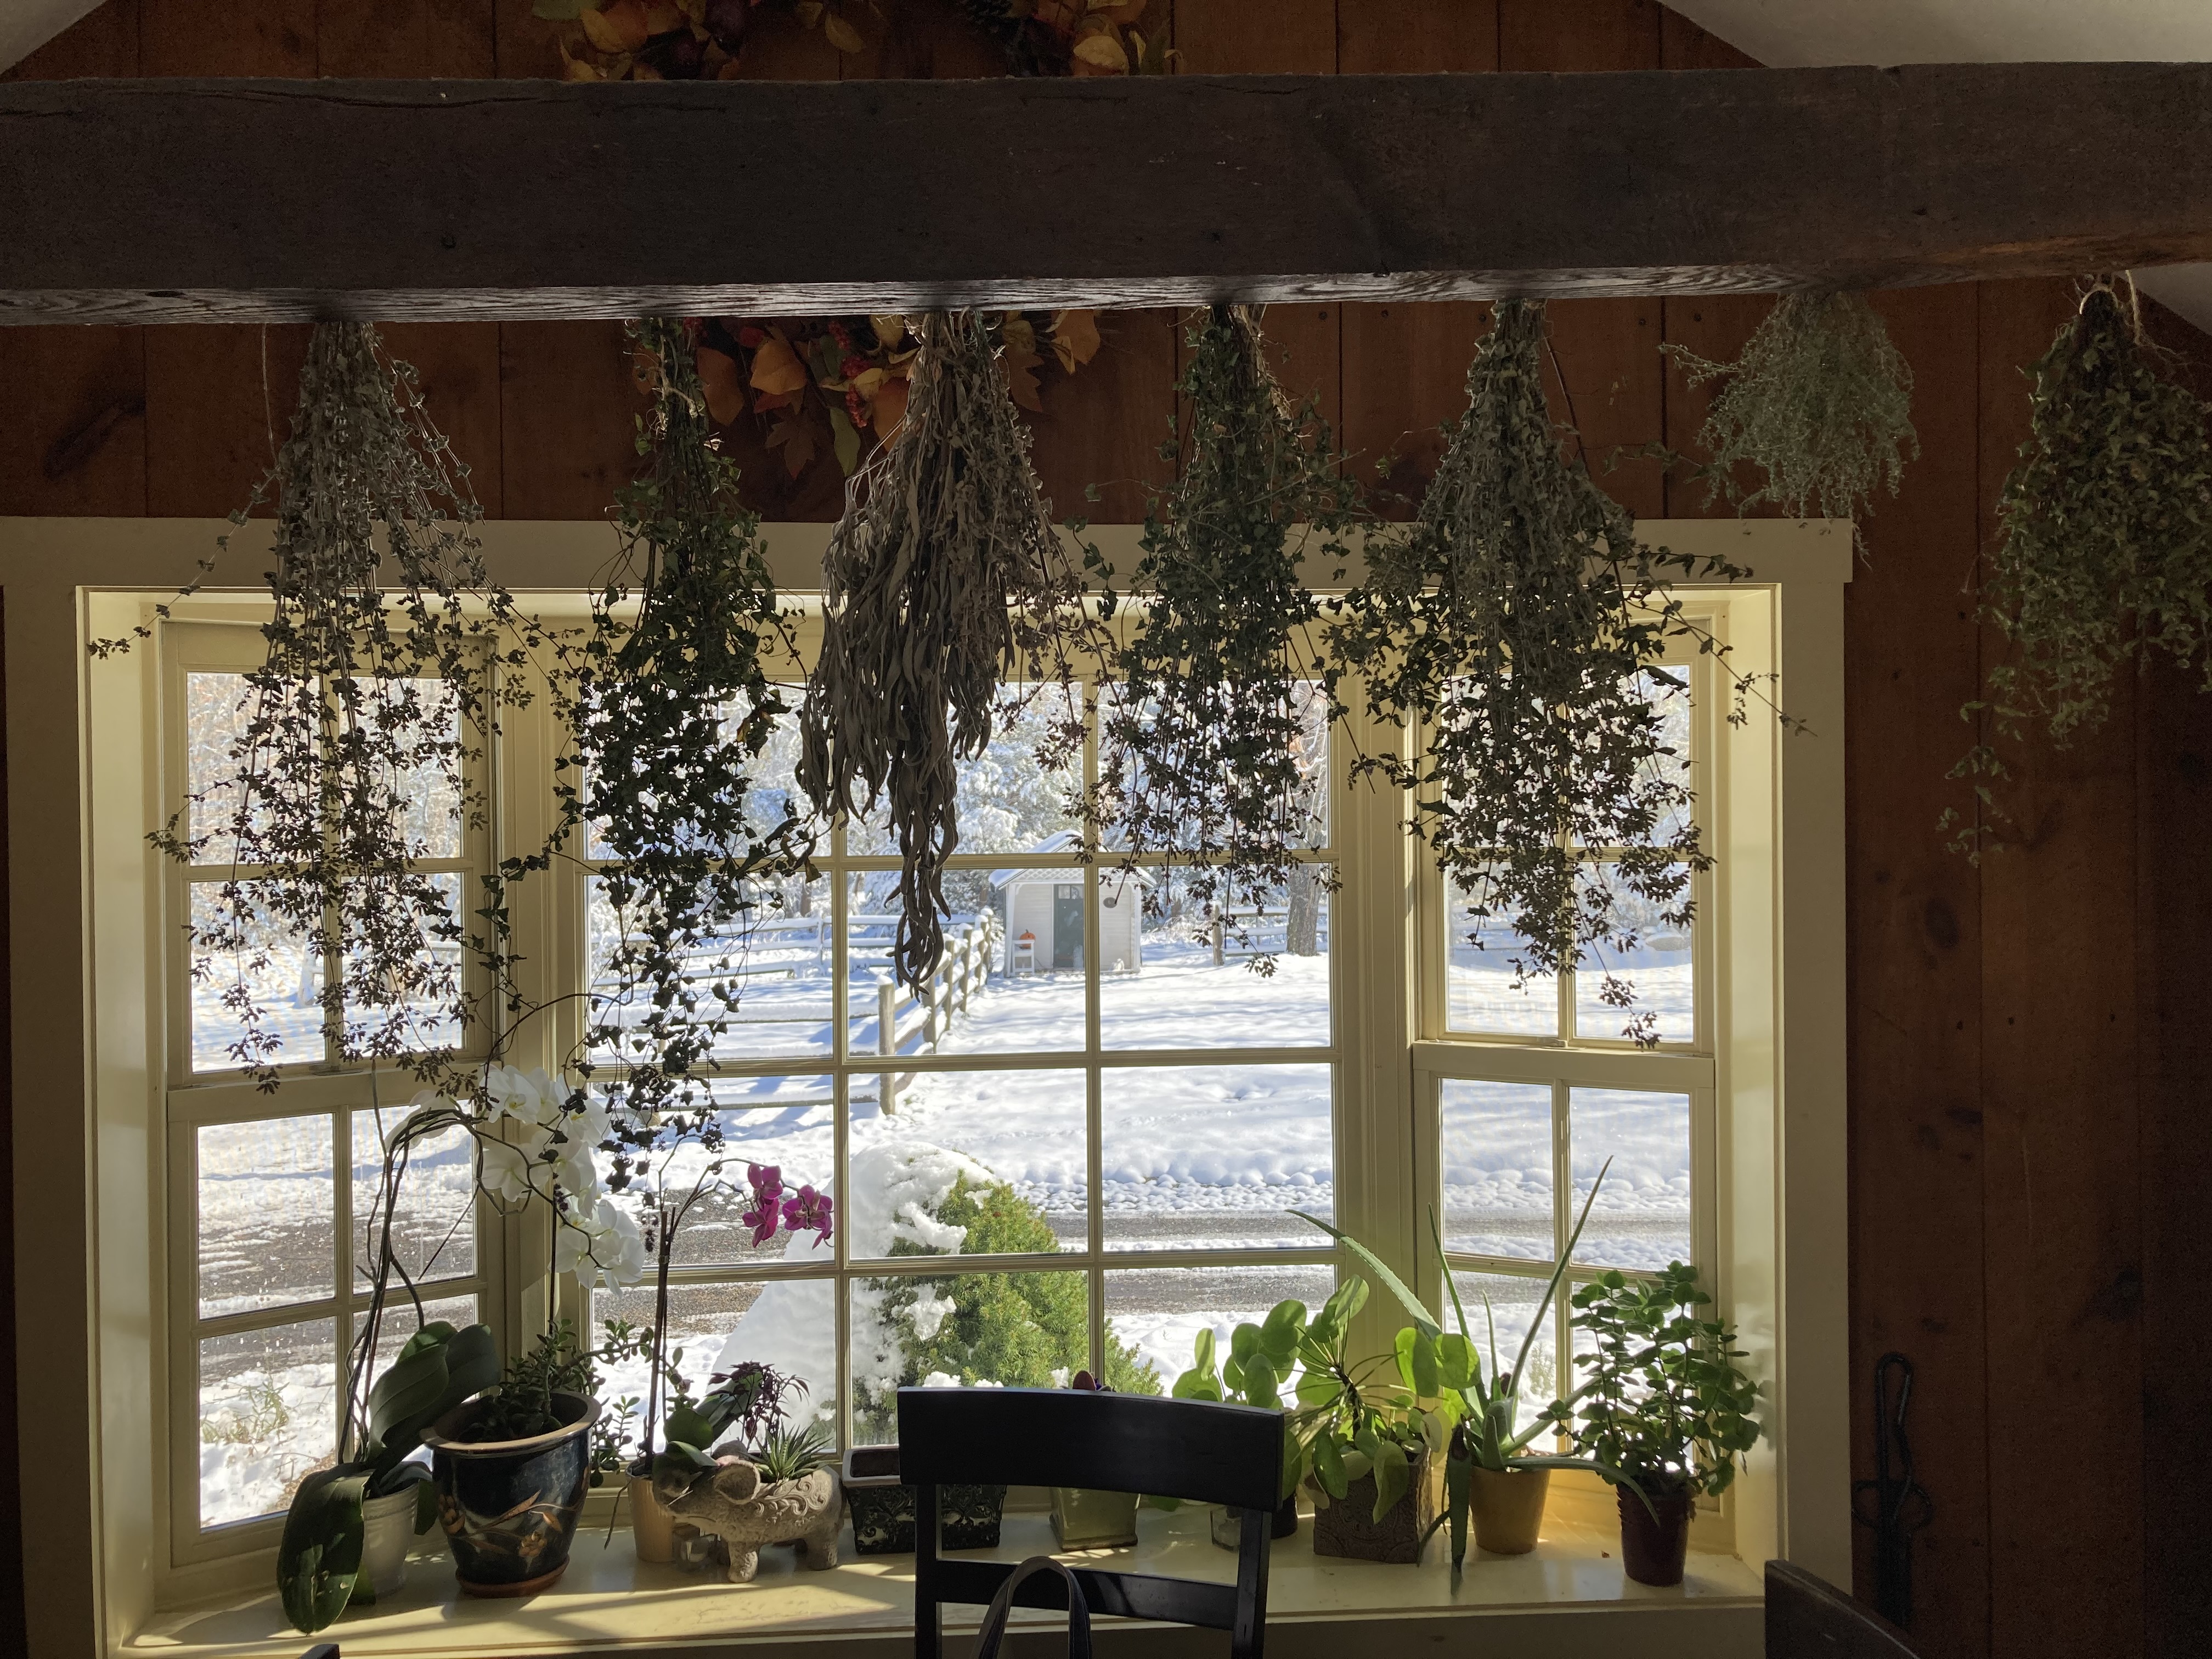
To make tea just cut the stems and hang them up to dry or use a dehydrator.
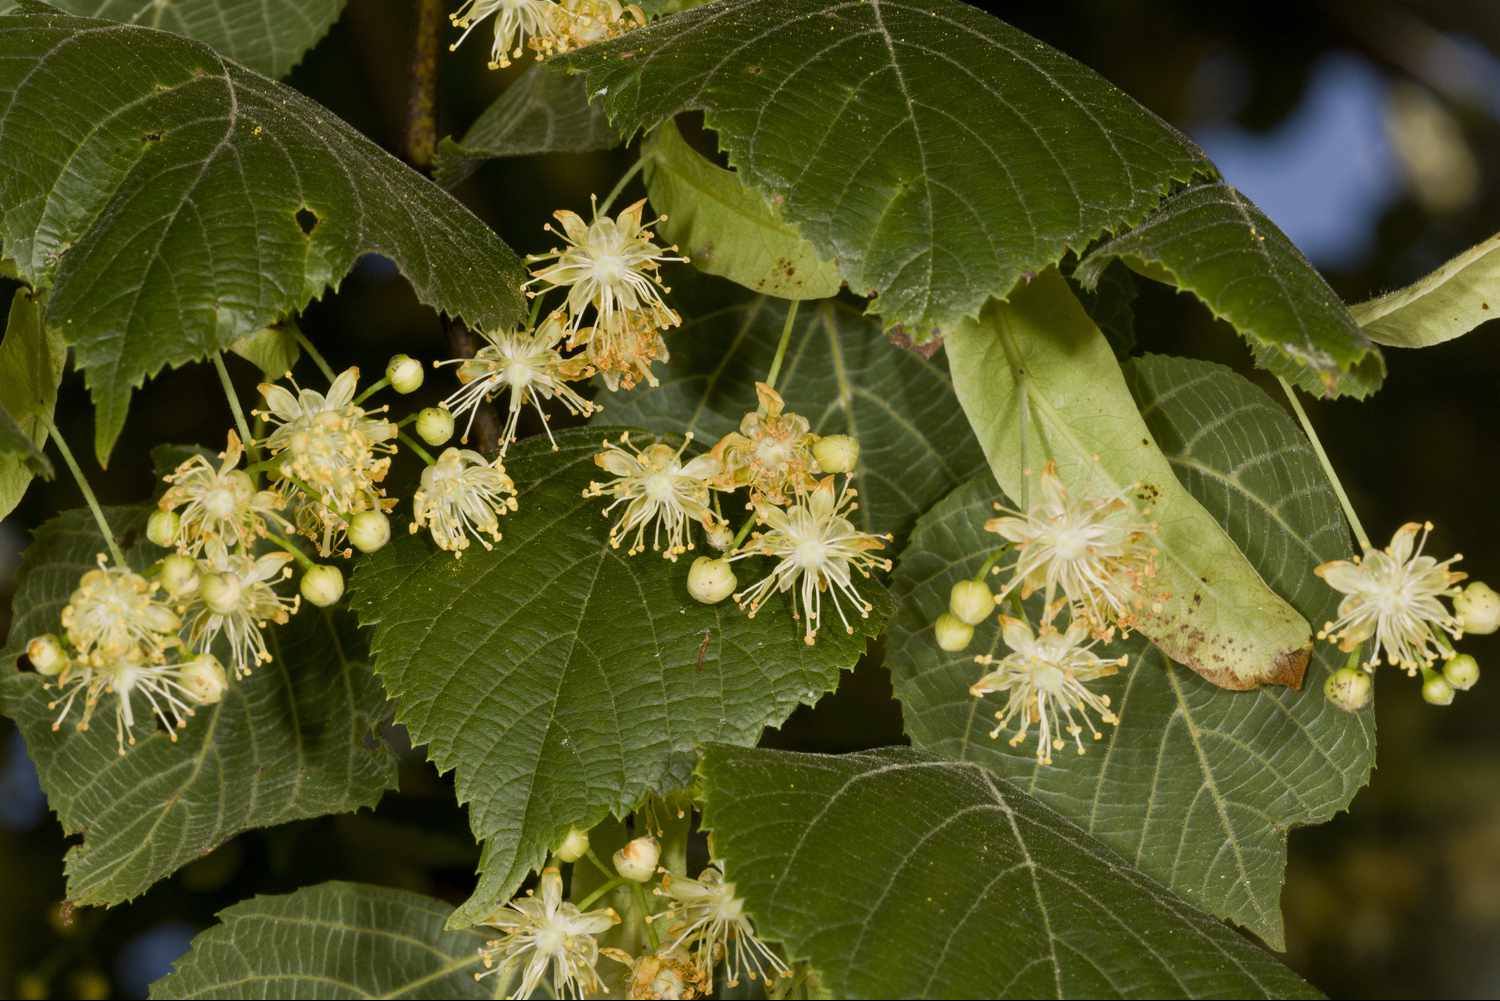
Last June during a work day at the Herbal Apothecary in Brewster Stephen asked me to help him harvest Linden from the tree that grows out behind the shop. It’s a beautiful, towering tree and to get to the flowers and bracts he raised me up in a tractor bucket with a basket. It was great fun.
Bees love Linden flowers so we had to be careful, but we came away with a giant heap of beautiful fragrant flowers that he made tincture from in the shop.
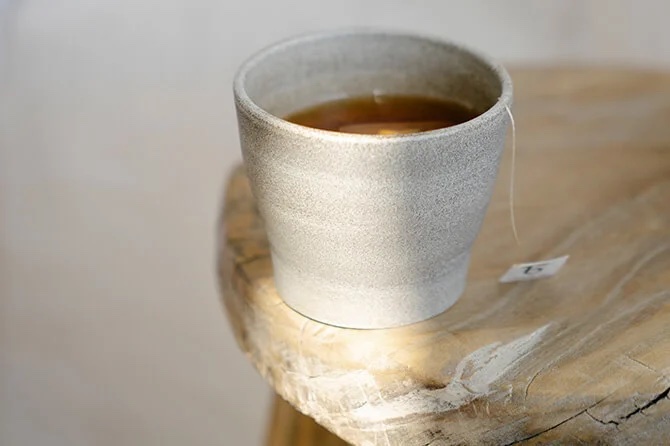
Right now I’m sitting with a hot cup of fragrant Linden tea, made from the flowers and bracts. I noticed as I was working on some paperwork that a nice warm feeling of mellow calm swept over me, relaxing me. Chilling me out. And yes, that was the effect I was looking for. I love this feeling.
This tea is lovely, surprisingly sweet — even without honey.
A few related things, just to round off my notes here about Linden.
Linden is relaxant and cooling. It gives wonderful support for conditions like high blood pressure, and stress related heart problems.
Soothing to the nerves it is helpful where Fibromyalgia or other nerve pain are present.
Linden is very safe, even for children and pregnant women.
Linden grows large and abundantly in the northeast and in many places, so we are free to harvest as many flowers as we like.
I have tinctured it and enjoyed it as tea. But during my Herbalism class (Commonwealthherbs.com) I learned that infusing linden in white wine makes a lovely cooling summer drink. Nice idea, right? They also suggest tincturing it in vodka and adding honey for a sweet and refreshing tincture/drink.
It’s always a good time to appreciate plant world magic. It’s a reason to be cheerful or grateful that is always there, always happening. We just don’t always notice.
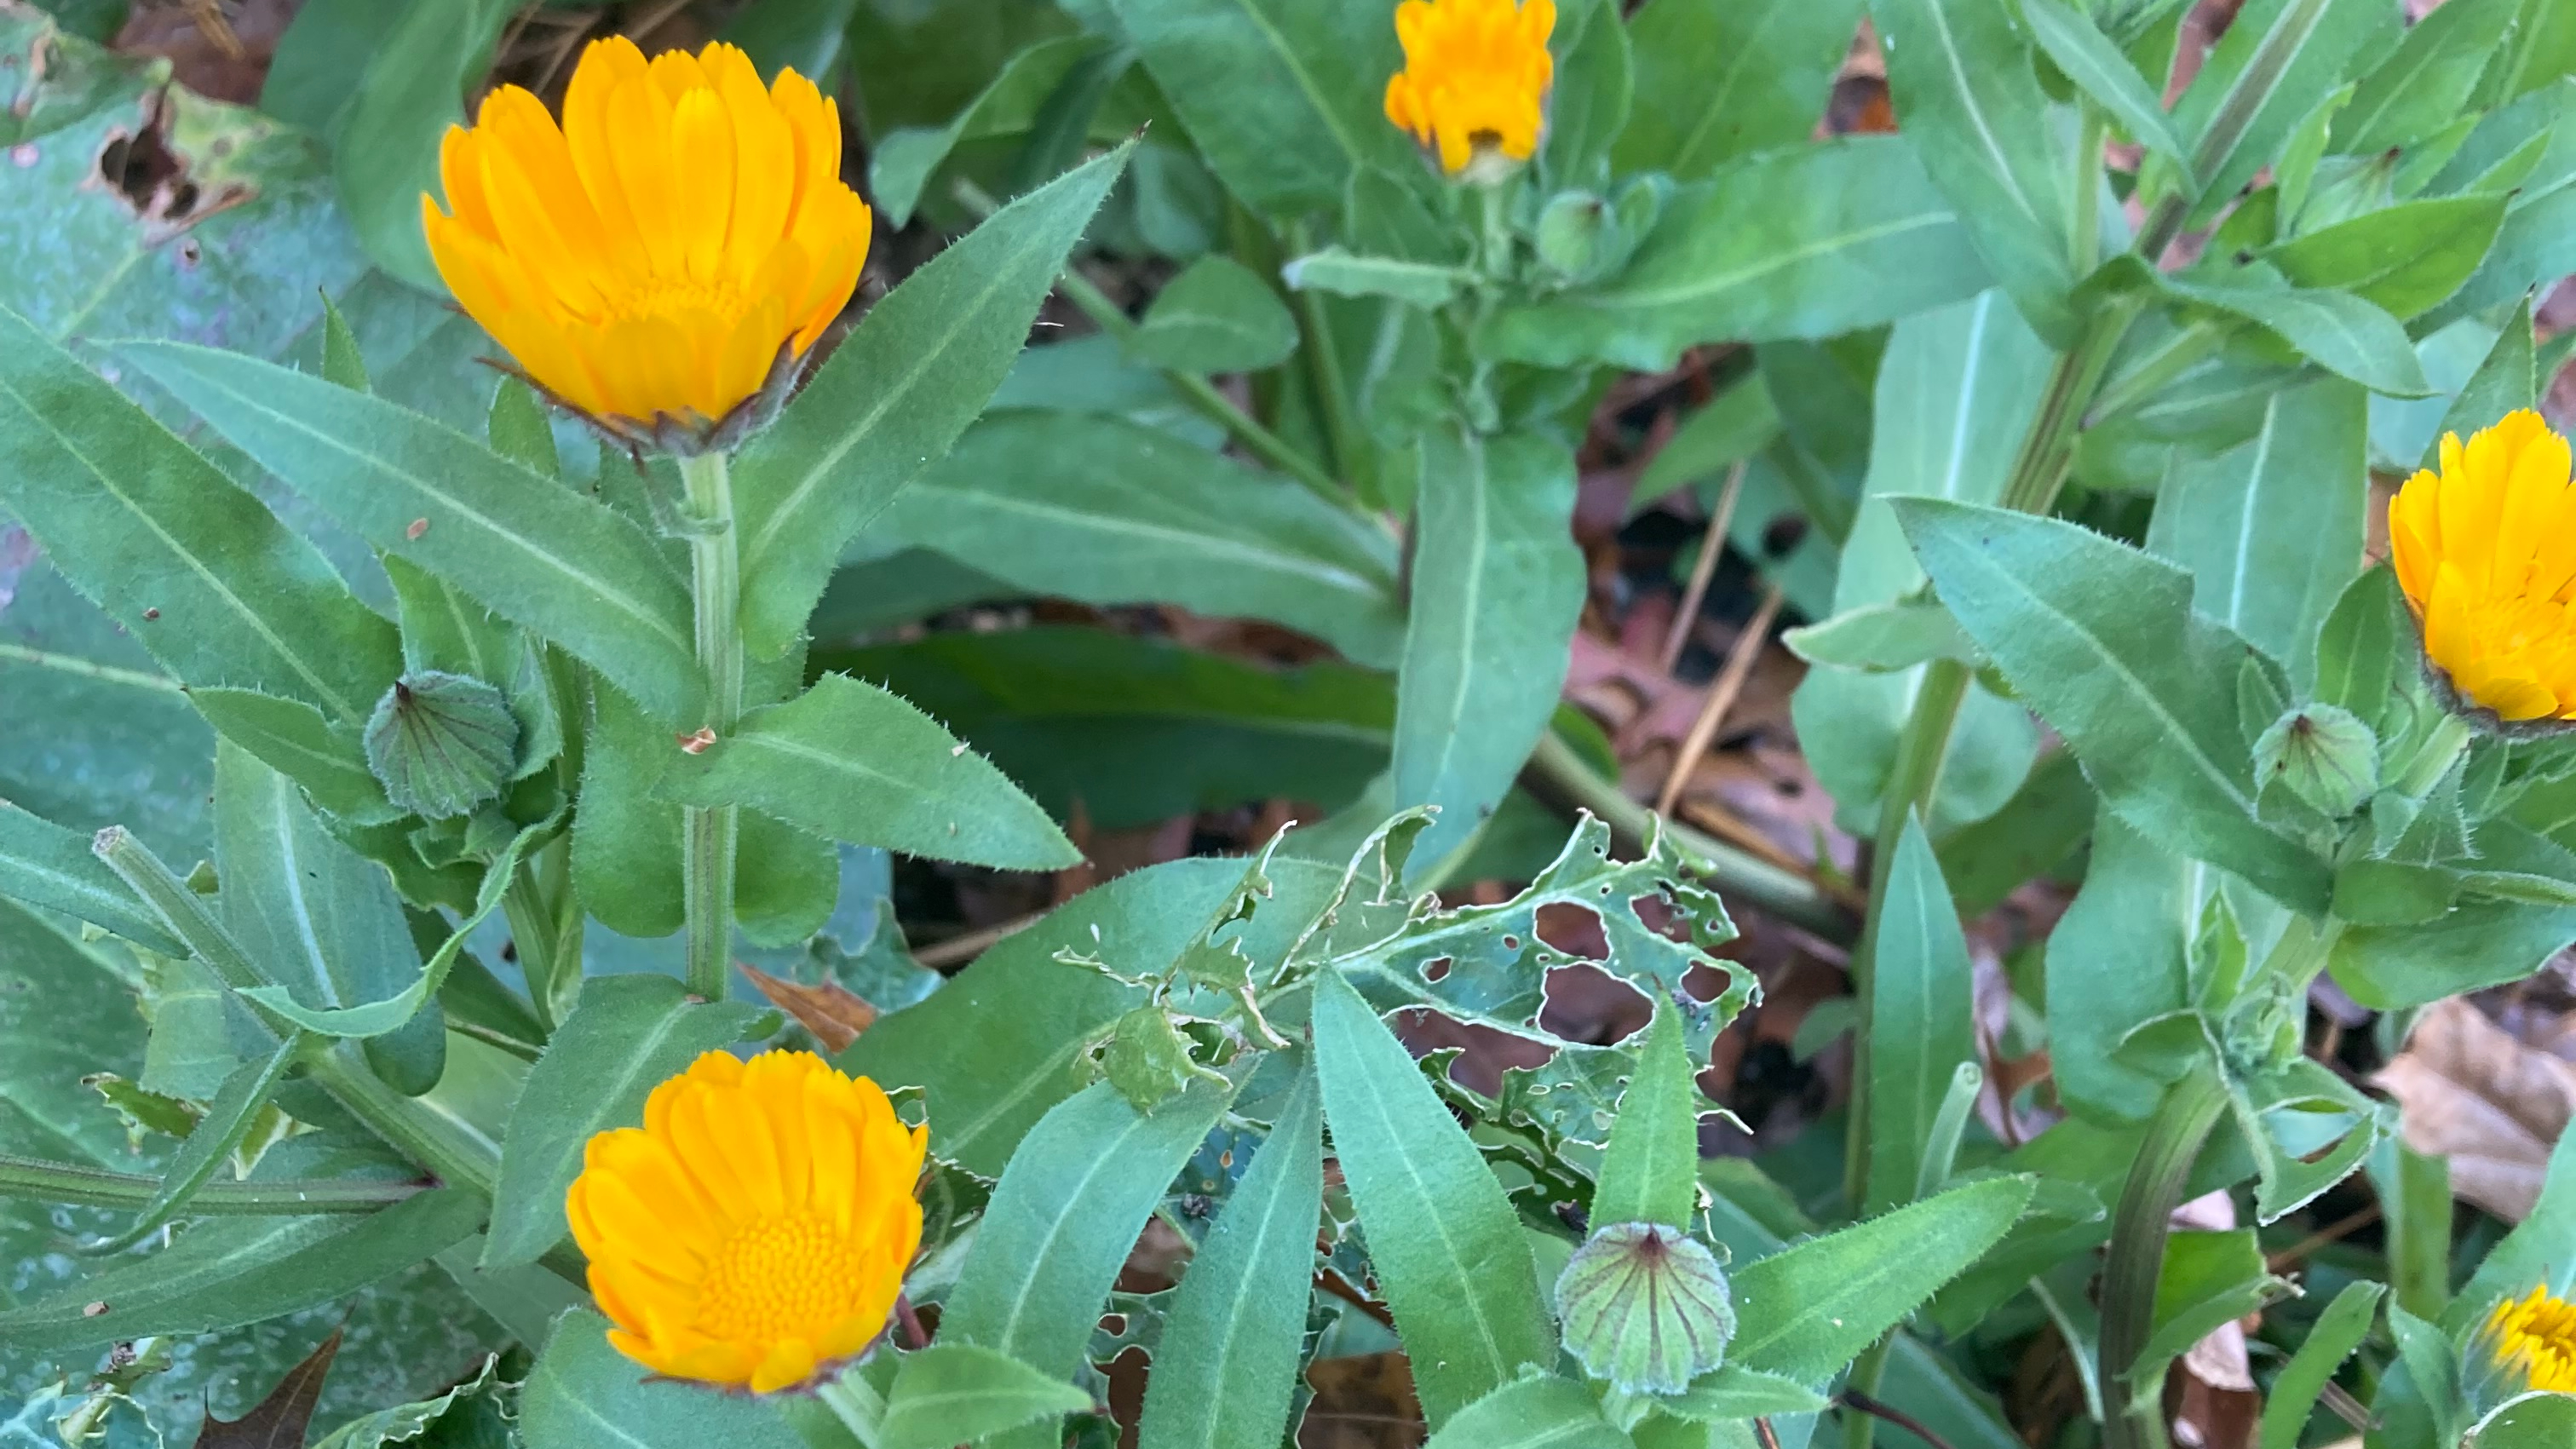
A couple of magical little things at work in my garden right now: Calendula pictured above, still blooming beautifully (at least until a hard frost!)
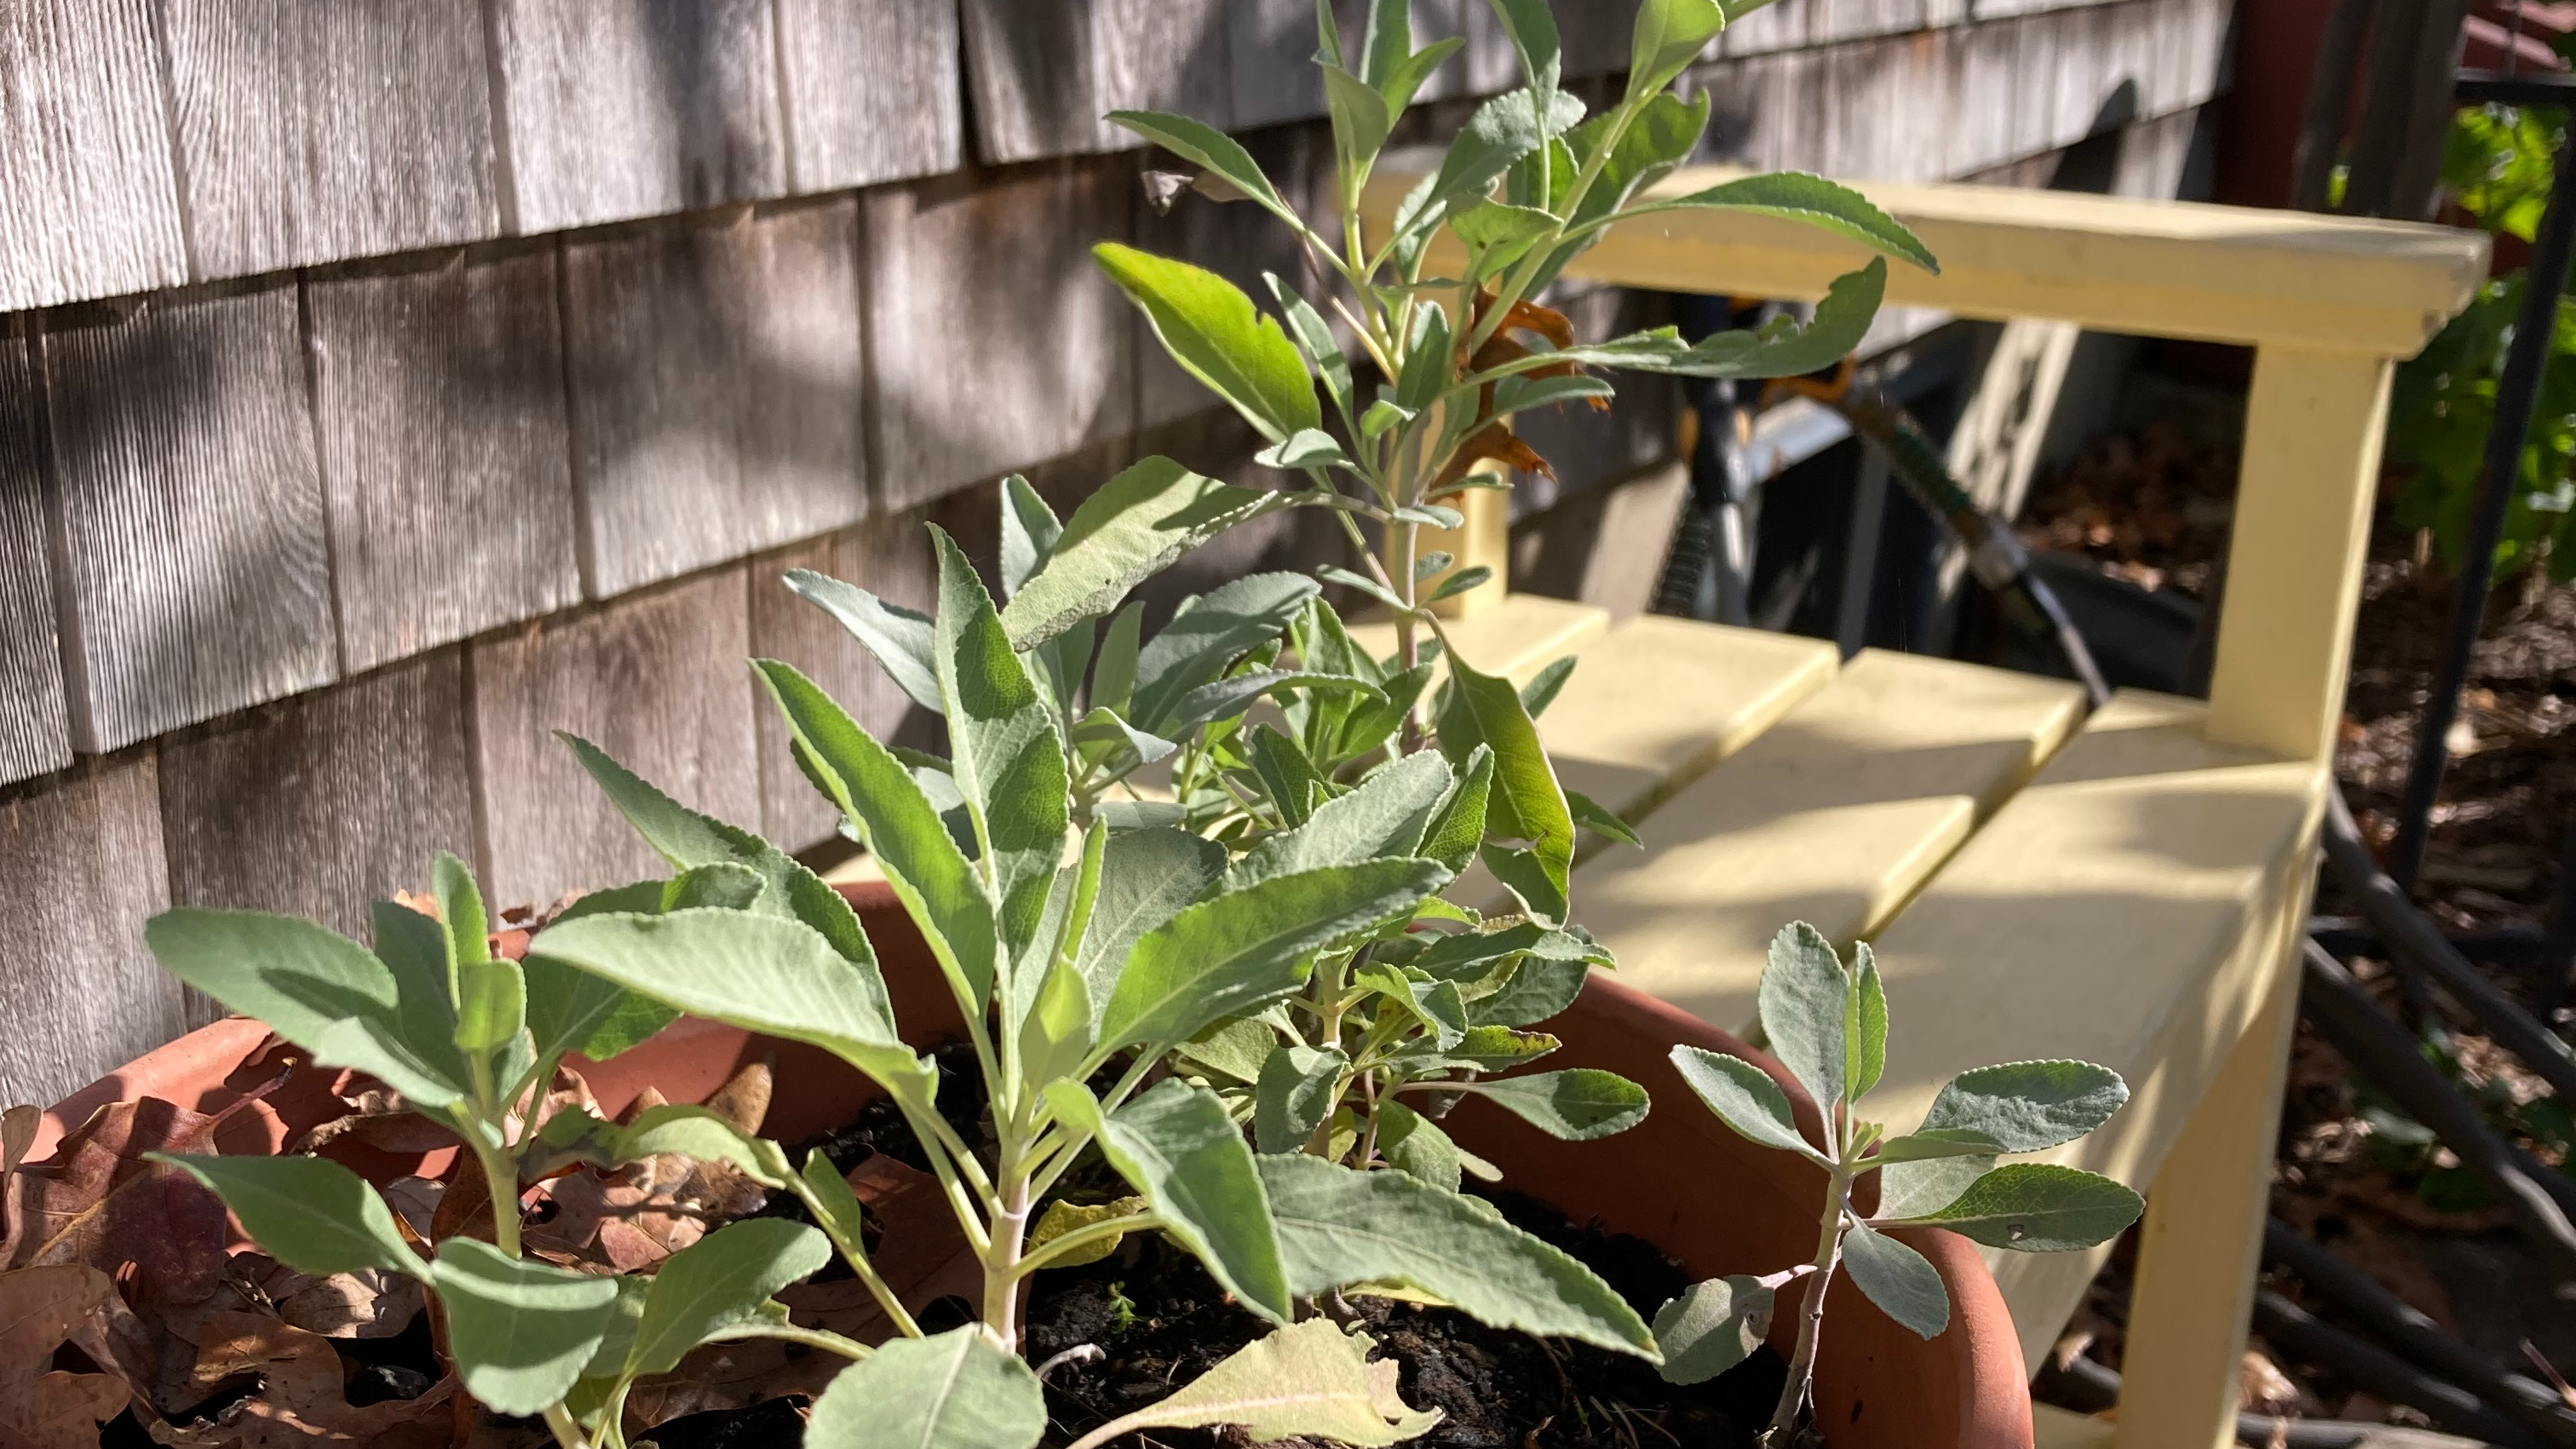
white sage in afternoon sun
White sage – not a native of this area. And in danger. But this lovely plant pictured above grew in a pot for me this year from seed. White sage is the plant people buy to smudge a new apartment. As a traditional energetic cleanser it’s been over-harvested. I’m grateful it chose to grow in my garden!
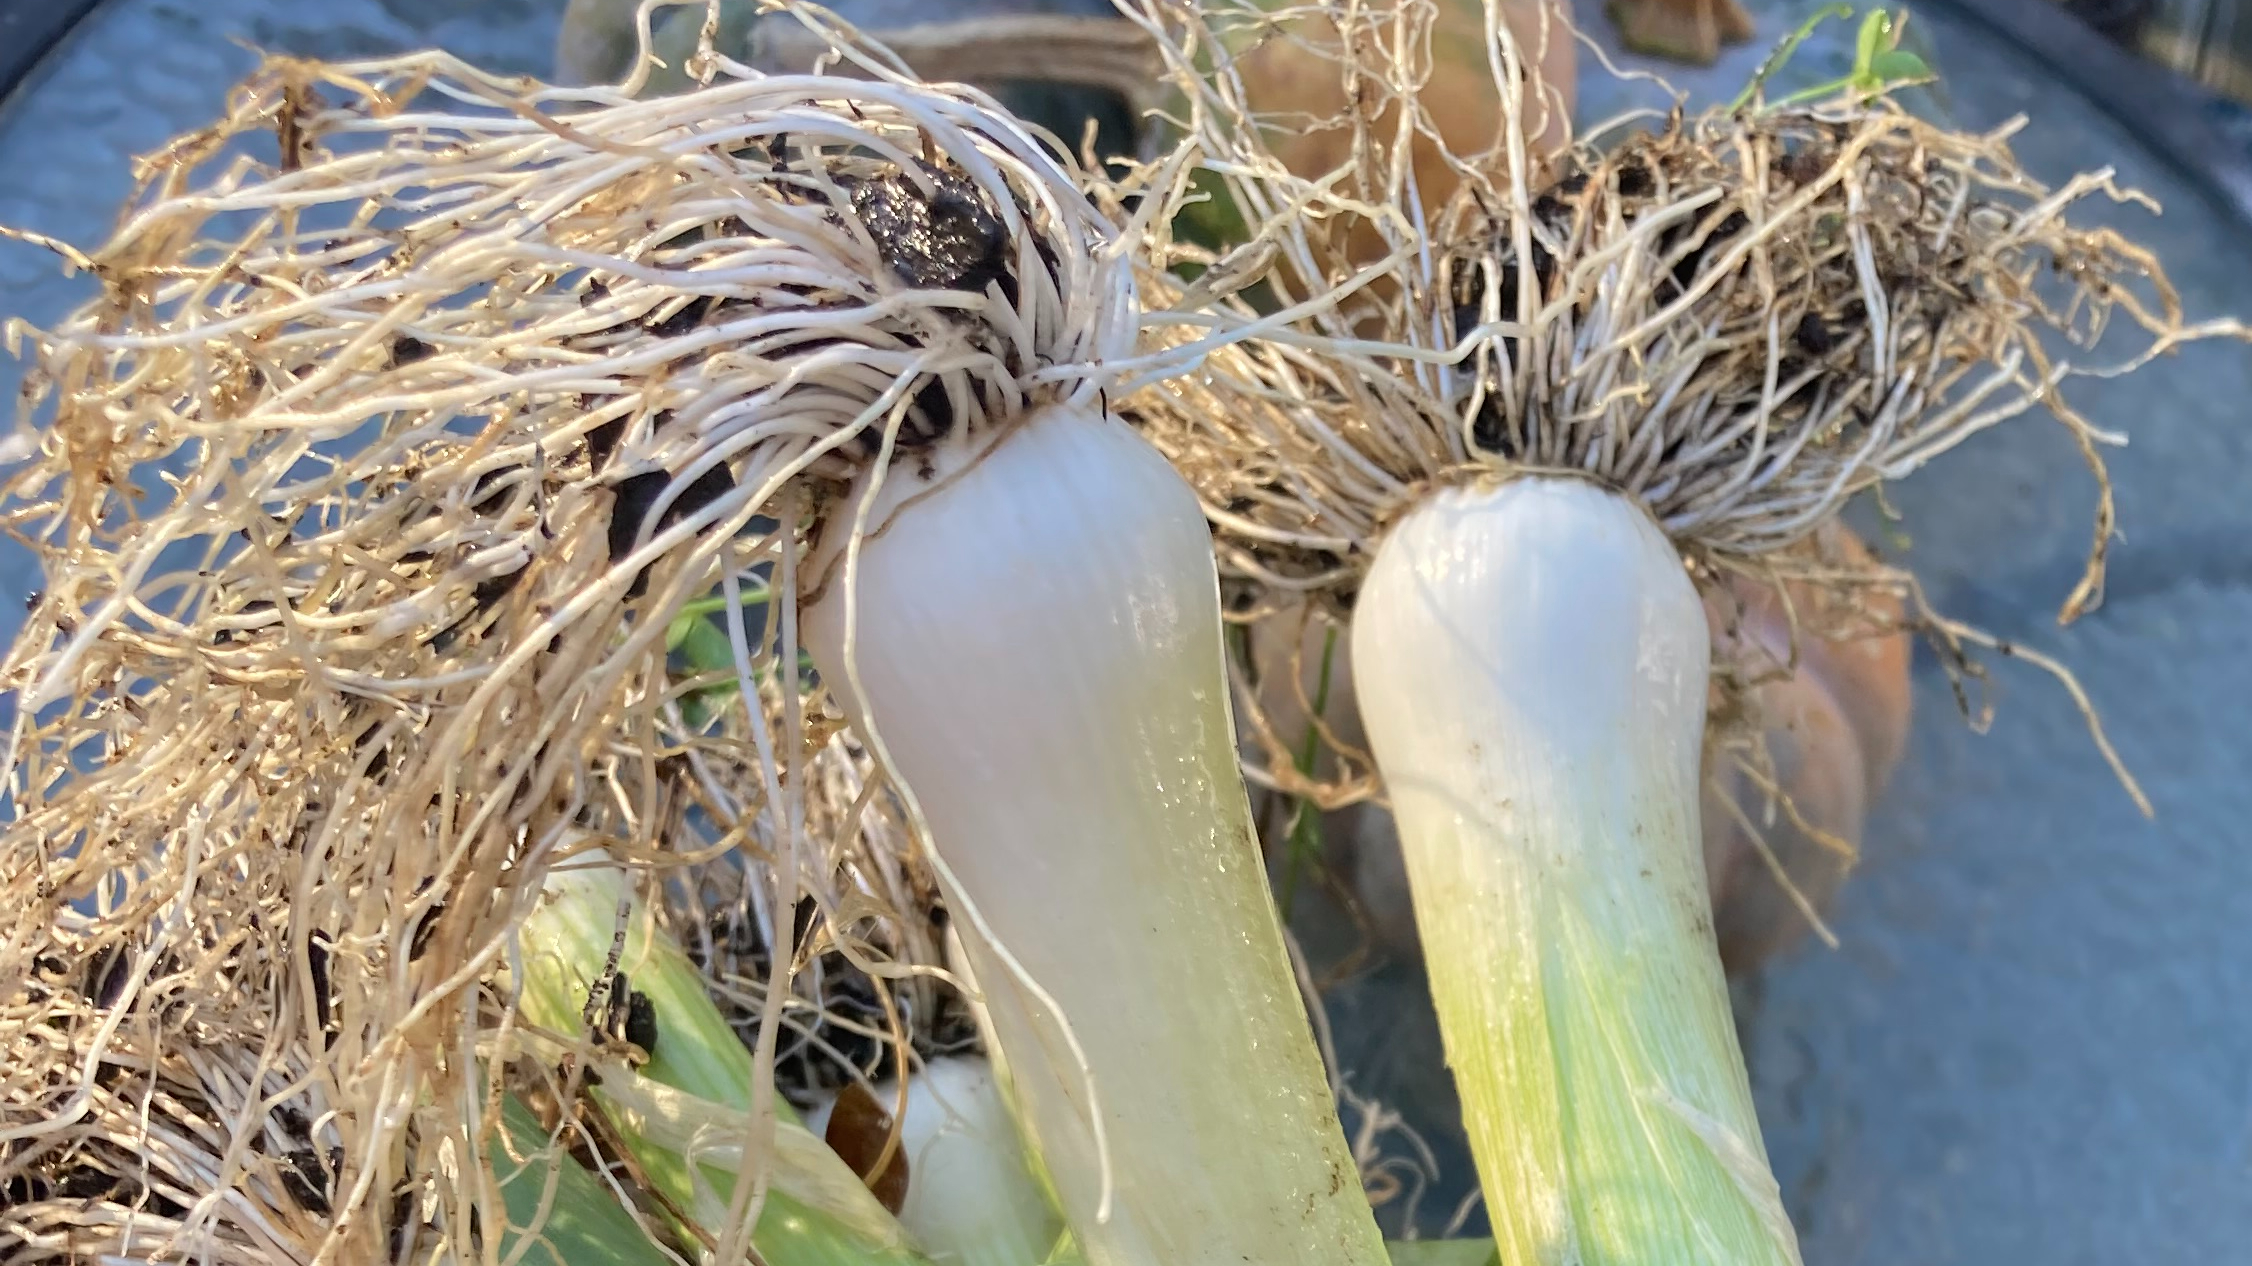
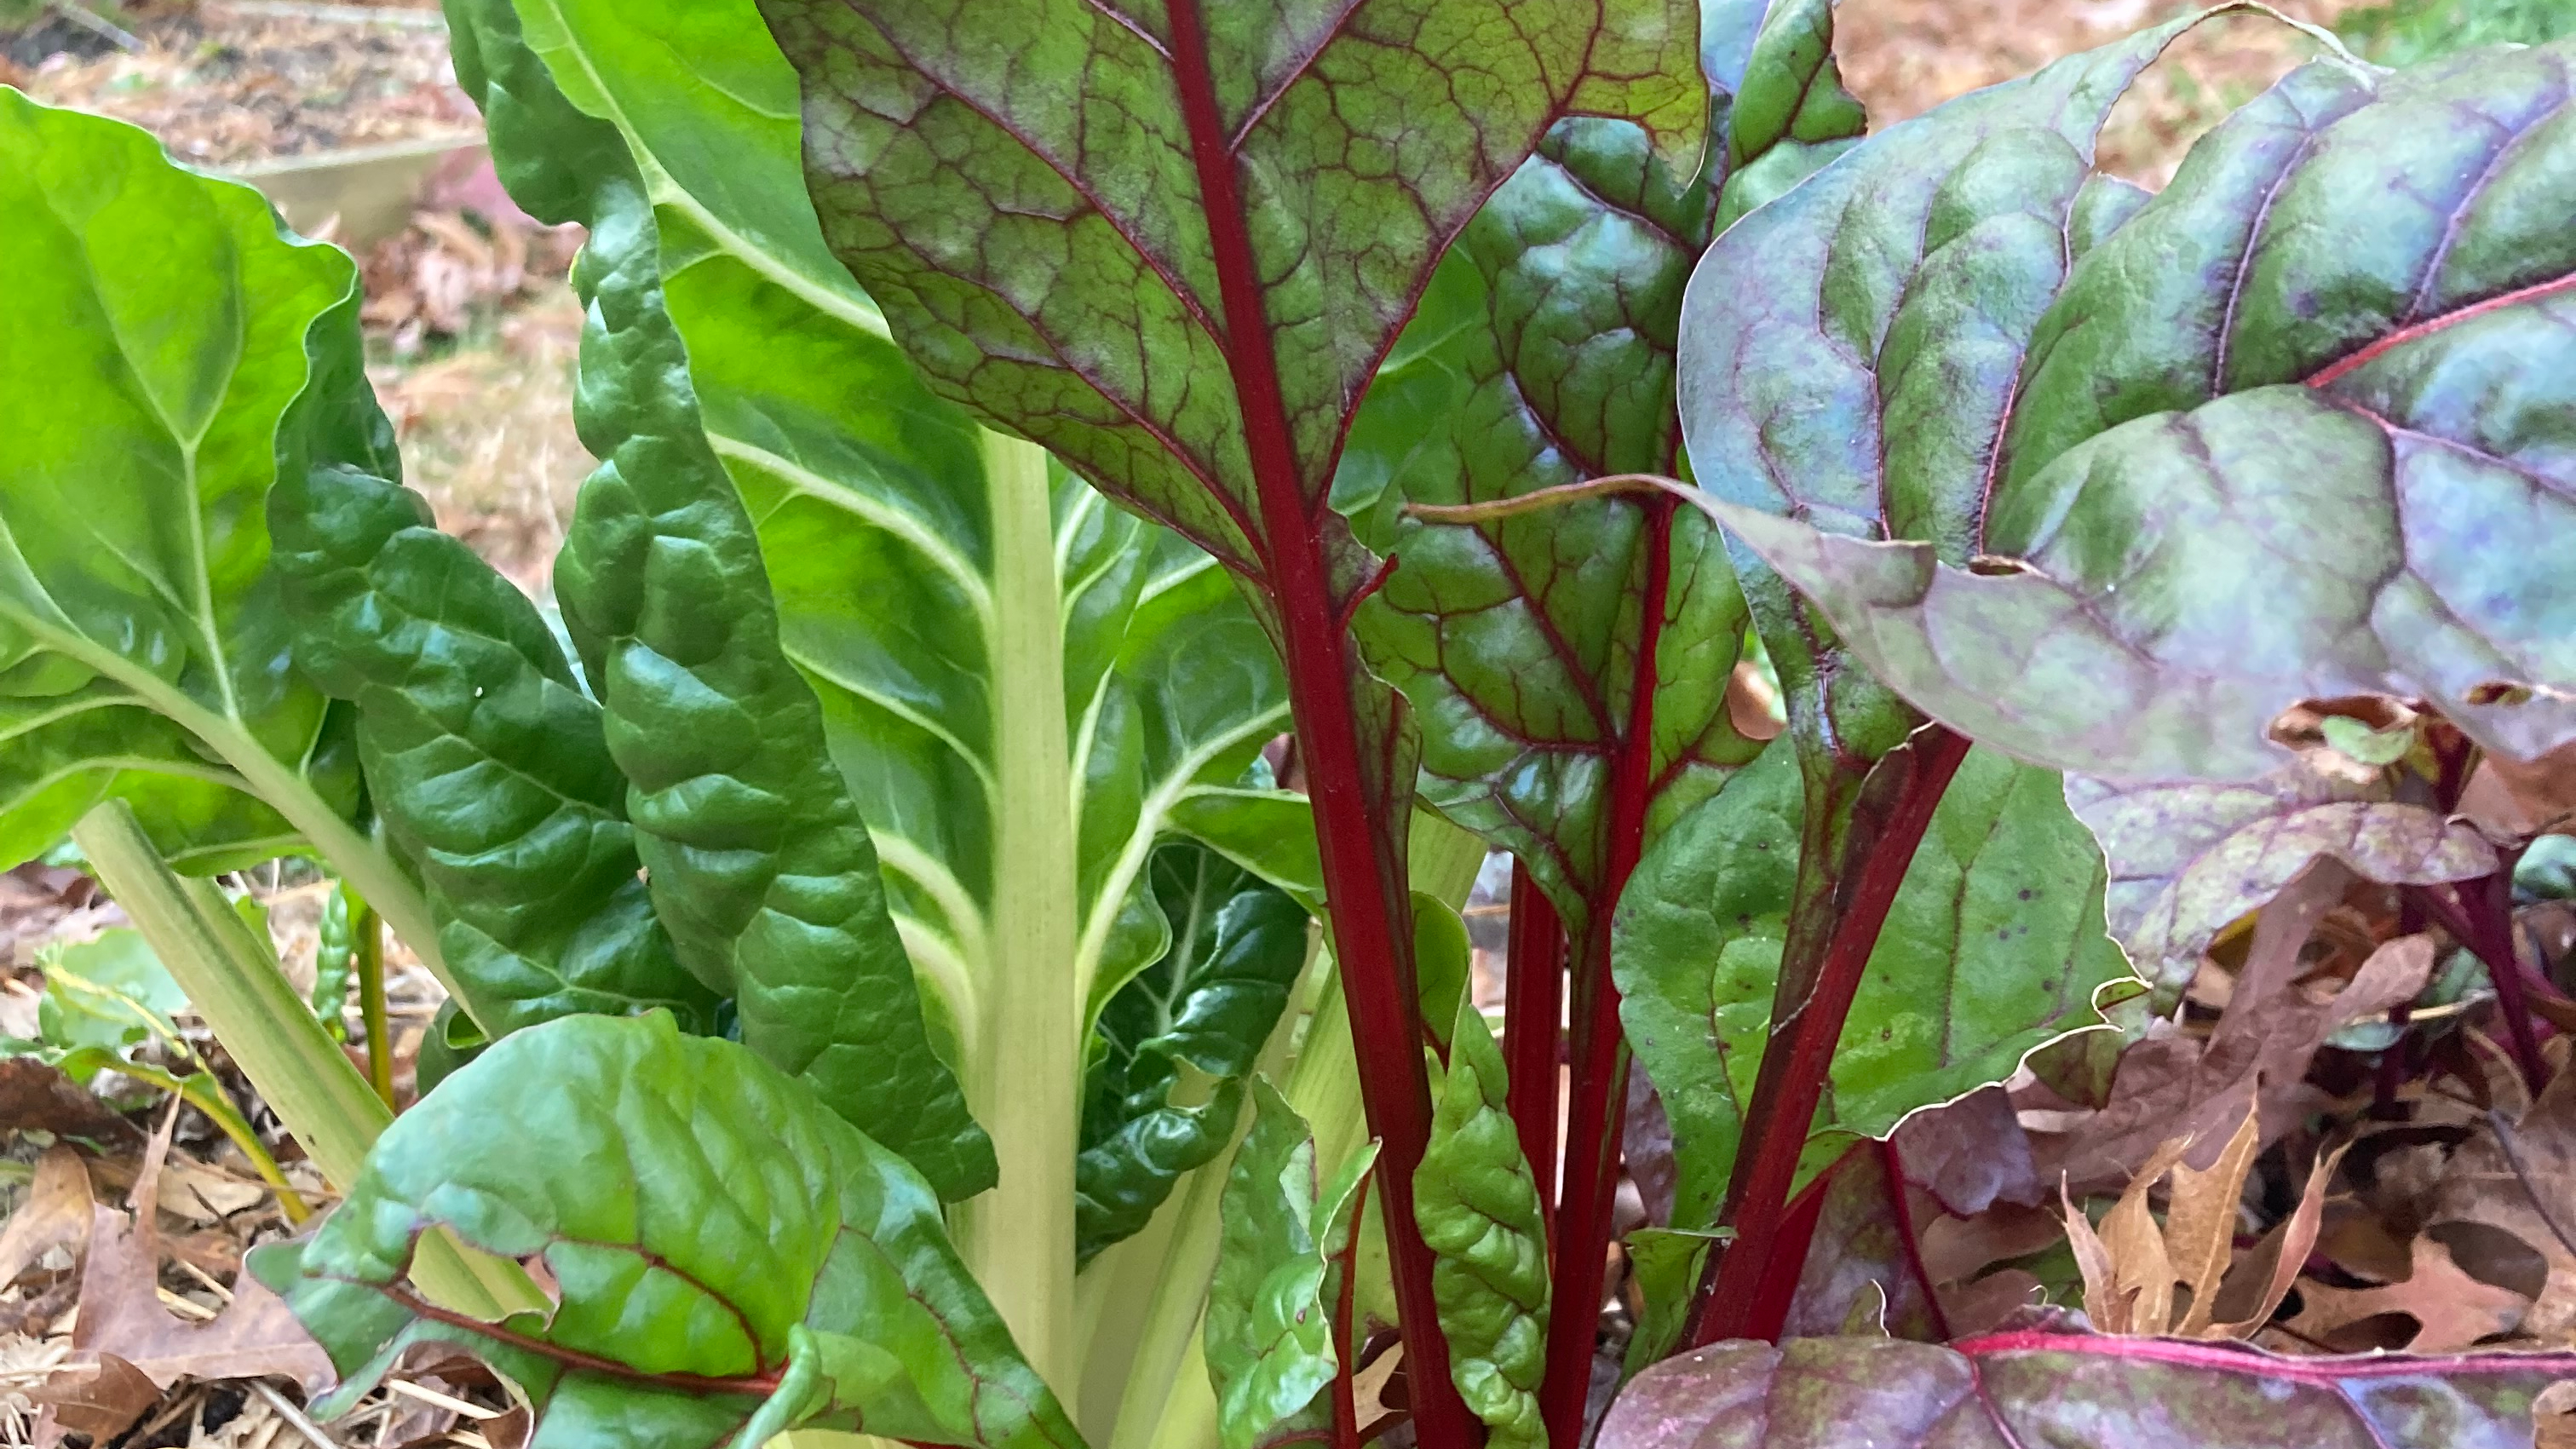
leeks, dirt still in the roots, from the vegetable garden
Leeks. We don’t think about mid November as a time for harvest but my carrots, leeks, and swiss chard are still going strong. Not interested in tempting the fates, I harvested them today. Pictured above.
Swiss chard, a spring green, loves the fall, too. Yum.
Green spirits to feed, protect, and nourish us- still afoot in the garden. At least for now. And when the snow fairies arrive to bring the fallow season, some lovelies will sleep until spring – even more magic.
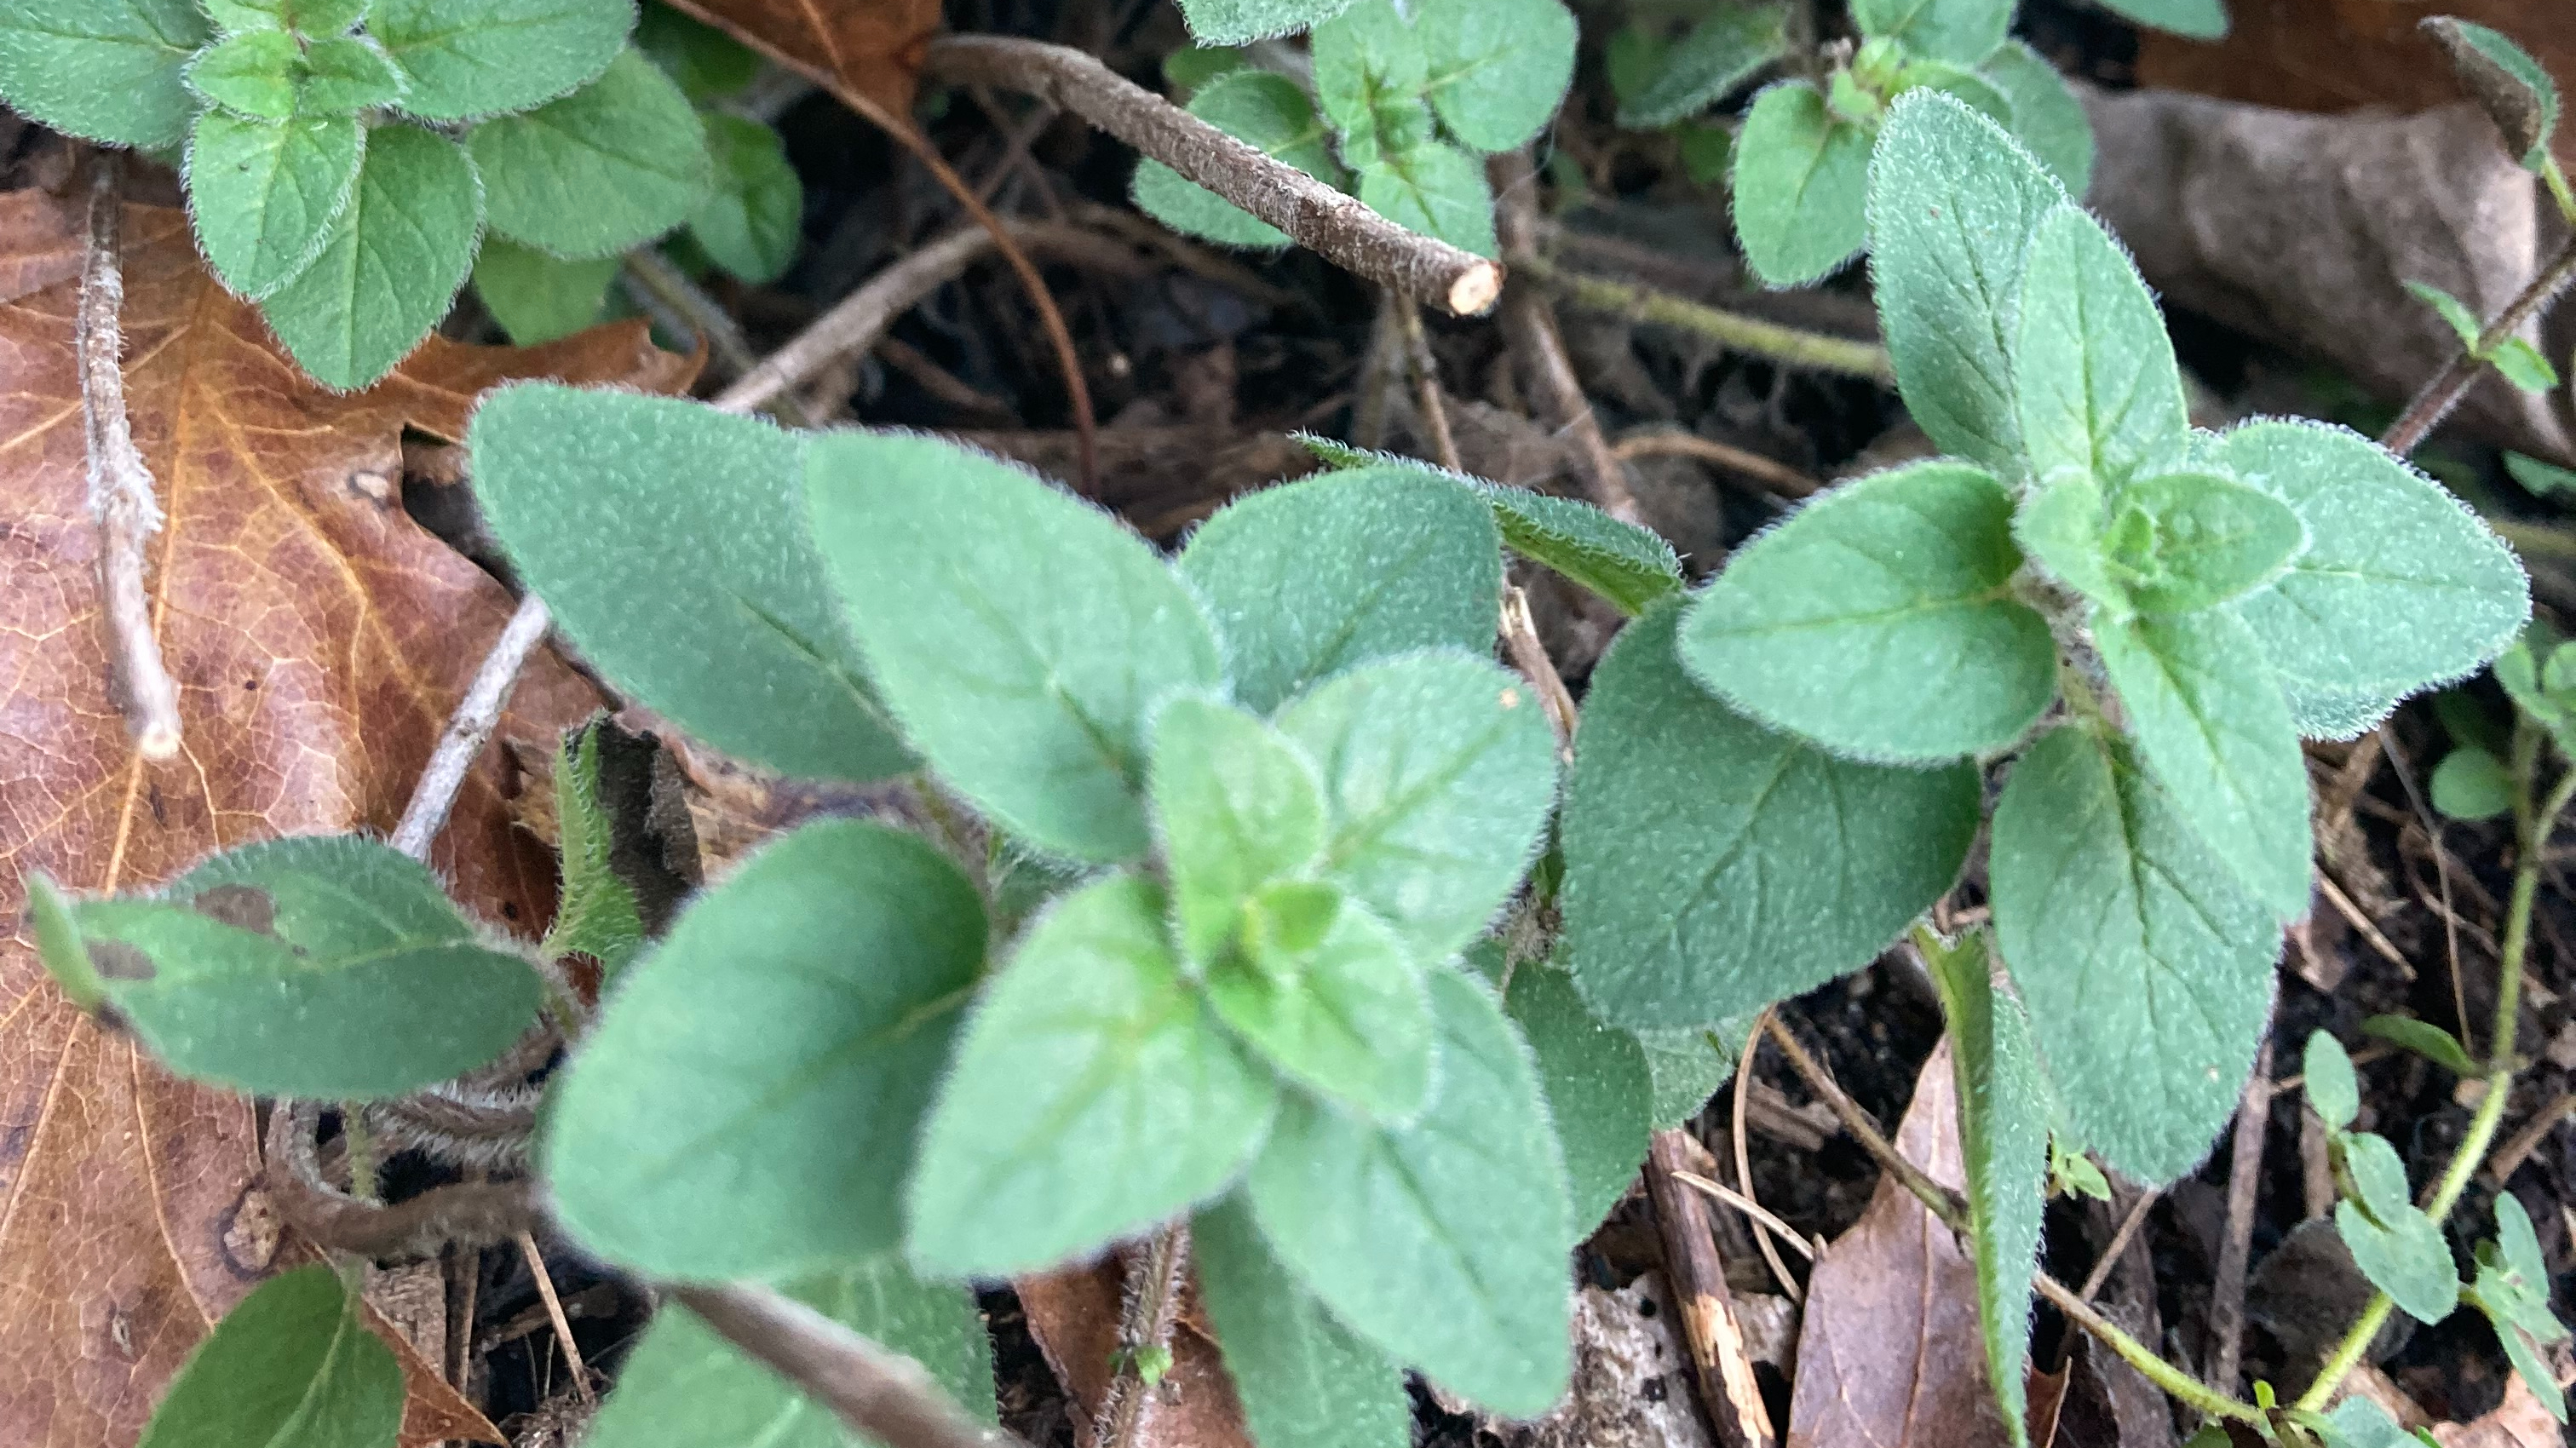
Oregano, still tender and green after a summer haircut, winters over beautifully to emerge again in the spring…
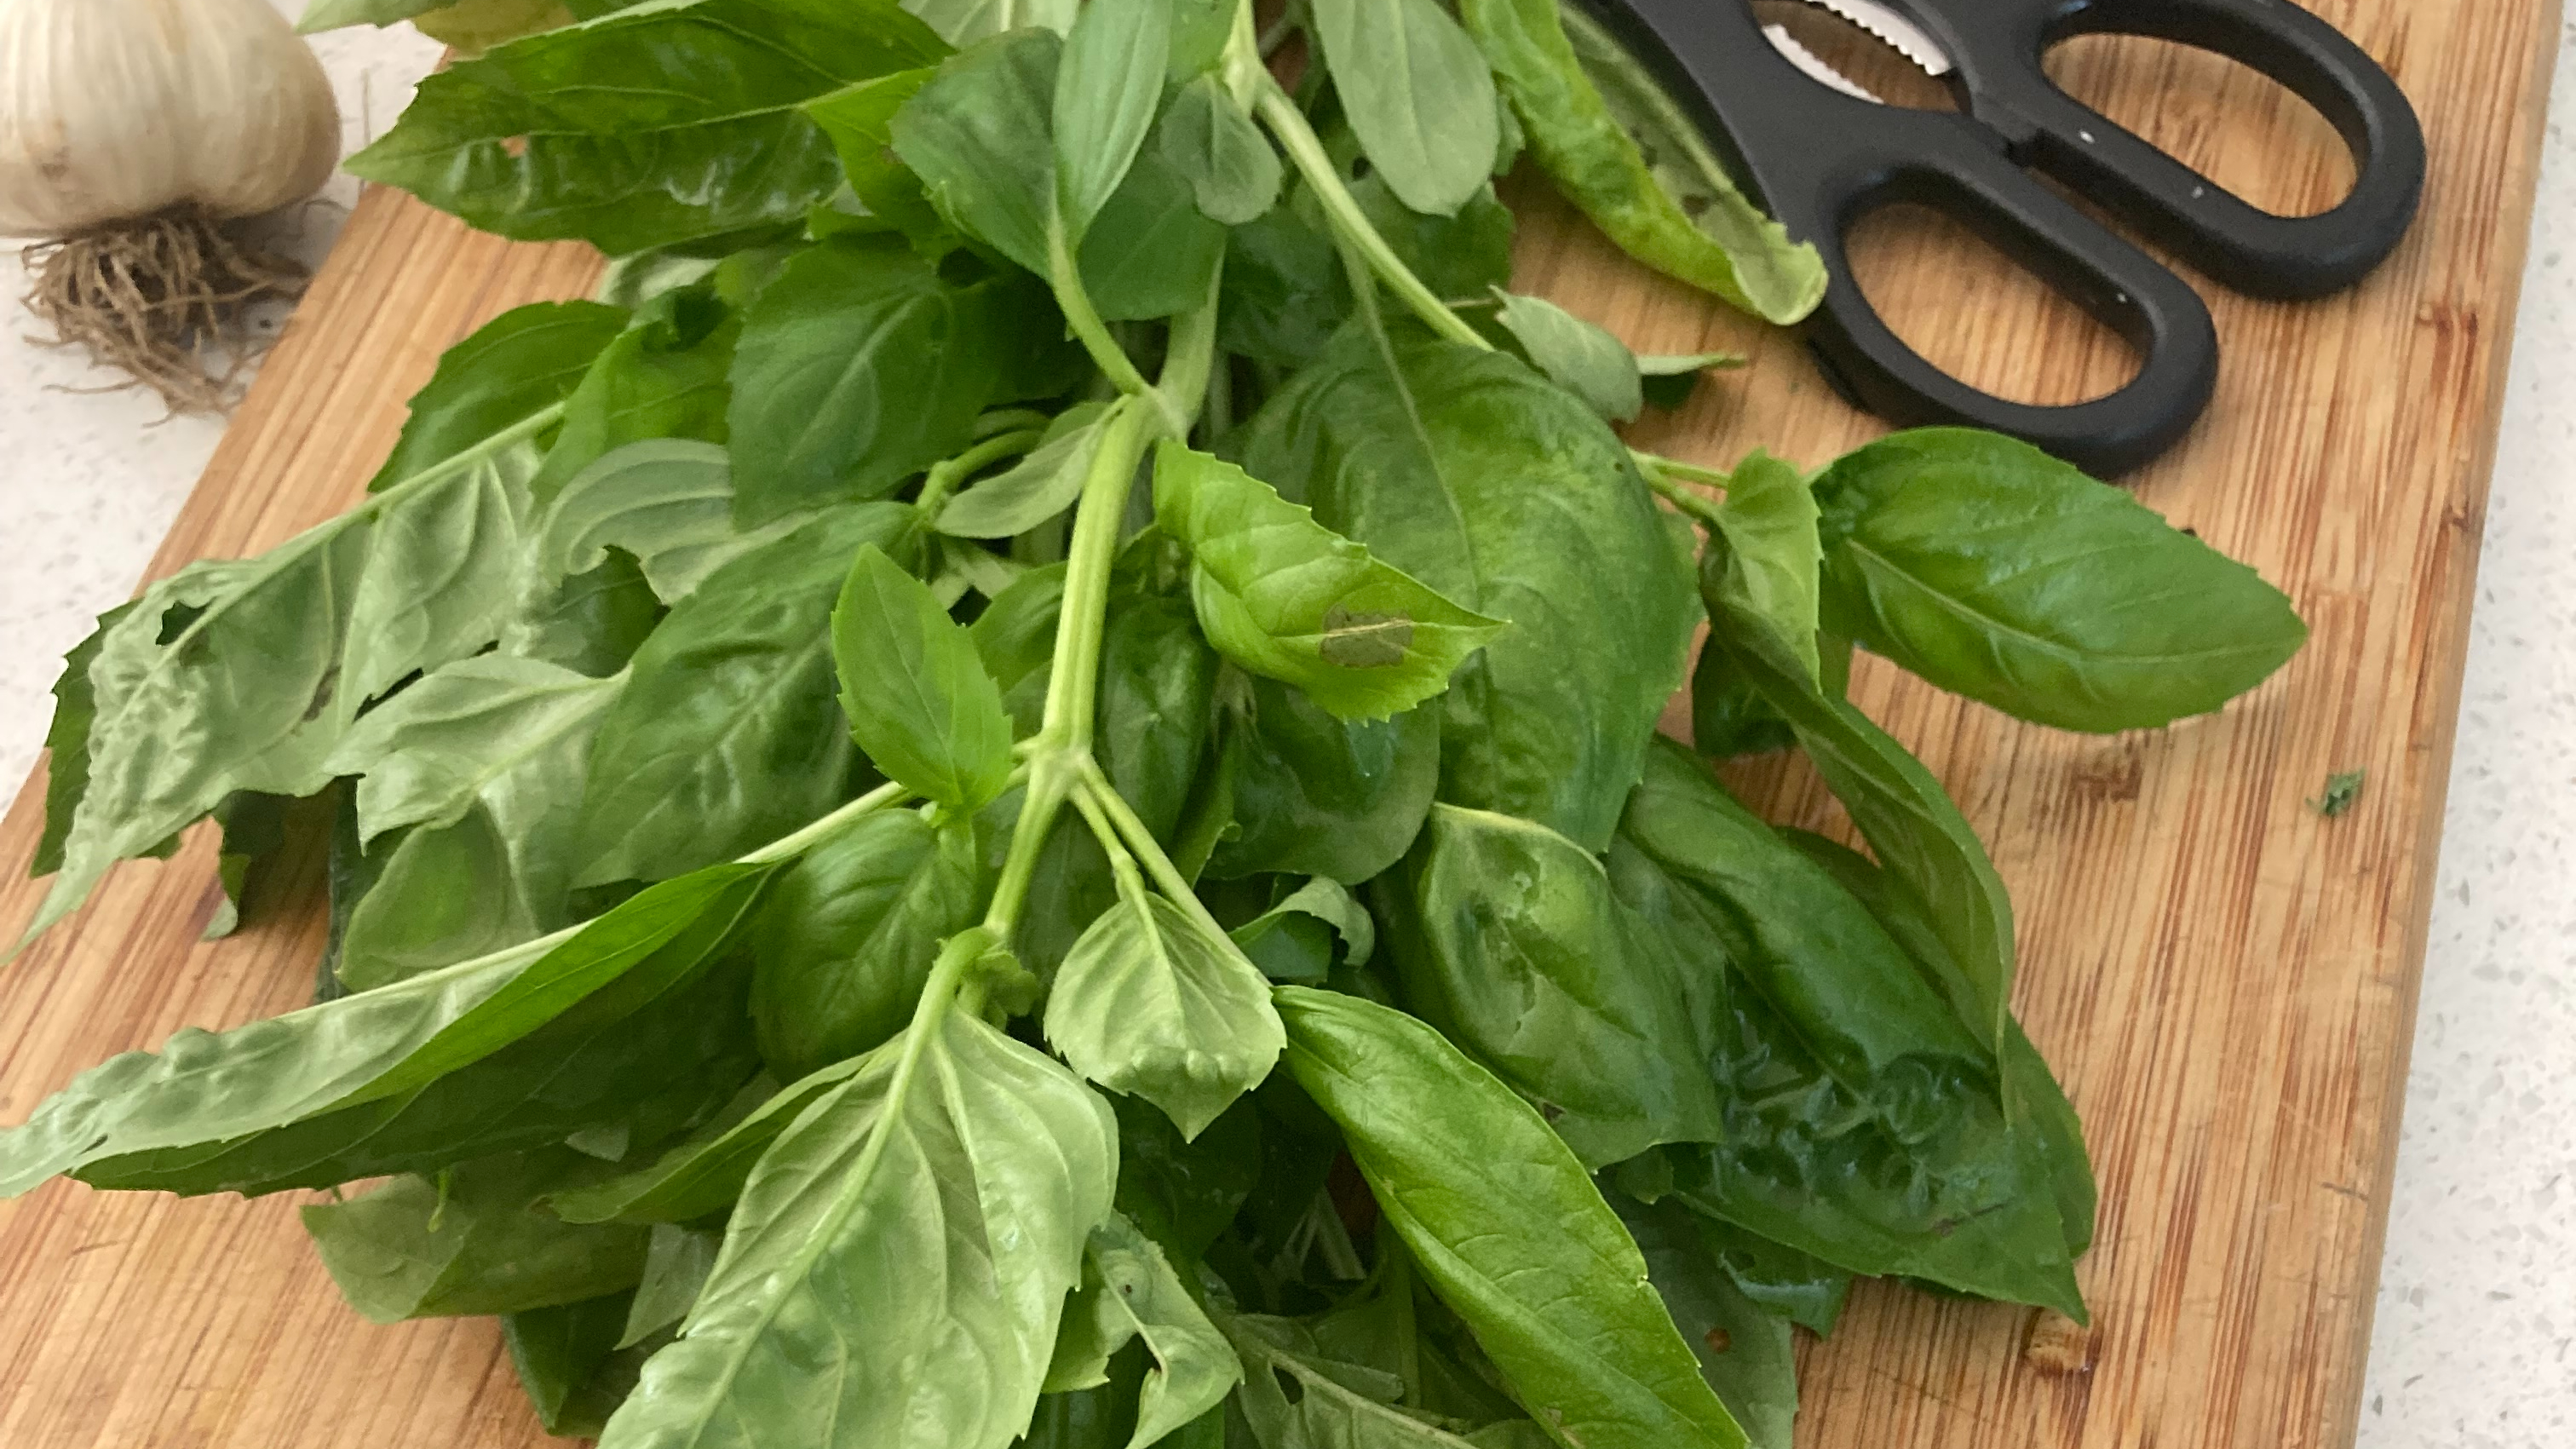
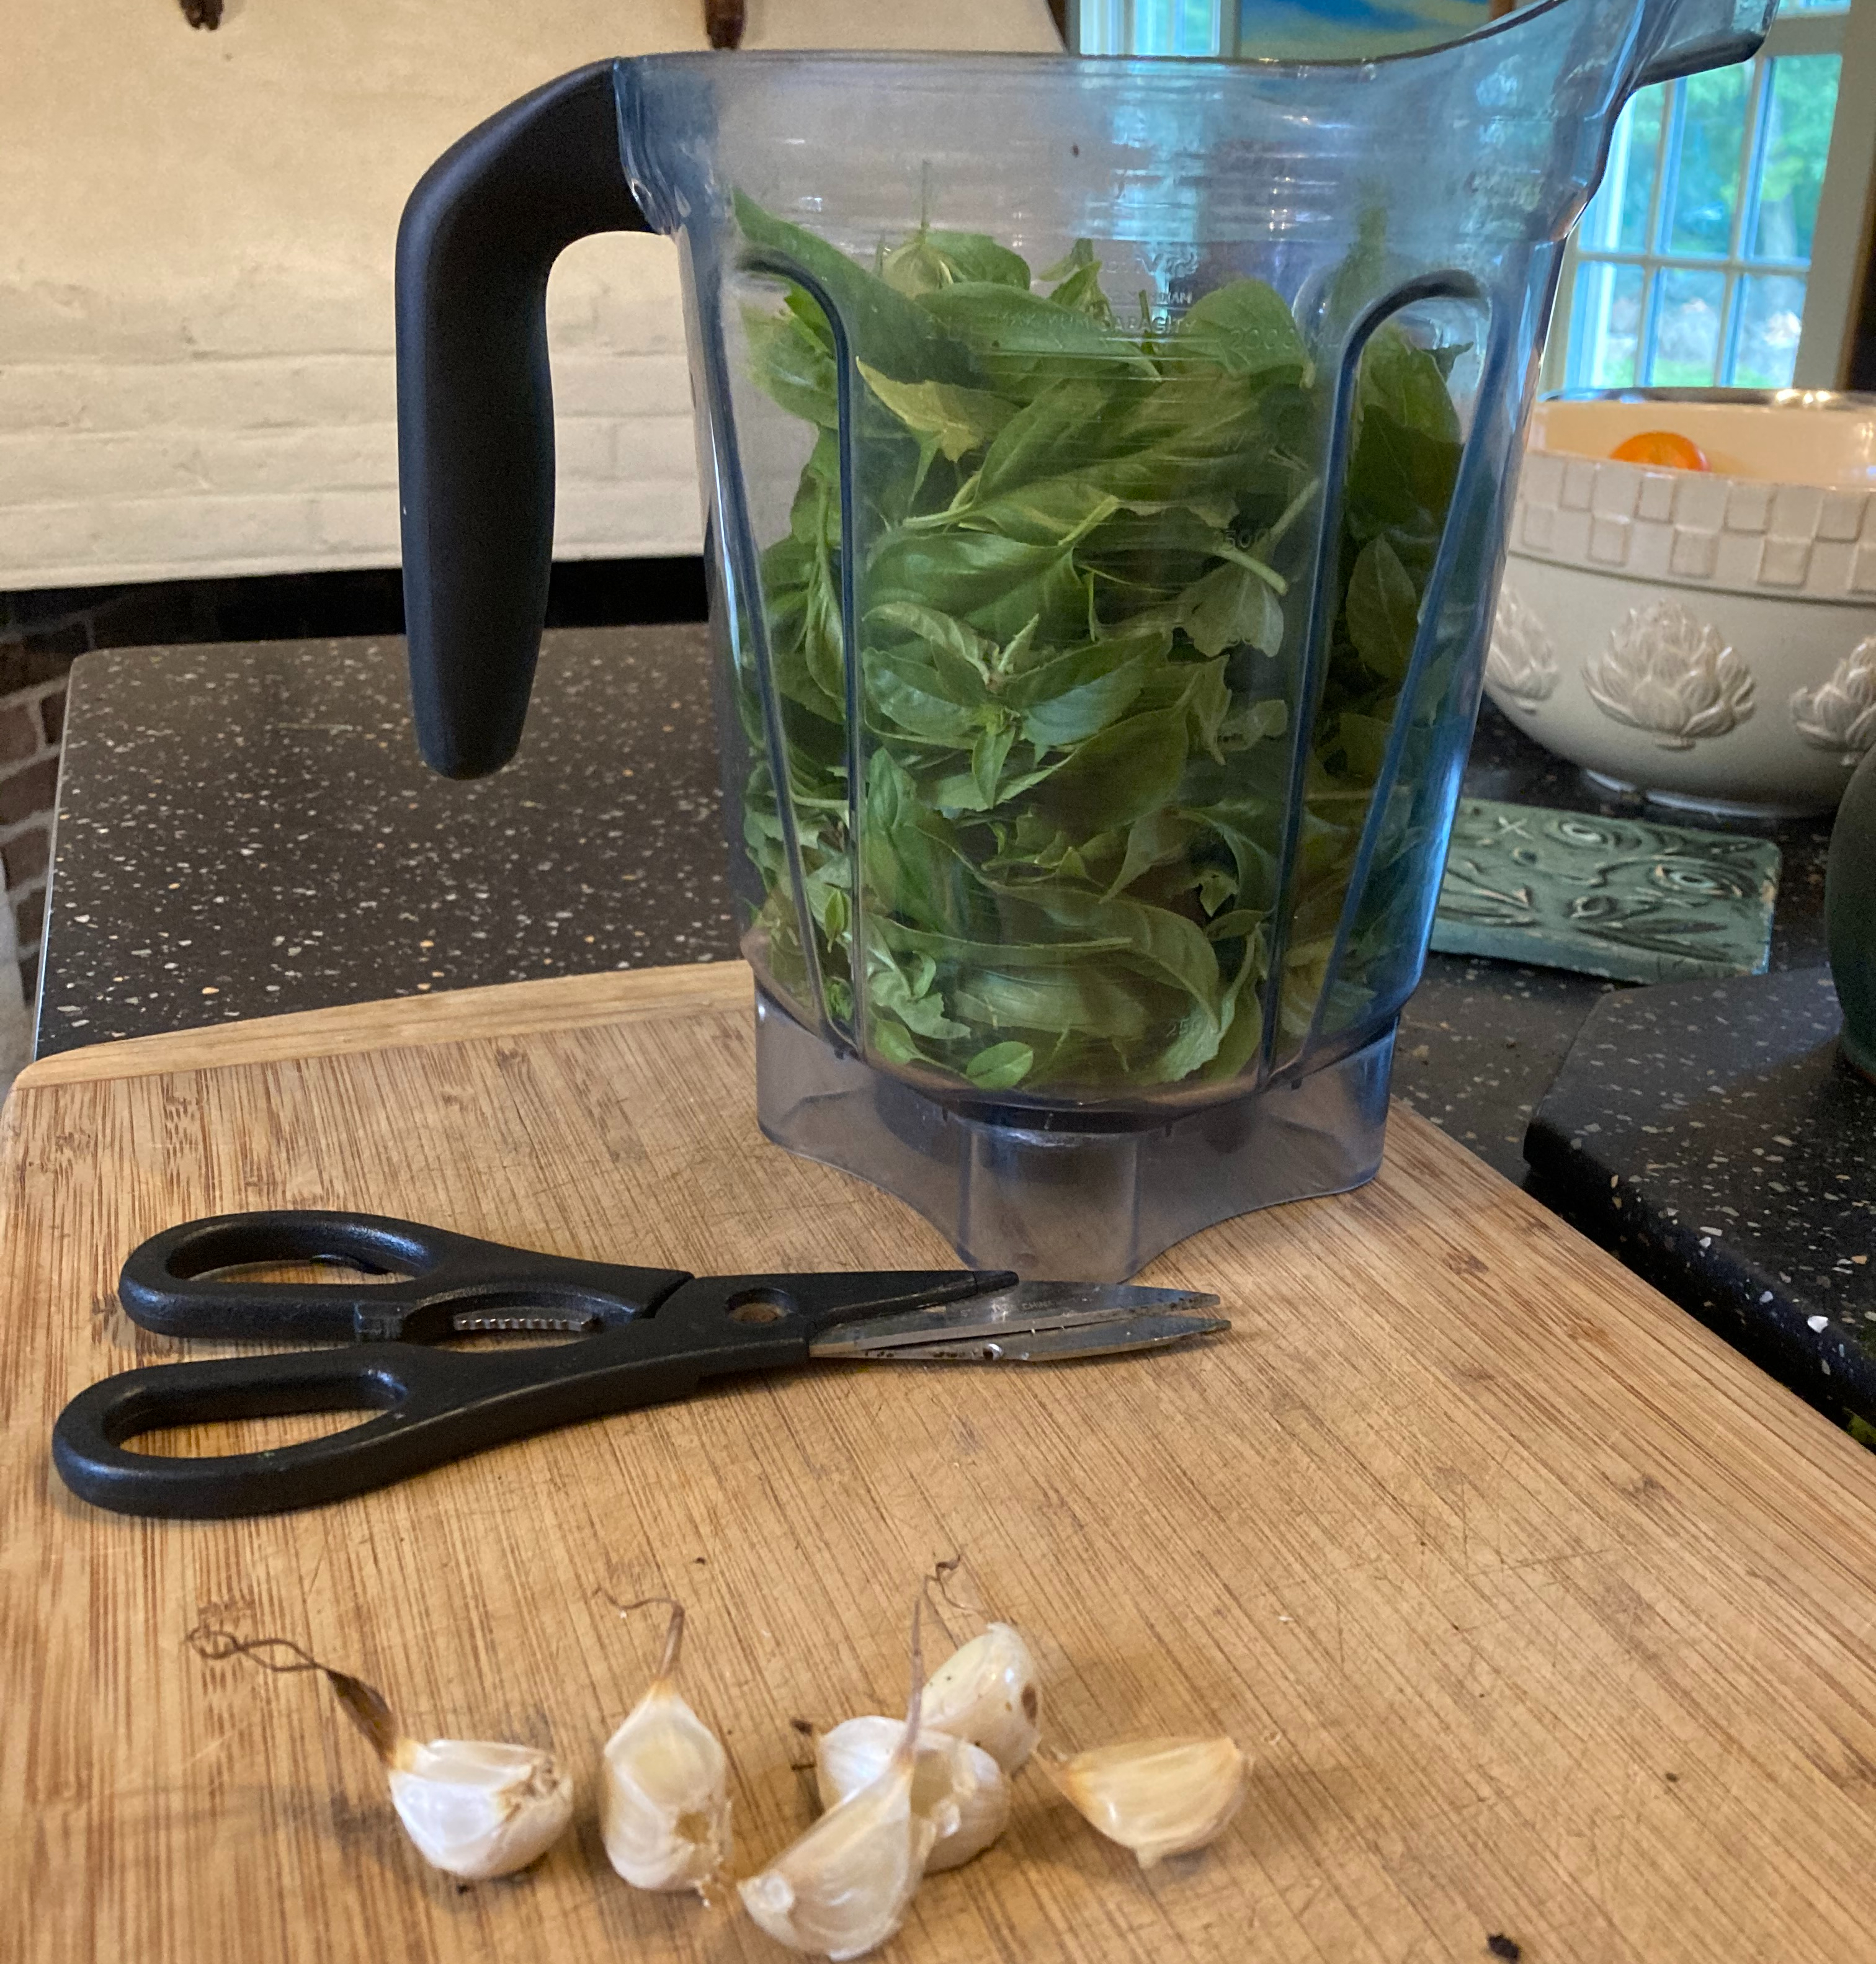
basil just cut from the garden or bought in the produce section of the grocery makes delicious pesto
Basil is easy to grow. The secret is watering with some seaweed emulsion fertilizer. If you don’t garden you can pick up fresh basil or even a plant at the grocery store and make pesto fresh at home. It’s *so* much better than jarred pesto.
As to basil’s health benefits: it’s soothing to the digestive and nervous systems. It can ease gas, stomach cramps, and nausea. It can be helpful for fatigue, depression, and nervous irritability. Full of antioxidants, it’s been shown to support healthy blood sugar, heart and vascular health, immunity, and cognitive ability. A delicious food that’s great for your health – truly food as medicine.
It’s easy to make Pesto with or without nuts. For that matter, the french make something very similar, Pistou, that omits the cheese and the nuts and focuses on the garlic and the basil. So you can make this sauce in whatever way you please. Here’s a variation recipe:
a blender full of fresh basil (blanched or not, optional)
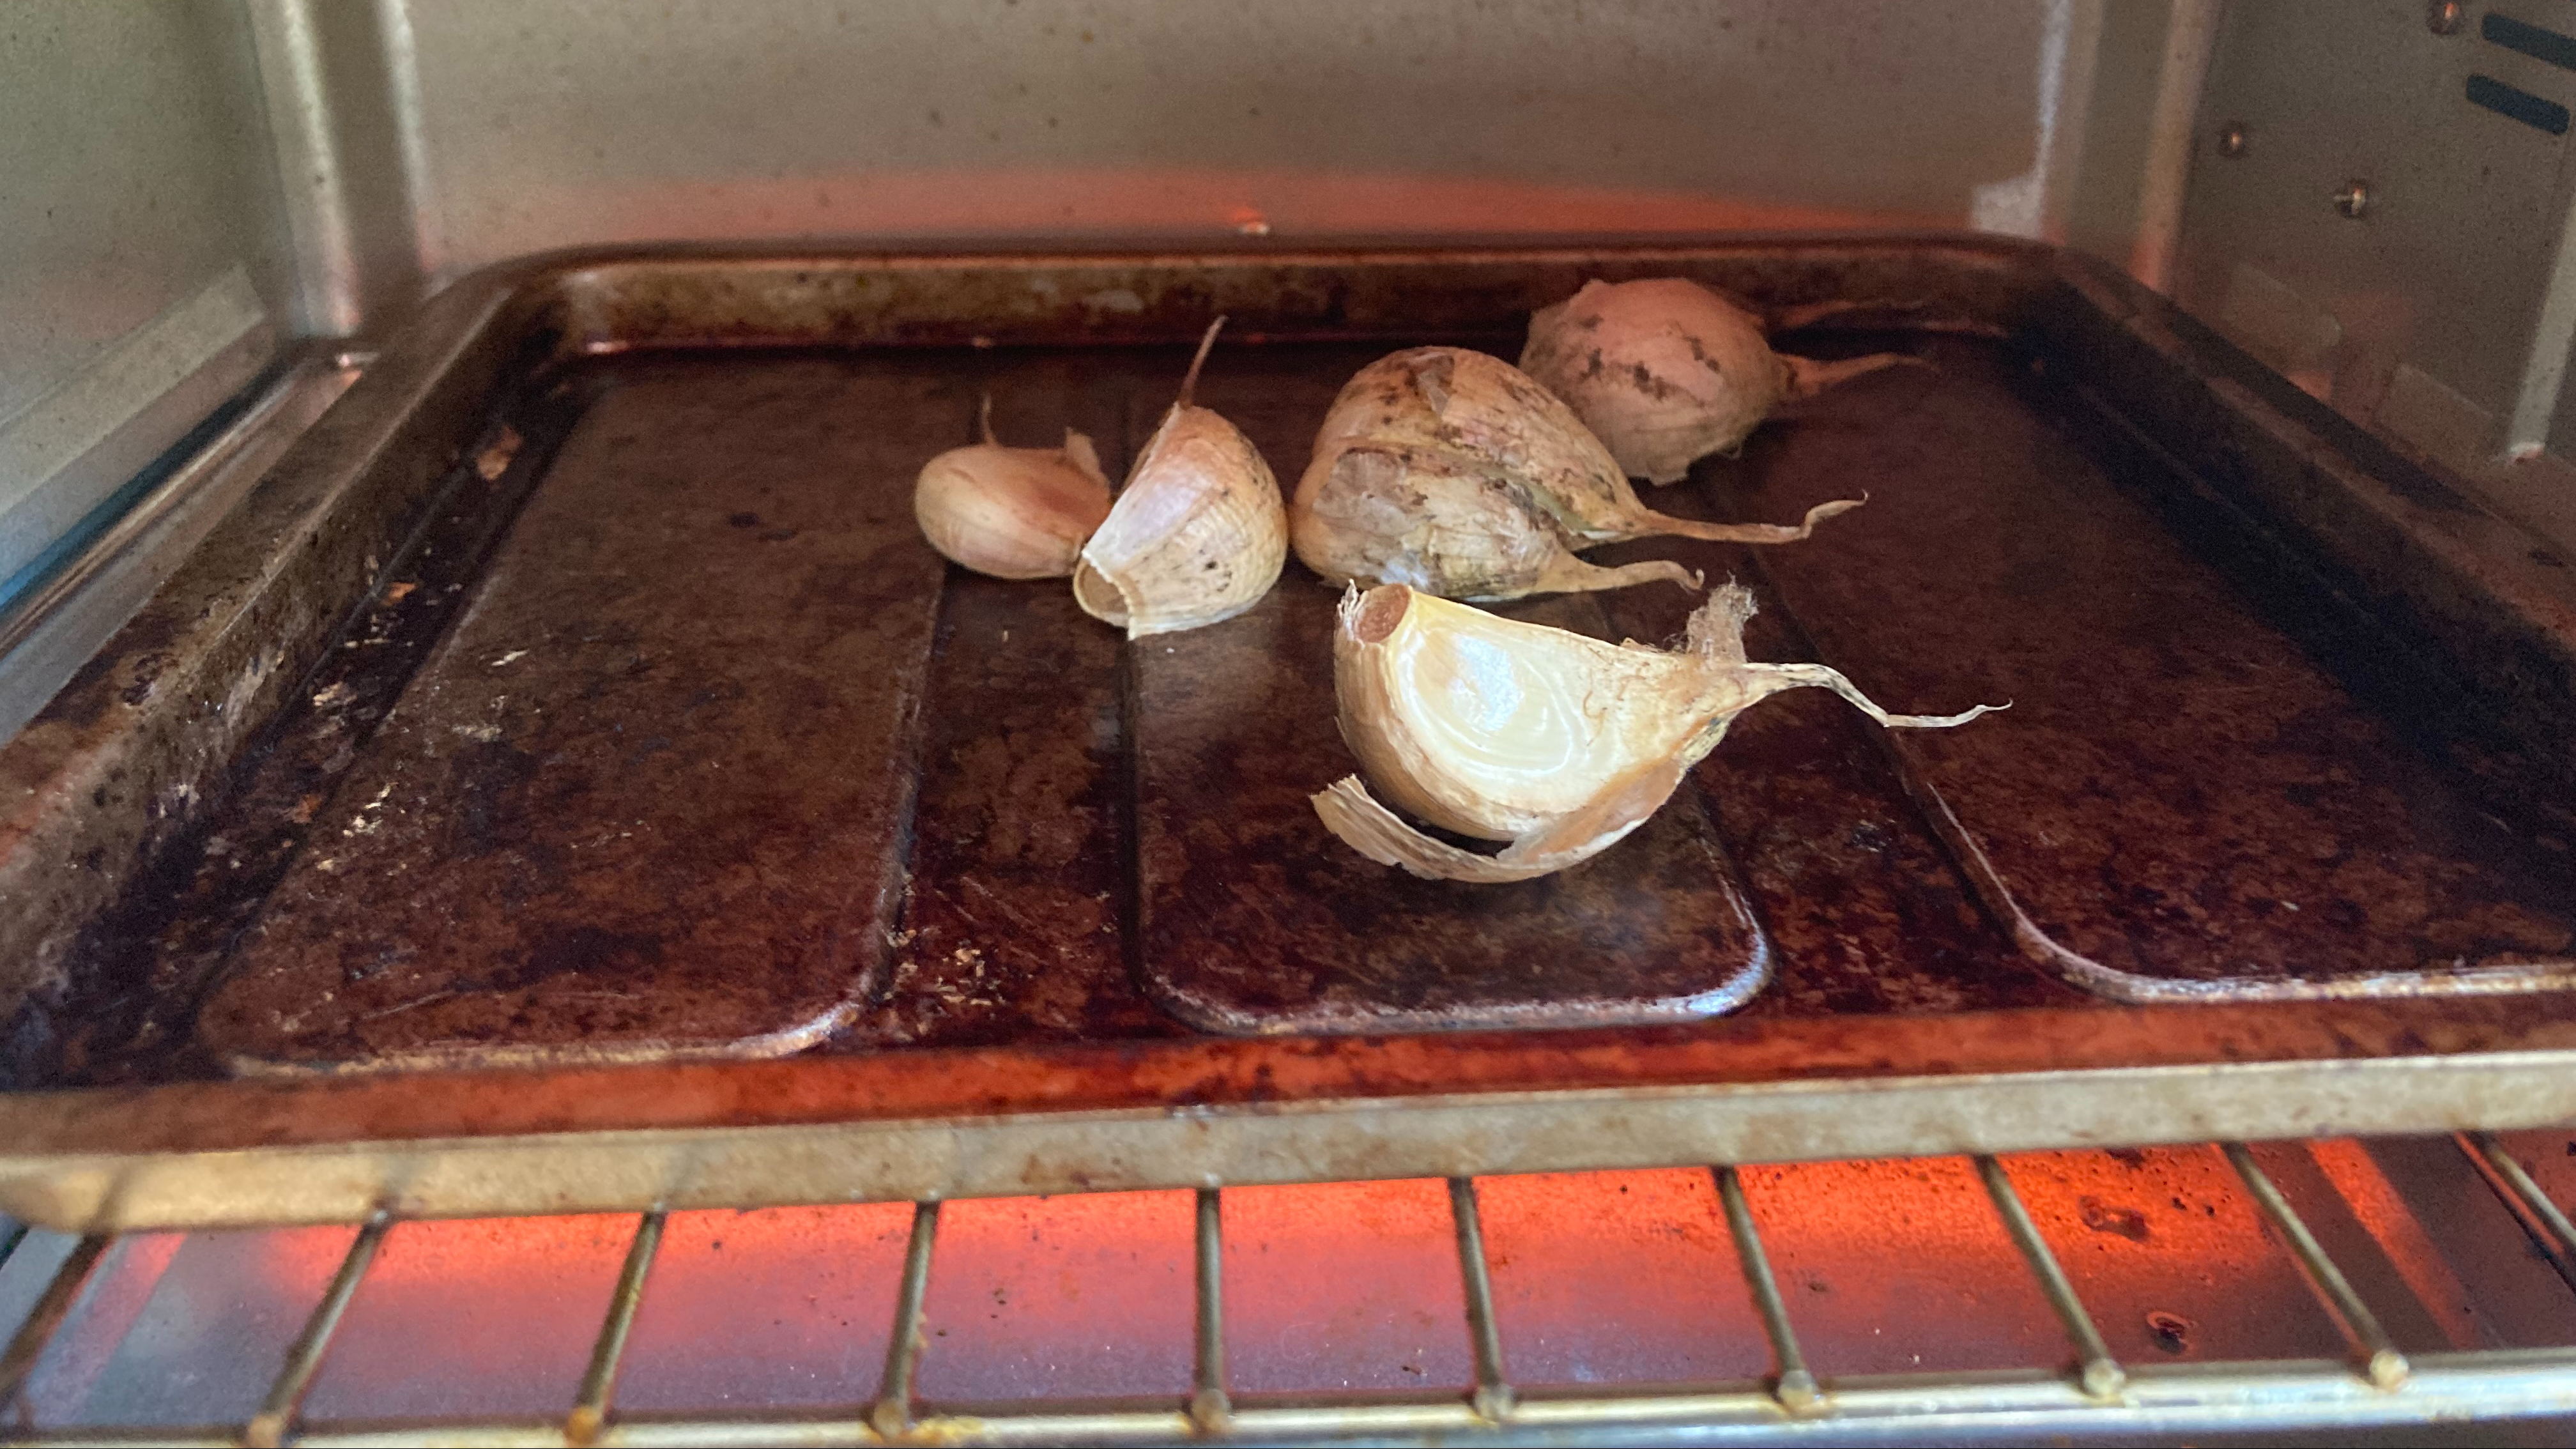
2-4 bulbs of garlic, roasted.
1 Tbsp lemon juice
1/4 c parmesan or romano cheese
olive oil
salt and pepper.
optional – pine nuts or walnuts
Roast garlic by putting unpeeled bulbs in a toaster oven or toaster and toasting at 350 until the peels are starting to brown.
Roasting the garlic really adds a warm, nutty flavor to the pesto that I love.
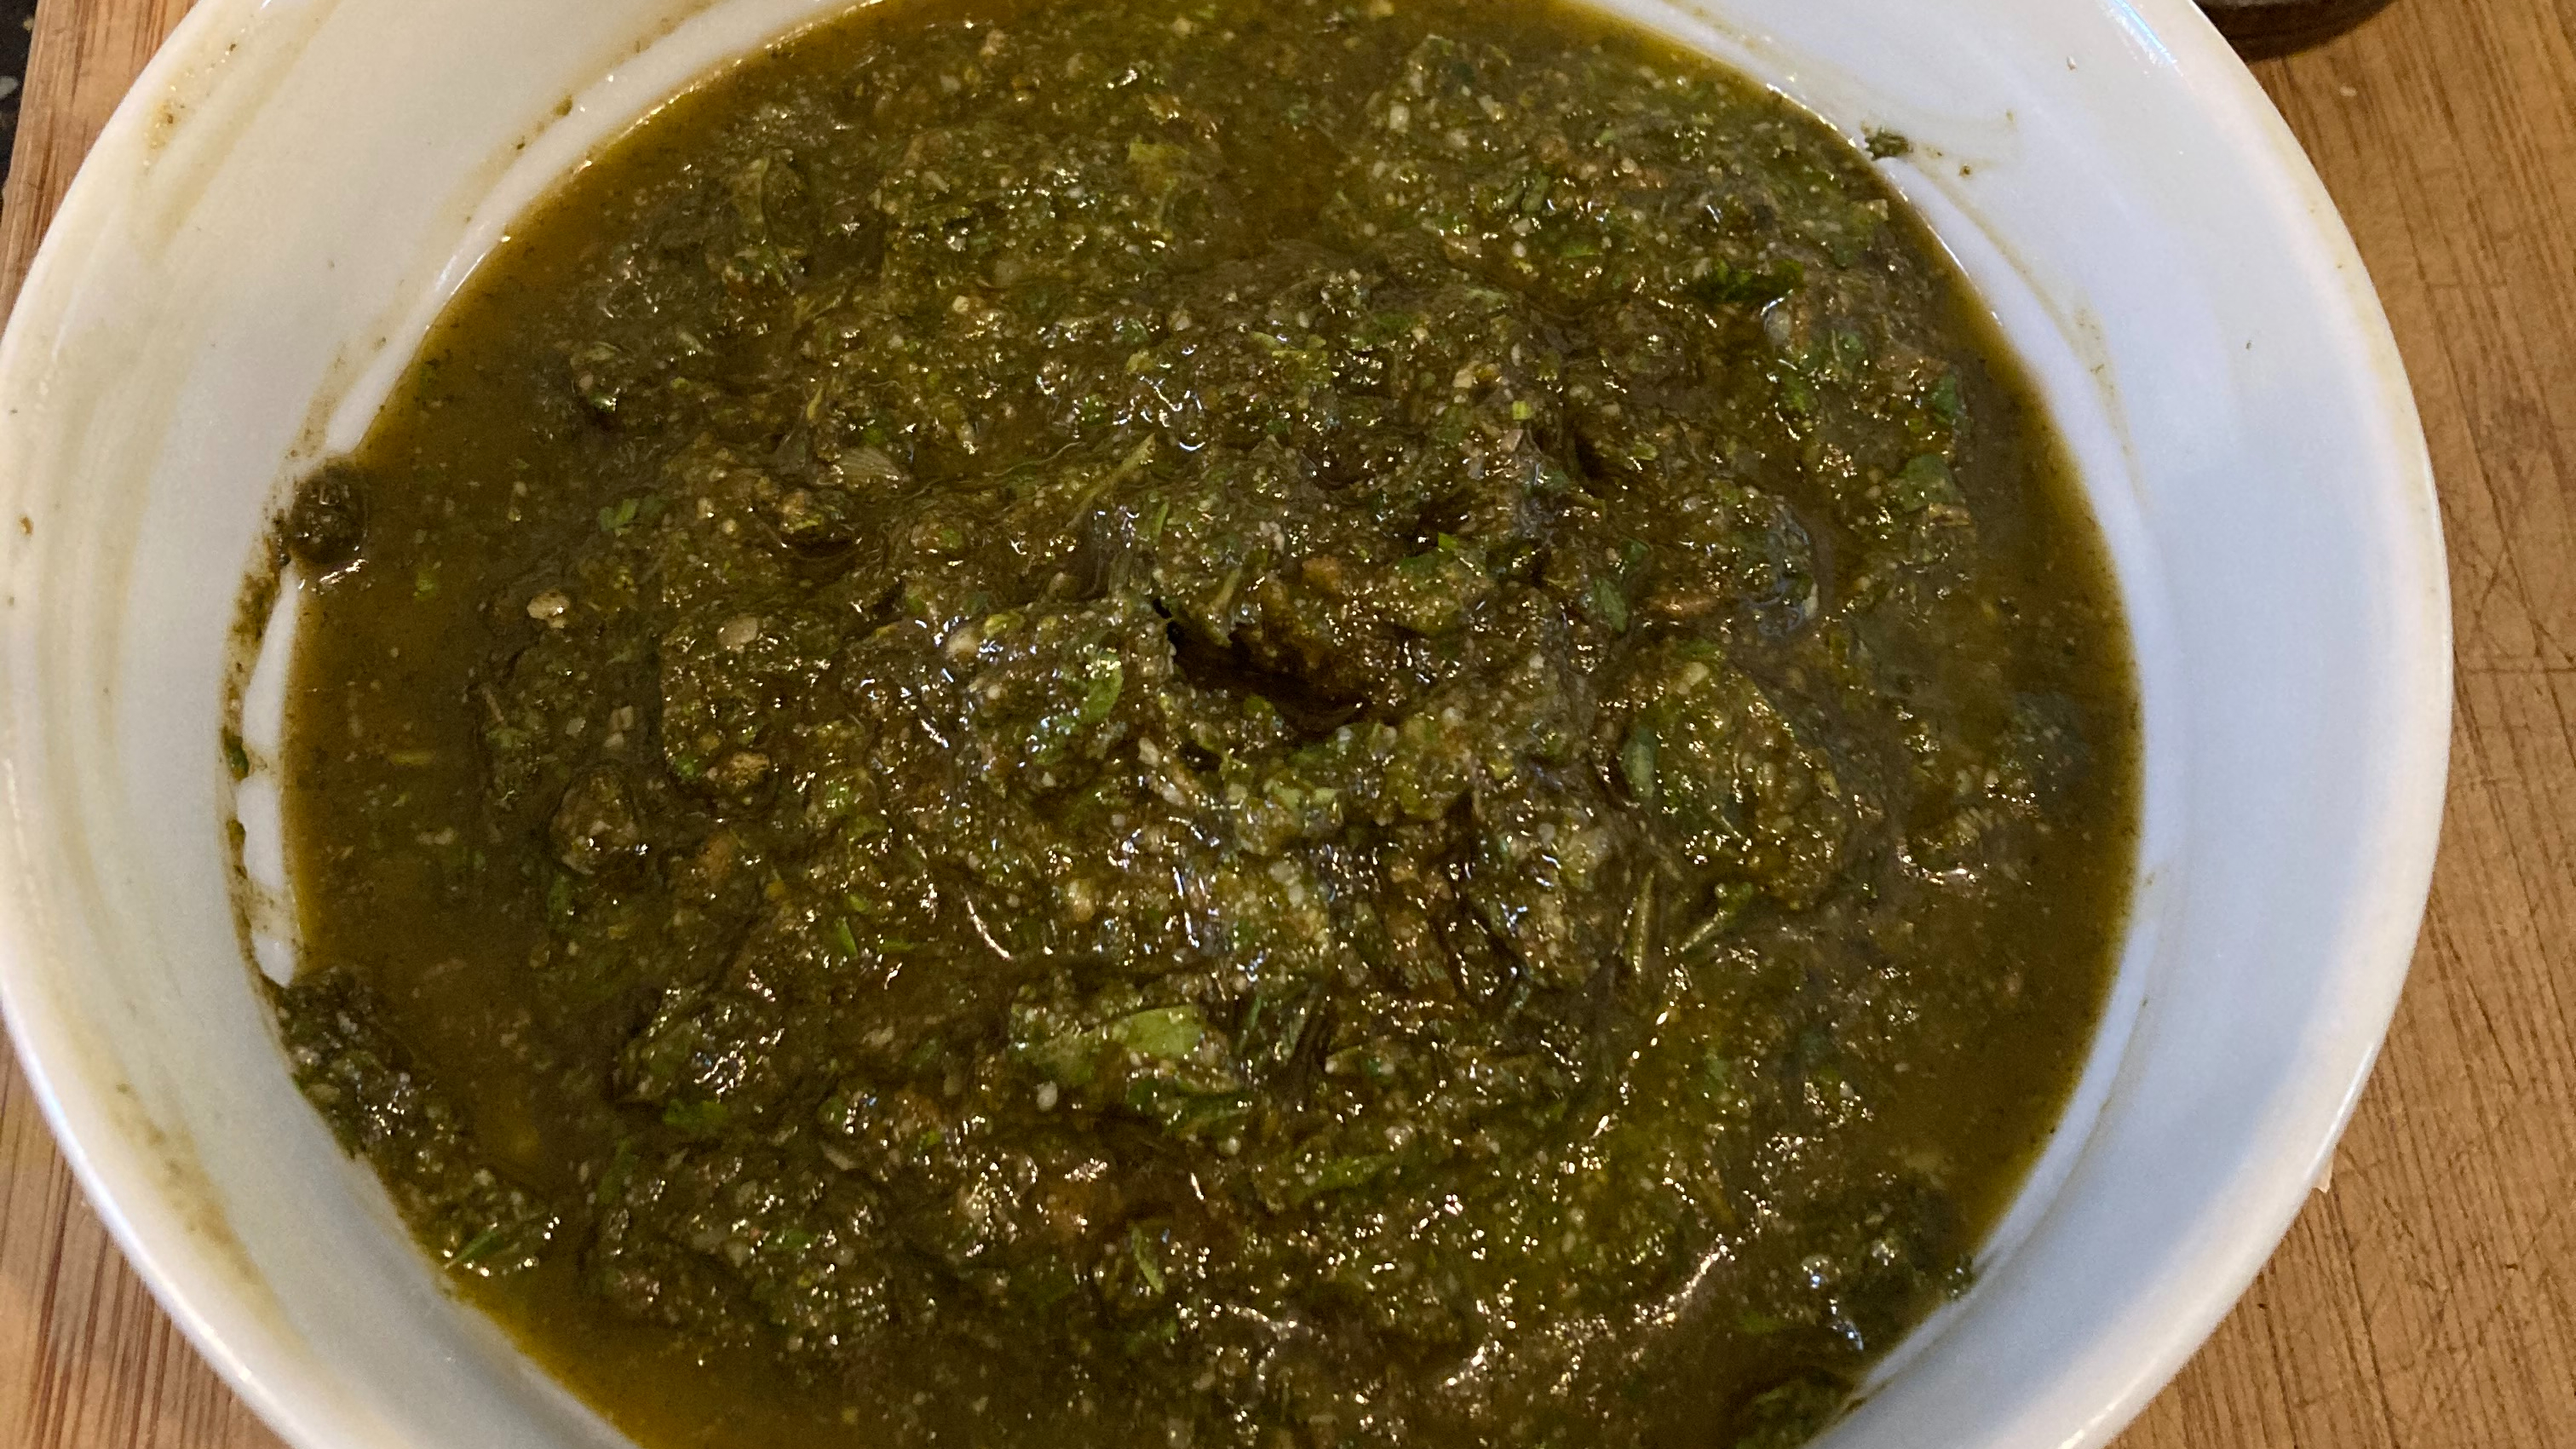
To make your pesto place the basil in the blender with the roasted garlic, cheese, salt and pepper, lemon juice, and nuts, and blend away.
Delicious on pasta, toast, chicken, sandwiches, whatever… And so good for you.
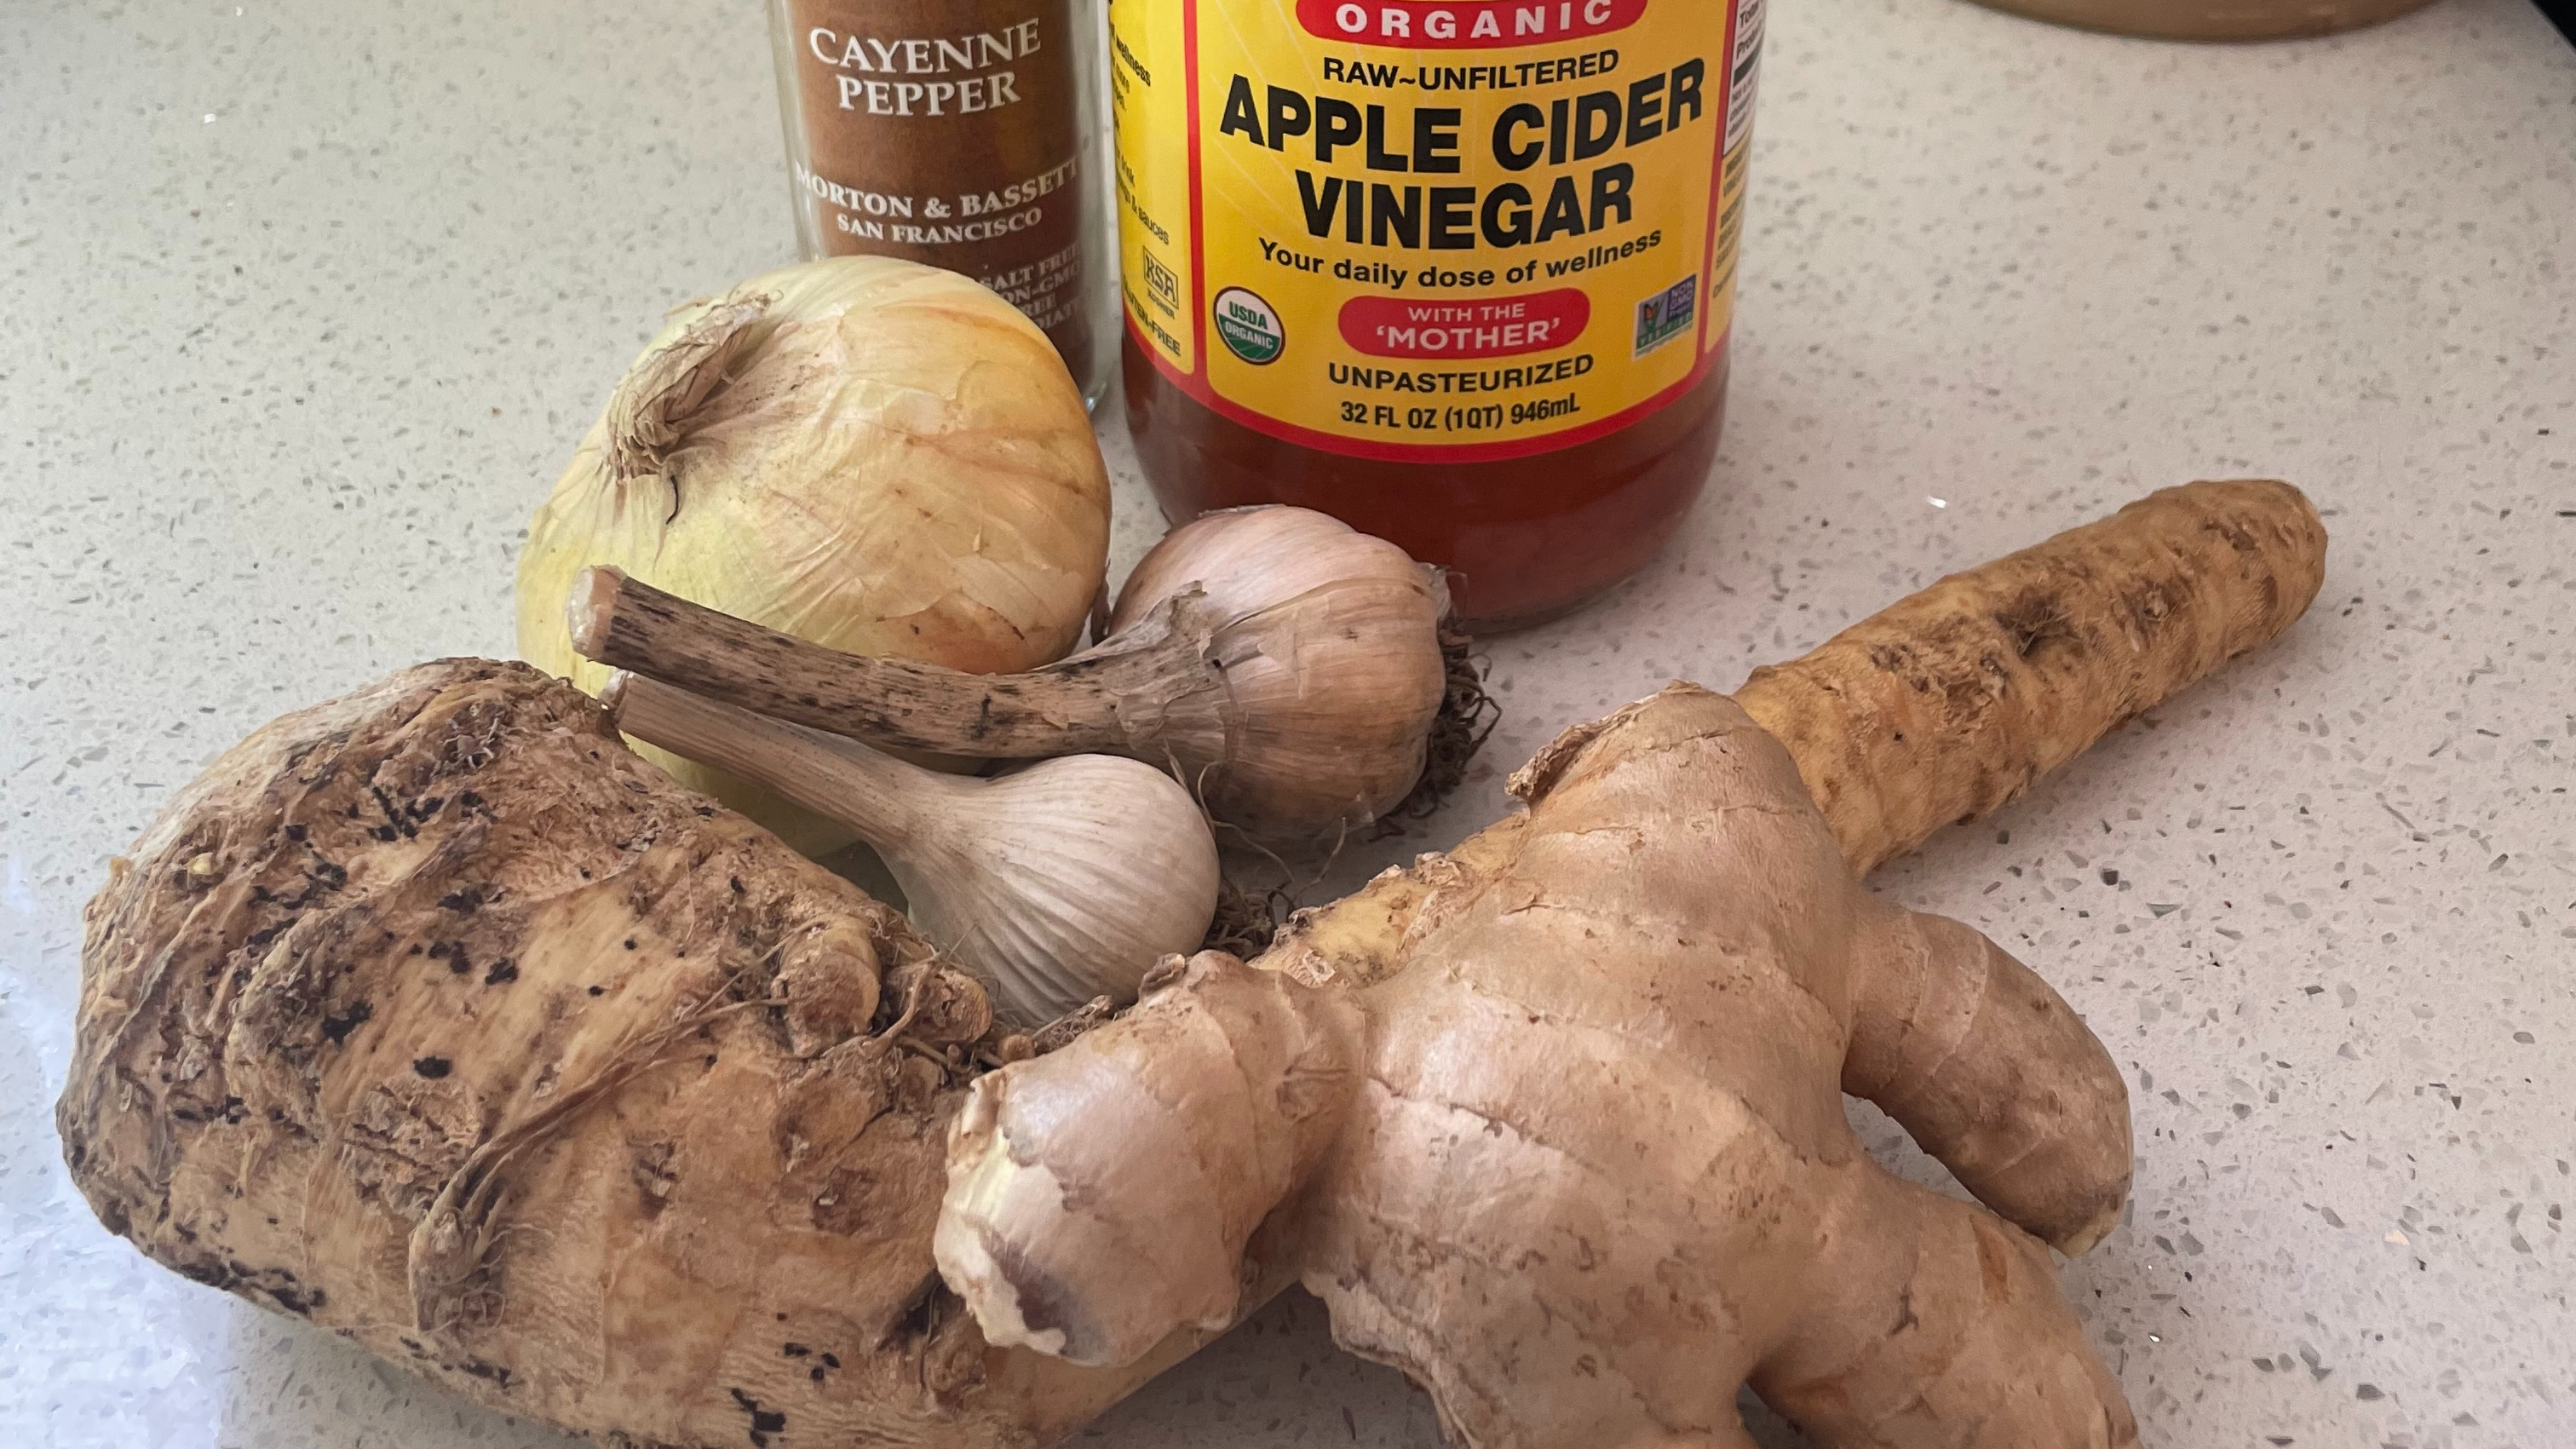
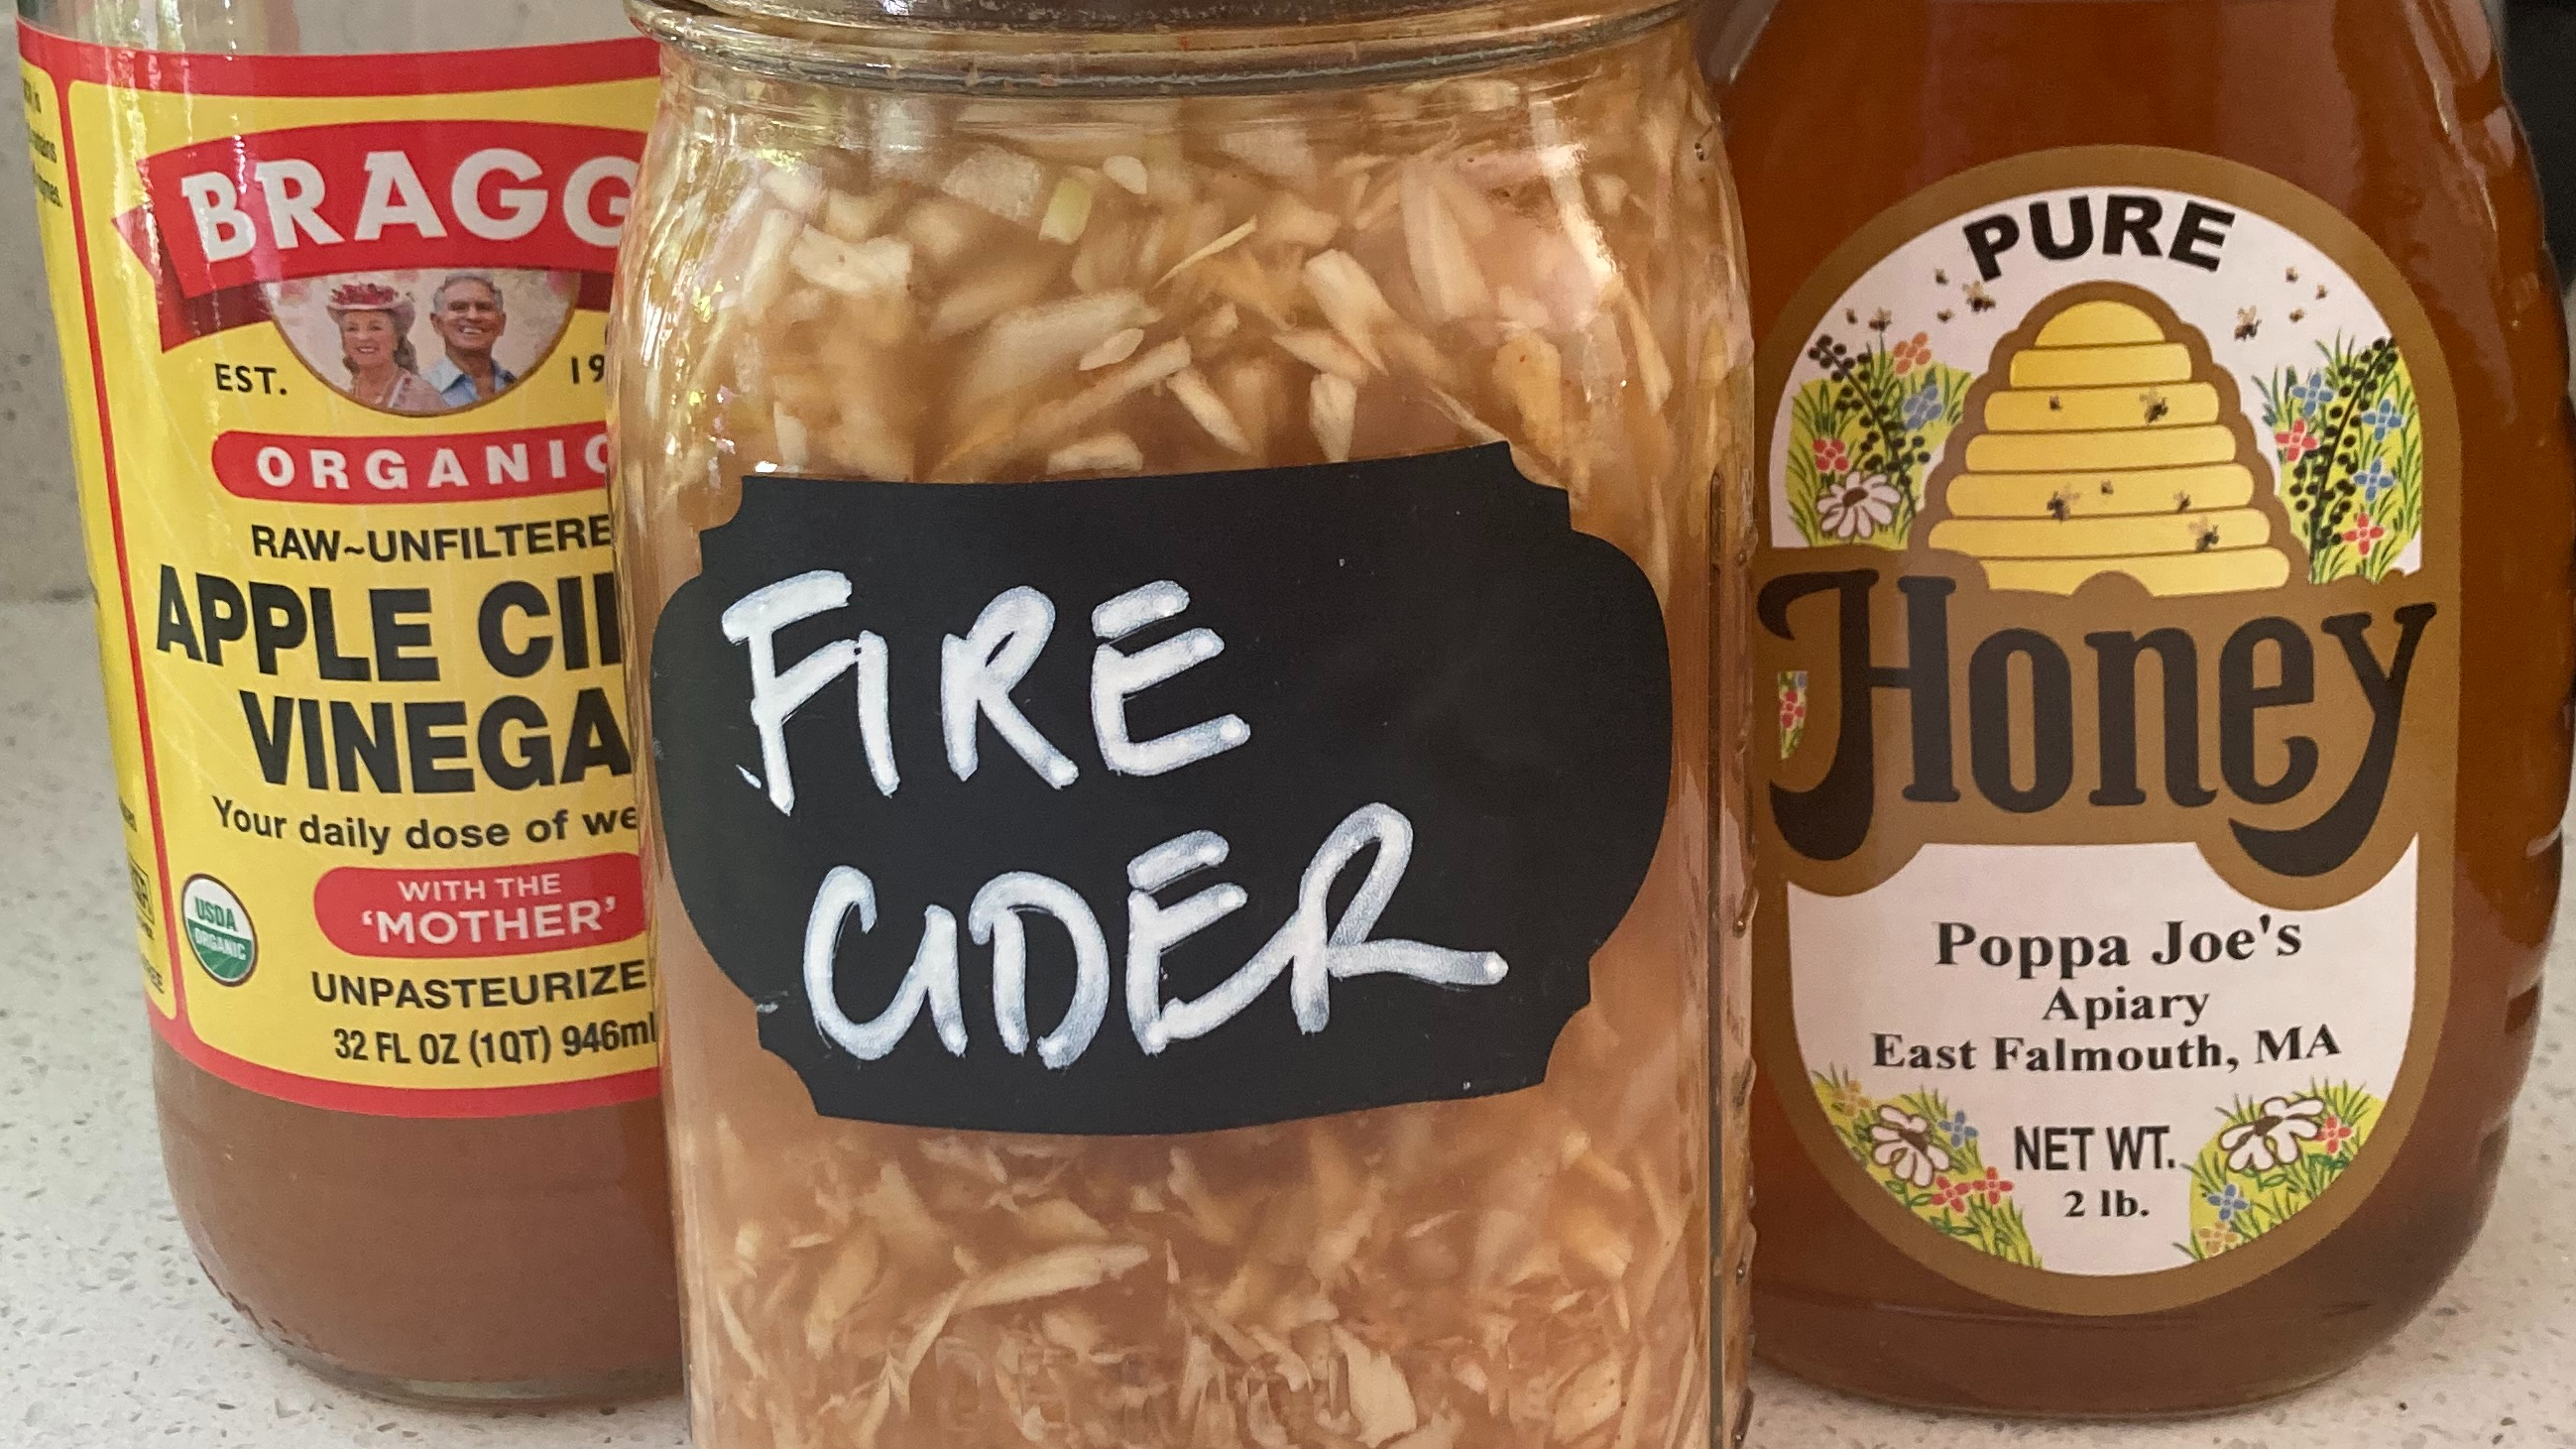
Fire cider is great for your immune system, leveraging garlic, onions, ginger, horseradish, cayenne, honey, and apple cider vinegar.
Healthful tonics like this one have been around and in use since ancient times — our ancestors knew what was good! In the 1970s, Rosemary Gladstar, a wonderful herbalist, coined the term “Fire Cider” and it stuck. The recipe is below – feel free to scroll down directly.
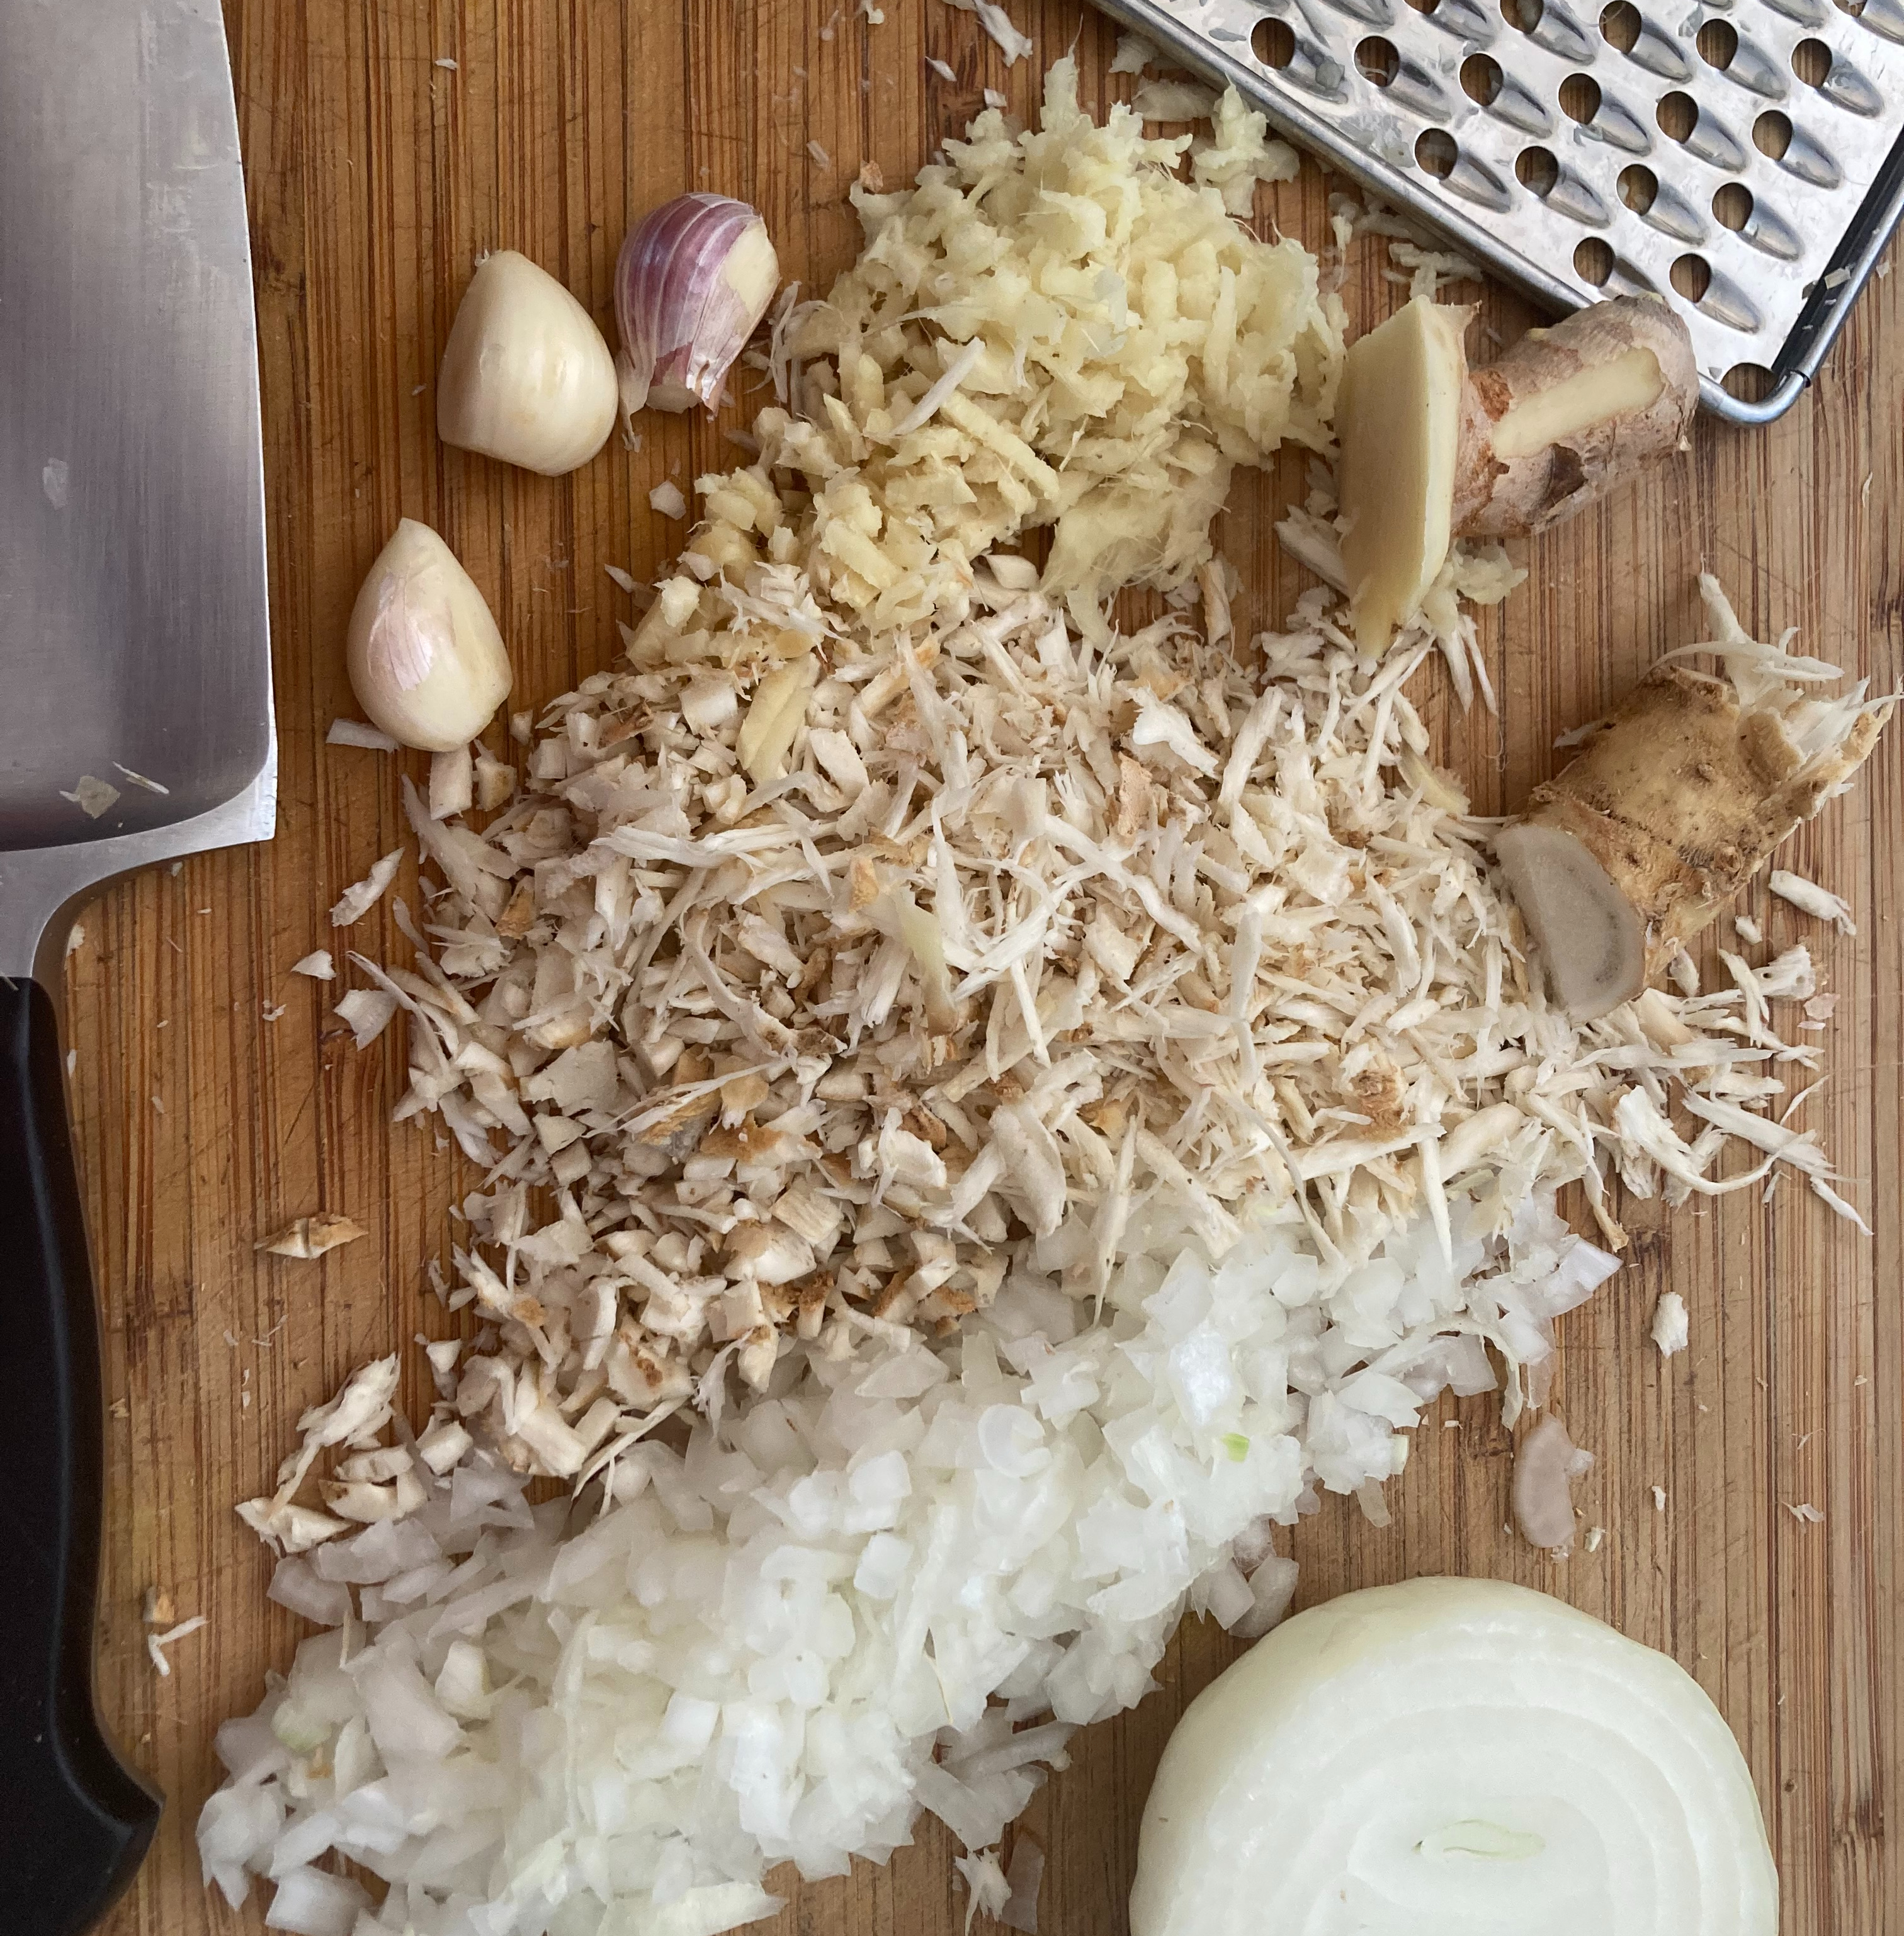
Fire ciders are popular; there are many recipes out there. A simple one: chop onions and garlic and grate horseradish and ginger, and add it all to apple cider vinegar, ensuring the roots are submerged. Let them stew, shaking daily for 3-4 weeks, and add cayenne and honey to taste (this basic recipe comes from Rosemary Gladstar’s herbalism certificate through ecoversity).
Whipping up a healthful potion is always fun, and It would be hard to overstate the value of Garlic, ginger, onion, and horseradish roots combined with apple cider vinegar, for good health:
Garlic: An ally against colds and flu, support for immune function, healthy cholesterol, and a vermifuge/in treating intestinal worms.
Ginger: Reduction of inflammation, joint pain, cramps, nausea, and morning sickness.
Horseradish: traditionally known for its power to clear your sinuses, horseradish is full of antioxidants and nutrients, antibacterial properties, and is good support for healthy metabolism, digestive health, healthy cholesterol and, of course, as a decongestant.
Onions: Rich in antioxidants and packed with flavor, WebMD says “They’re rich in chemicals that can help protect your heart, lower your risk of some cancers, and make it easier for your body to make insulin. Onions are also one of the greatest vegetable sources of quercetin, a plant compound with many health benefits.”
I think fire cider is fun to make. I’ve been cooking with garlic, ginger, onion, and cayenne for years–all are aromatic and lend food an irresistible flavor profile … but horseradish was a new acquaintance when I first made fire cider. Grating it releases volatile compounds and a pungent, strong aroma that was unmistakably familiar as an ingredient in winter and fall sauces.
I had to hunt around to find fresh horseradish; if you see it at the grocery grab it! It’s a cold hardy perennial that you can also consider growing.
I love having a remedy on hand for days when I or a family member feel a cold coming on – and fire cider does the trick. Tough love in a jar, you can take a teaspoon every day to support your immune system or use it on salads.
And keep it on hand! You’ll want to take 1-2 tablespoons at the first sign of a cold and repeat every 3-4 hours until symptoms subside.
Basic Recipe:
1/2 cup grated fresh horseradish root
1/2 cup (or more) chopped onions
1/4 cup (or more) grated ginger
1/4 cup or more chopped garlic
Apple Cider Vinegar (raw and organic if you can get it)
Cayenne pepper (fresh chopped or powder or flaked – whatever you have/can get)
honey to taste
Directions – add the horseradish, onions, ginger, and garlic to a jar and pour the apple cider over it to immerse the ingredients by a couple of inches. Seal and store in a warm spot. Let it macerate for 3-6 weeks and shake it
Last night at 11:30 PM I received a text from my youngest, now away at college. “I’m at the ER with a fever, feel awful.” And later at 2:30 AM, “I tested positive for the flu. They gave me Tylenol. I’m heading home now.”
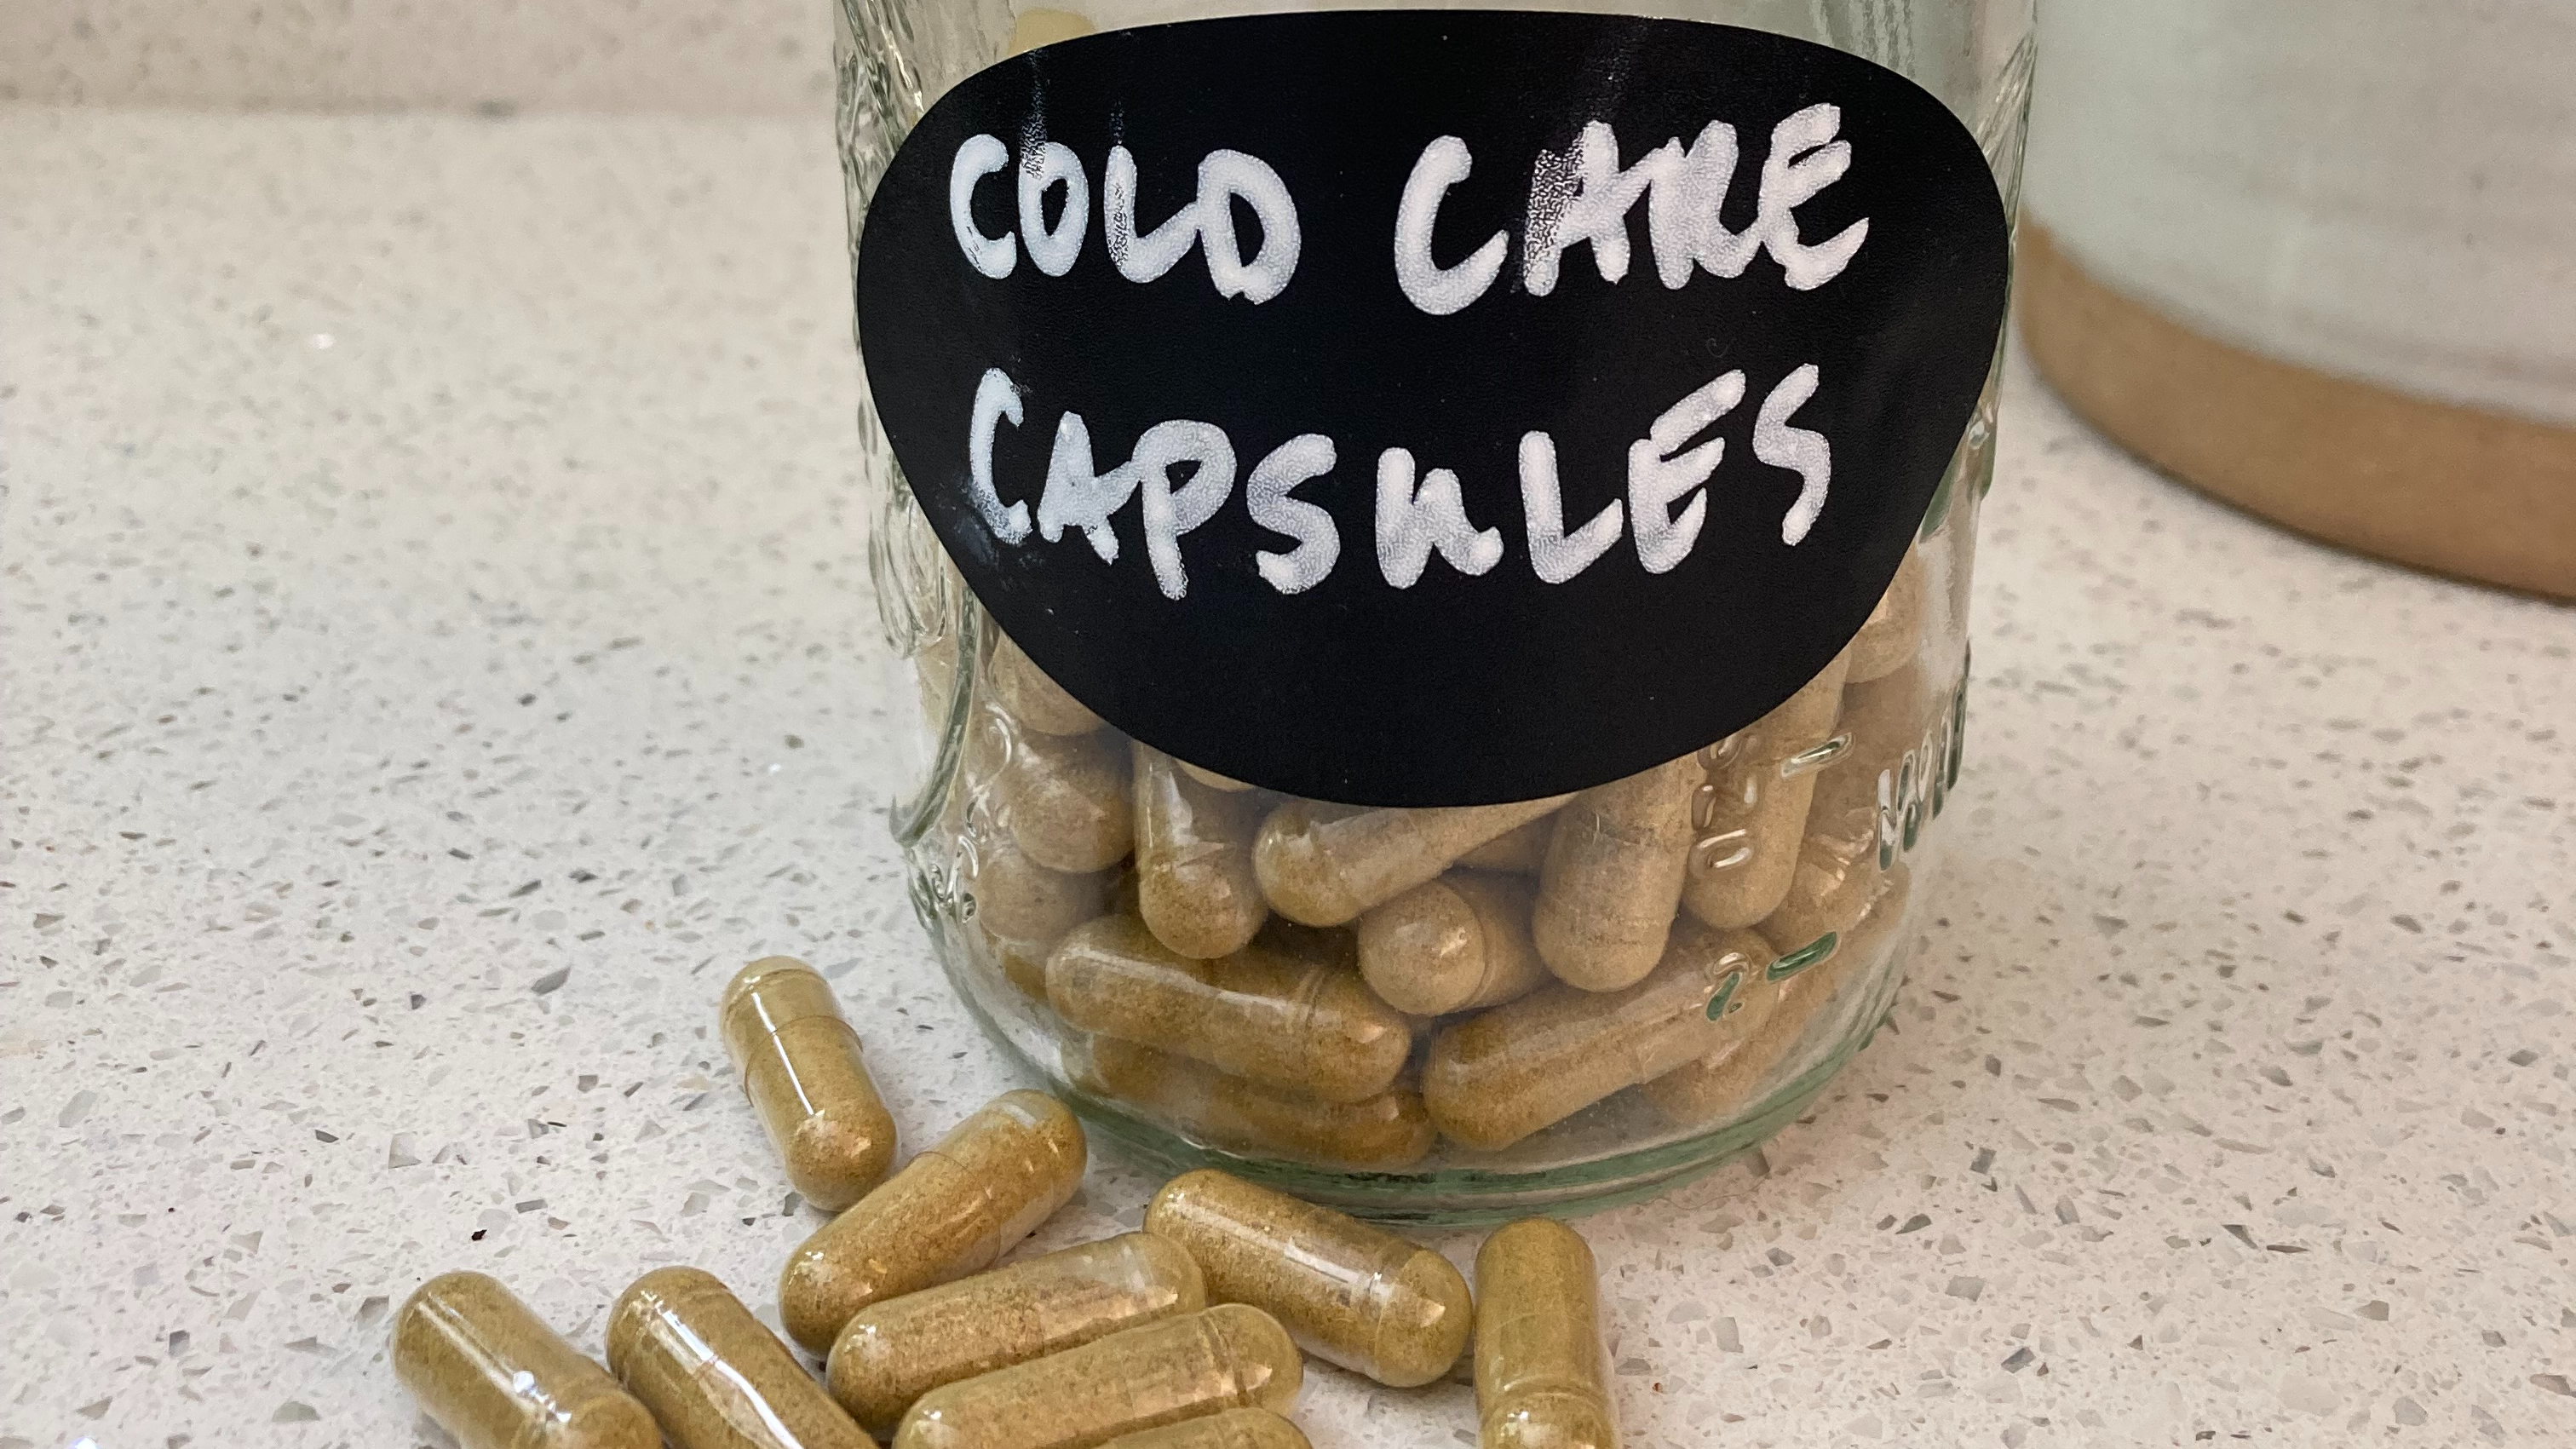
We are a four hour flight away, so there wasn’t much I could do other than to ask her to keep me posted. I hadn’t yet put together cold and flu capsules for this coming season and was planning to make and send them this week. I didn’t know when I mixed and made them yesterday that she was already sick. I think that comes solidly in the Murphy’s law category!
I did in fact make cold care capsules (pictured above) yesterday, pack close to 50 of them – more than she’ll need – in a box, and mail them to her. I anticipate they’ll arrive right around the time she’s starting to get better. Oh, well. Next year they will be on the plane with her.
These capsules are very effective. When taken at the first sign of symptoms they always seem to prevent a serious cold or flu from setting in. I often pair them with a nice dose of Emergen-c to hedge my bets, being a belt and suspenders kind of girl. 🙂
The formula, which comes from Rosemary Gladstar’s recipes, is simple:
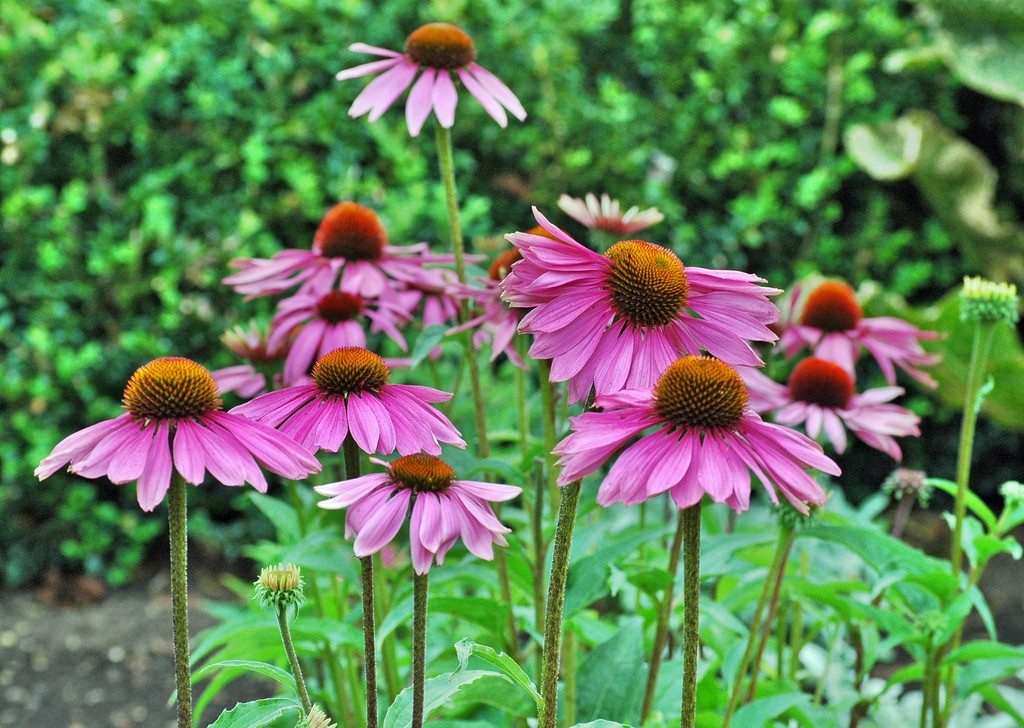
1 part powdered Echinacea angustifolia
1 part powdered Hydrastis canadenis/Goldseal root
1/2 part powdered Althaea officinalis/Marshmallow root
1/4 part Capsicum annum/Cayenne
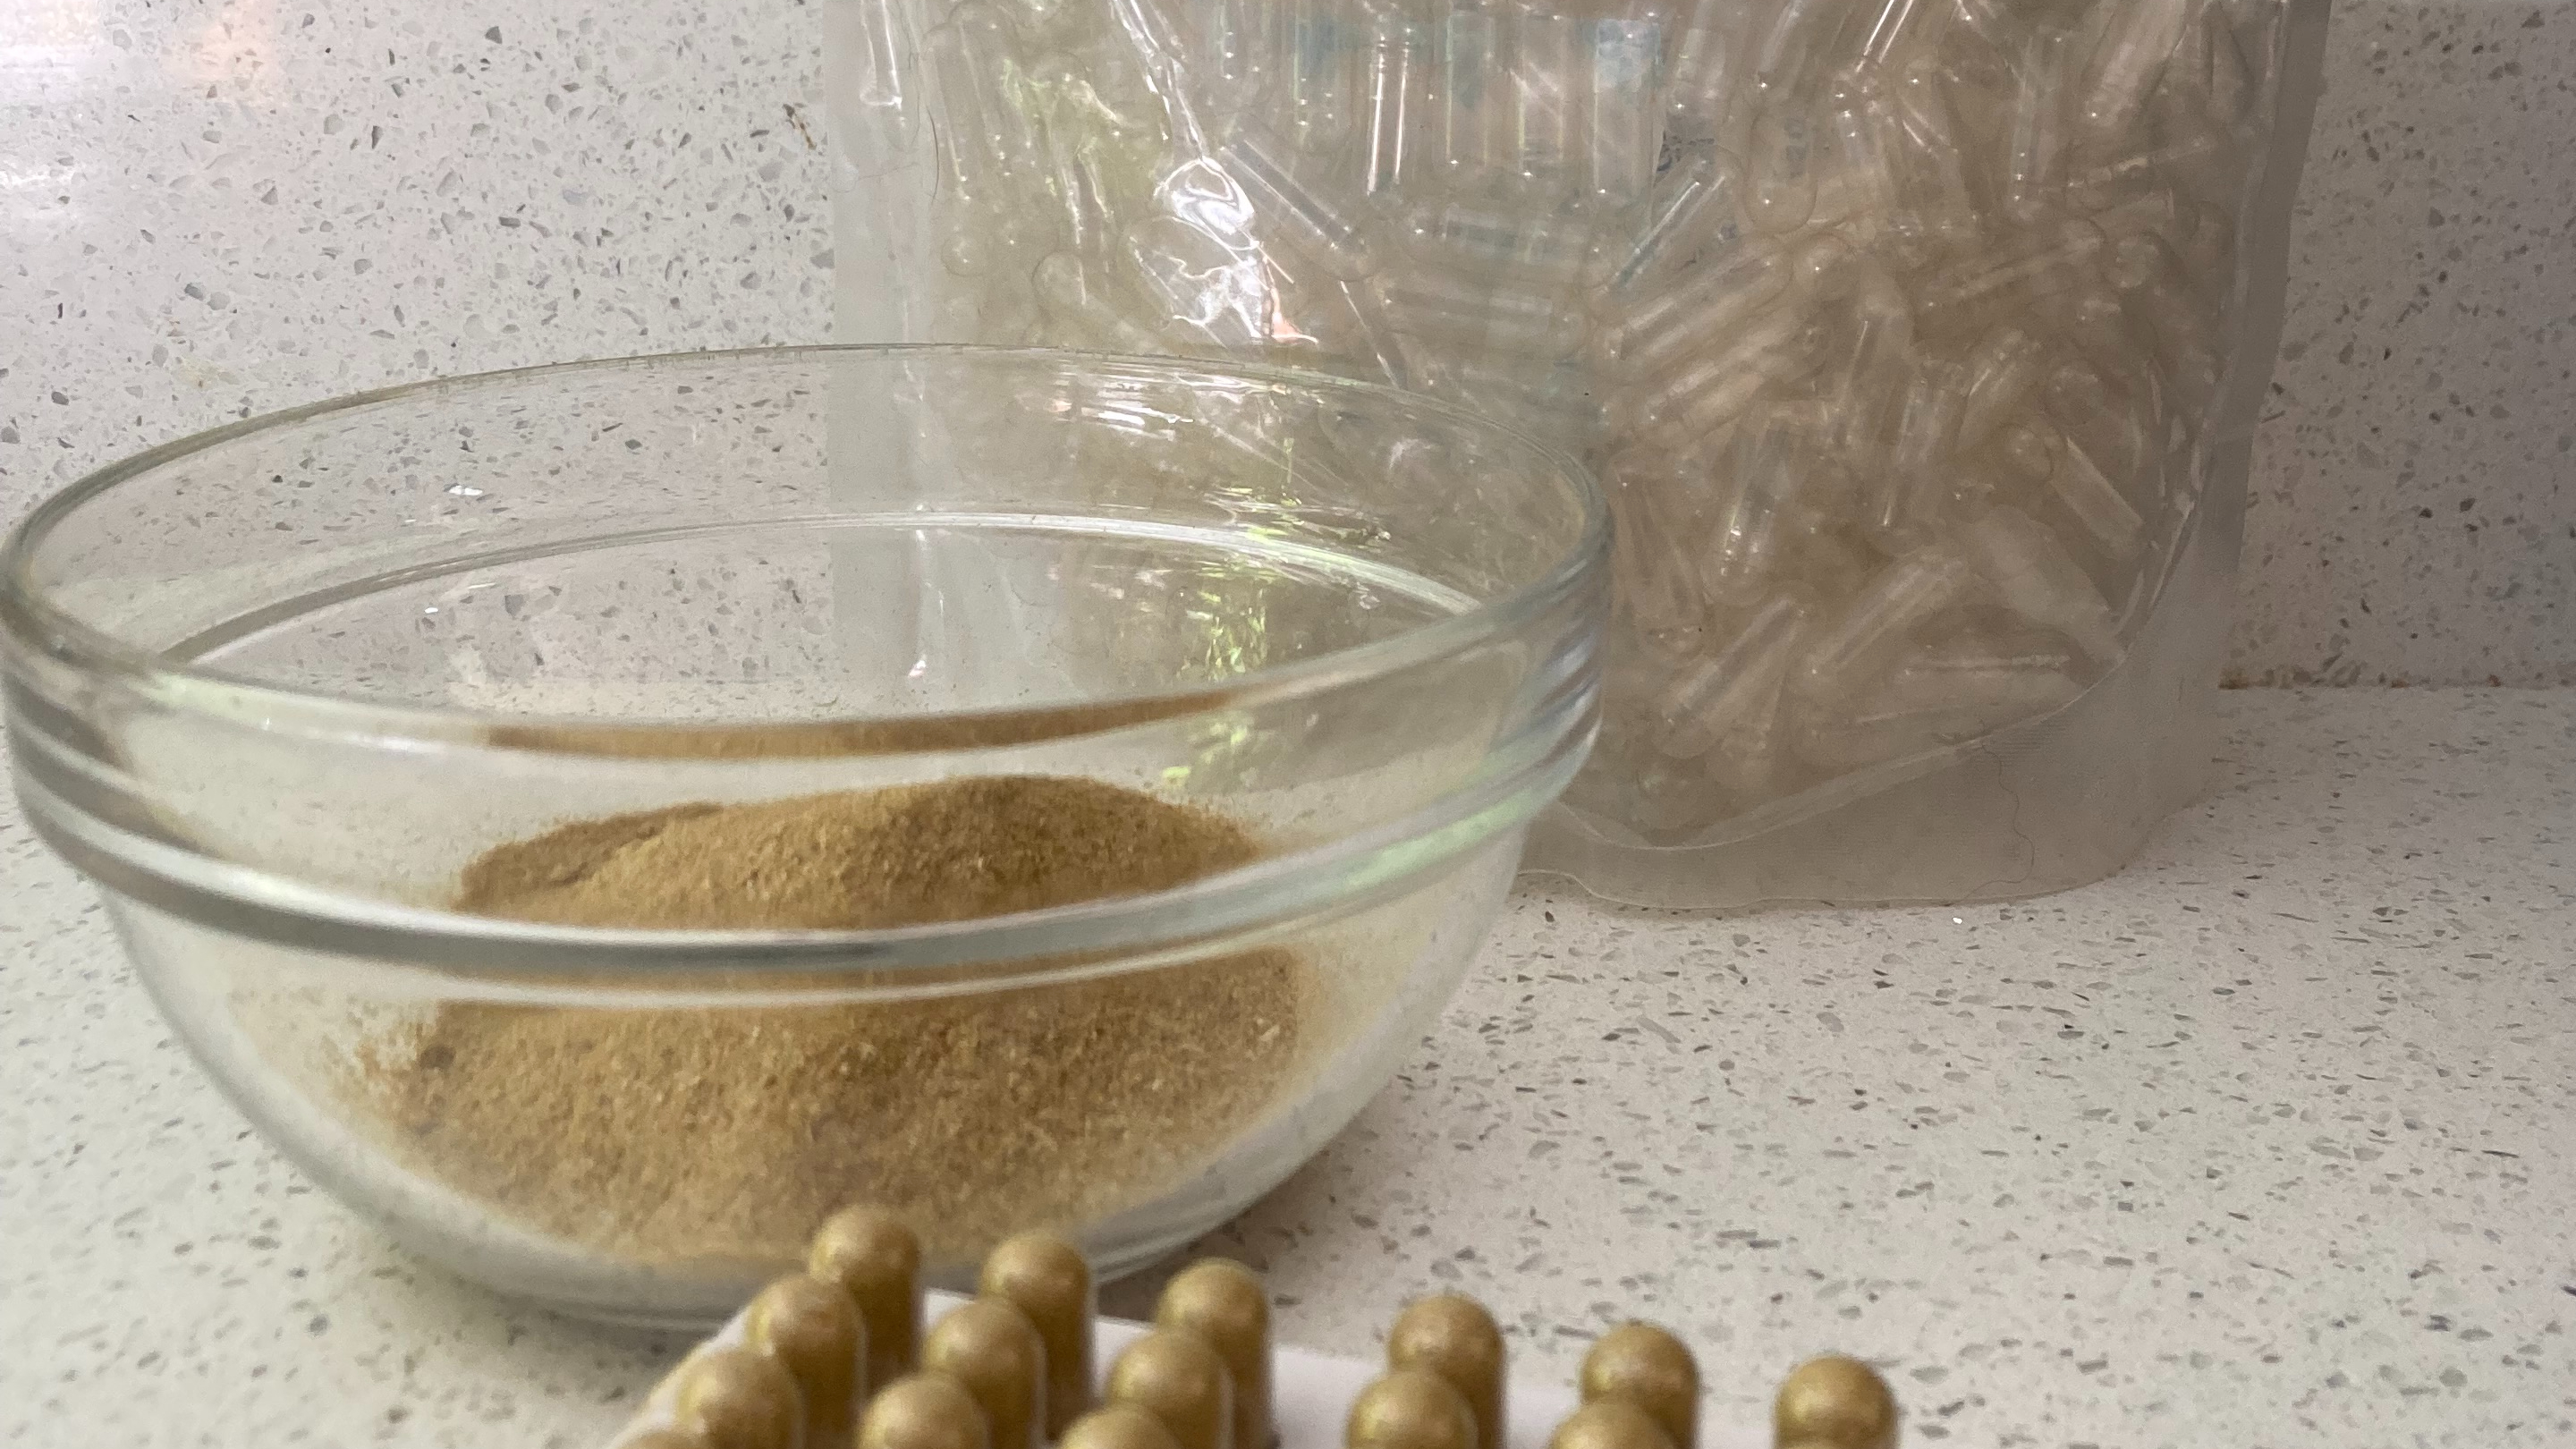
Mix them together evenly and encapsulate.
making capsules is easy with a capsule maker. And you can buy gel capsules online inexpensively.
Dosage: Take 2 at the first sign of cold or flu and every 2 hours up to 9/day and not exceeding 3 days.
If you would like to buy capsules I make and send them. A trusted technical advisor and I are working on an on-line store for these kinds of apothecary essentials. Till that’s up and running, and mindful that flu season seems to have started early, please drop me a note at kirsti.frazier@gmail.com. The cost is $47.99 for 30 capsules or $84.99 for 60 of them.
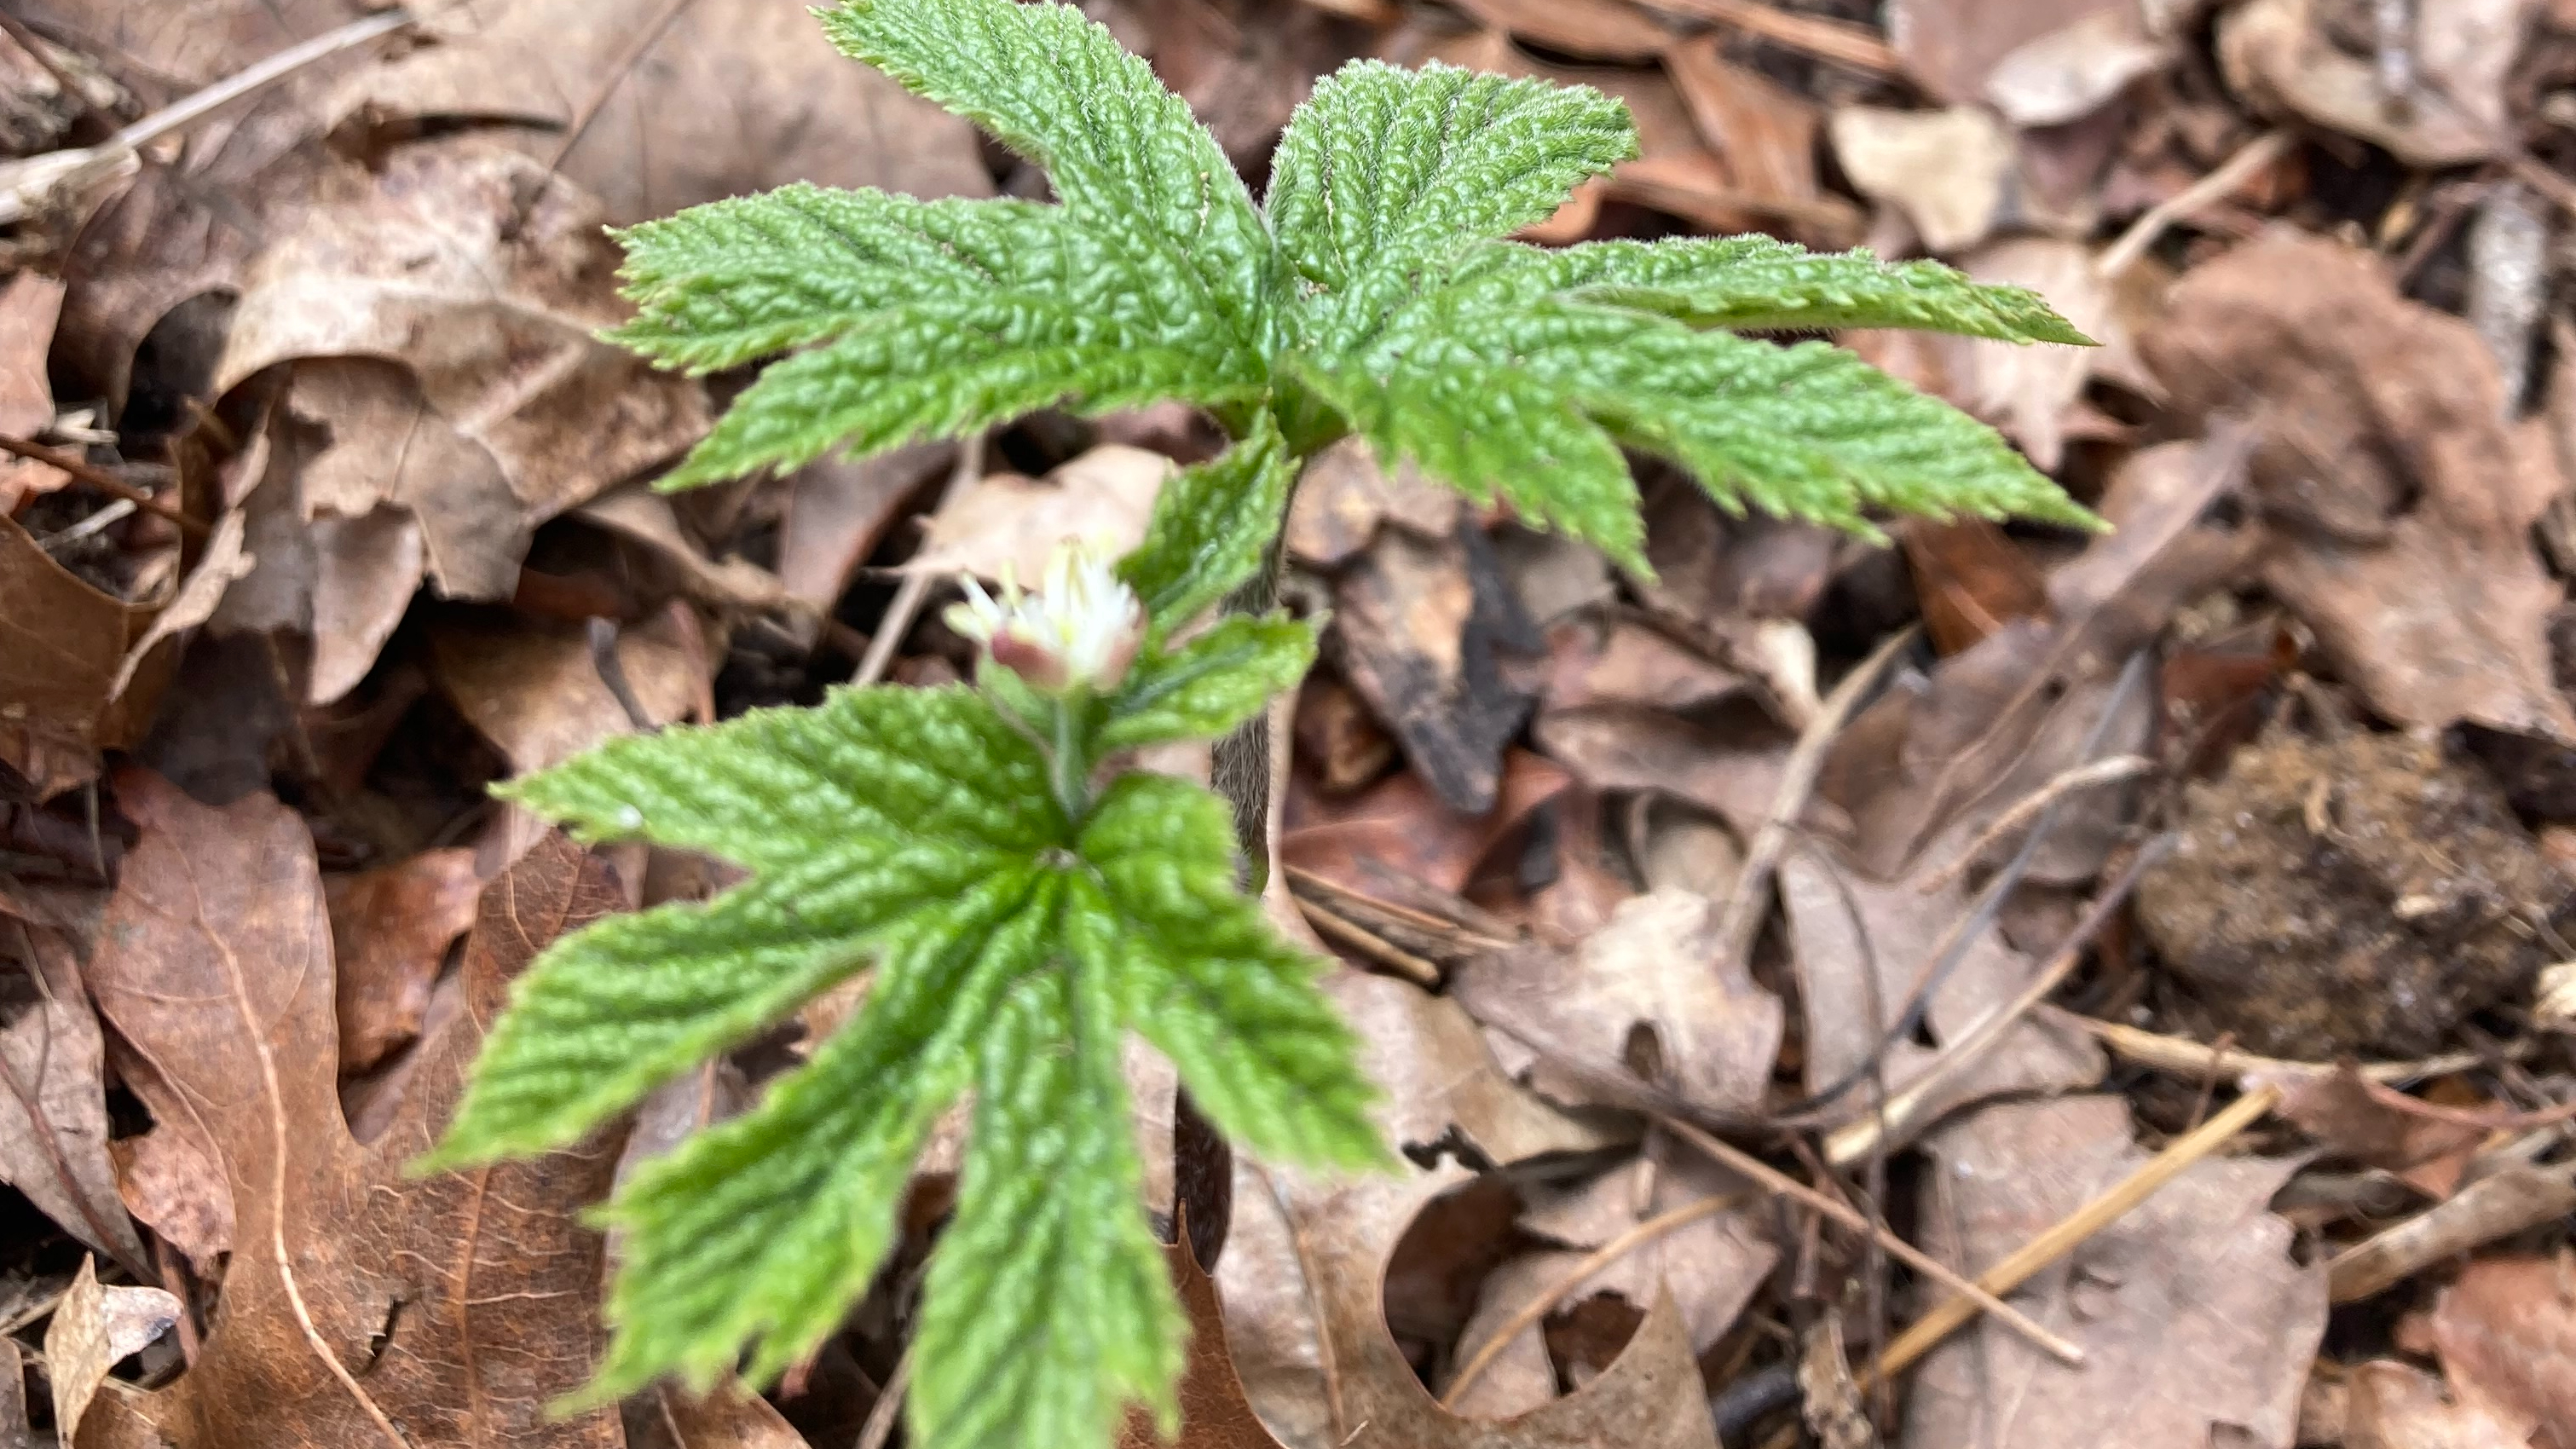
Goldenseal root, an herb endangered in North America from over harvesting, emerging from the forest floor in spring
This is no ordinary plant. You might say “well, Kirsti you think all plants are special,” and that’s true. But I have a real love affair going with this one.
Overwhelm is a real thing in our society. We all know the feeling of a too-long to-do list. And the overly full chest, overly heavy feeling that accompanies difficulty focusing in the face of a long list of tasks. And the anxiety that accompanies that has a way of setting in and staying.
Motherwort, pictured here, is widely used to truly calm that kind of anxiety in just such moments. A few drops of the tincture under the tongue definitely chases the feeling of overwhelm away. It’s legendary, used also in blood pressure remedies, to strengthen the cardiovascular system, and as support for premenstrual and menopause symptoms. If I had only known about it years ago, I could have eased many years of intense premenstrual cramps.
Just the other day I was out walking with a clinical herbalist, Stephan Brown, in his garden here on the cape. I’ve been taking motherwort tincture for months, originally to help with my blood pressure, I soon learned it benefits my mental state, as well.
But I have never seen the plant growing and I could not have identified it if it jumped up and slapped me in the head.
Knowing nothing about me or the remedies I favor, Stephan plucked a stem of motherwort from a nearby plant and presented it with a flourish. Herbalists and plants are both naturally psychic. There’s no getting around it.
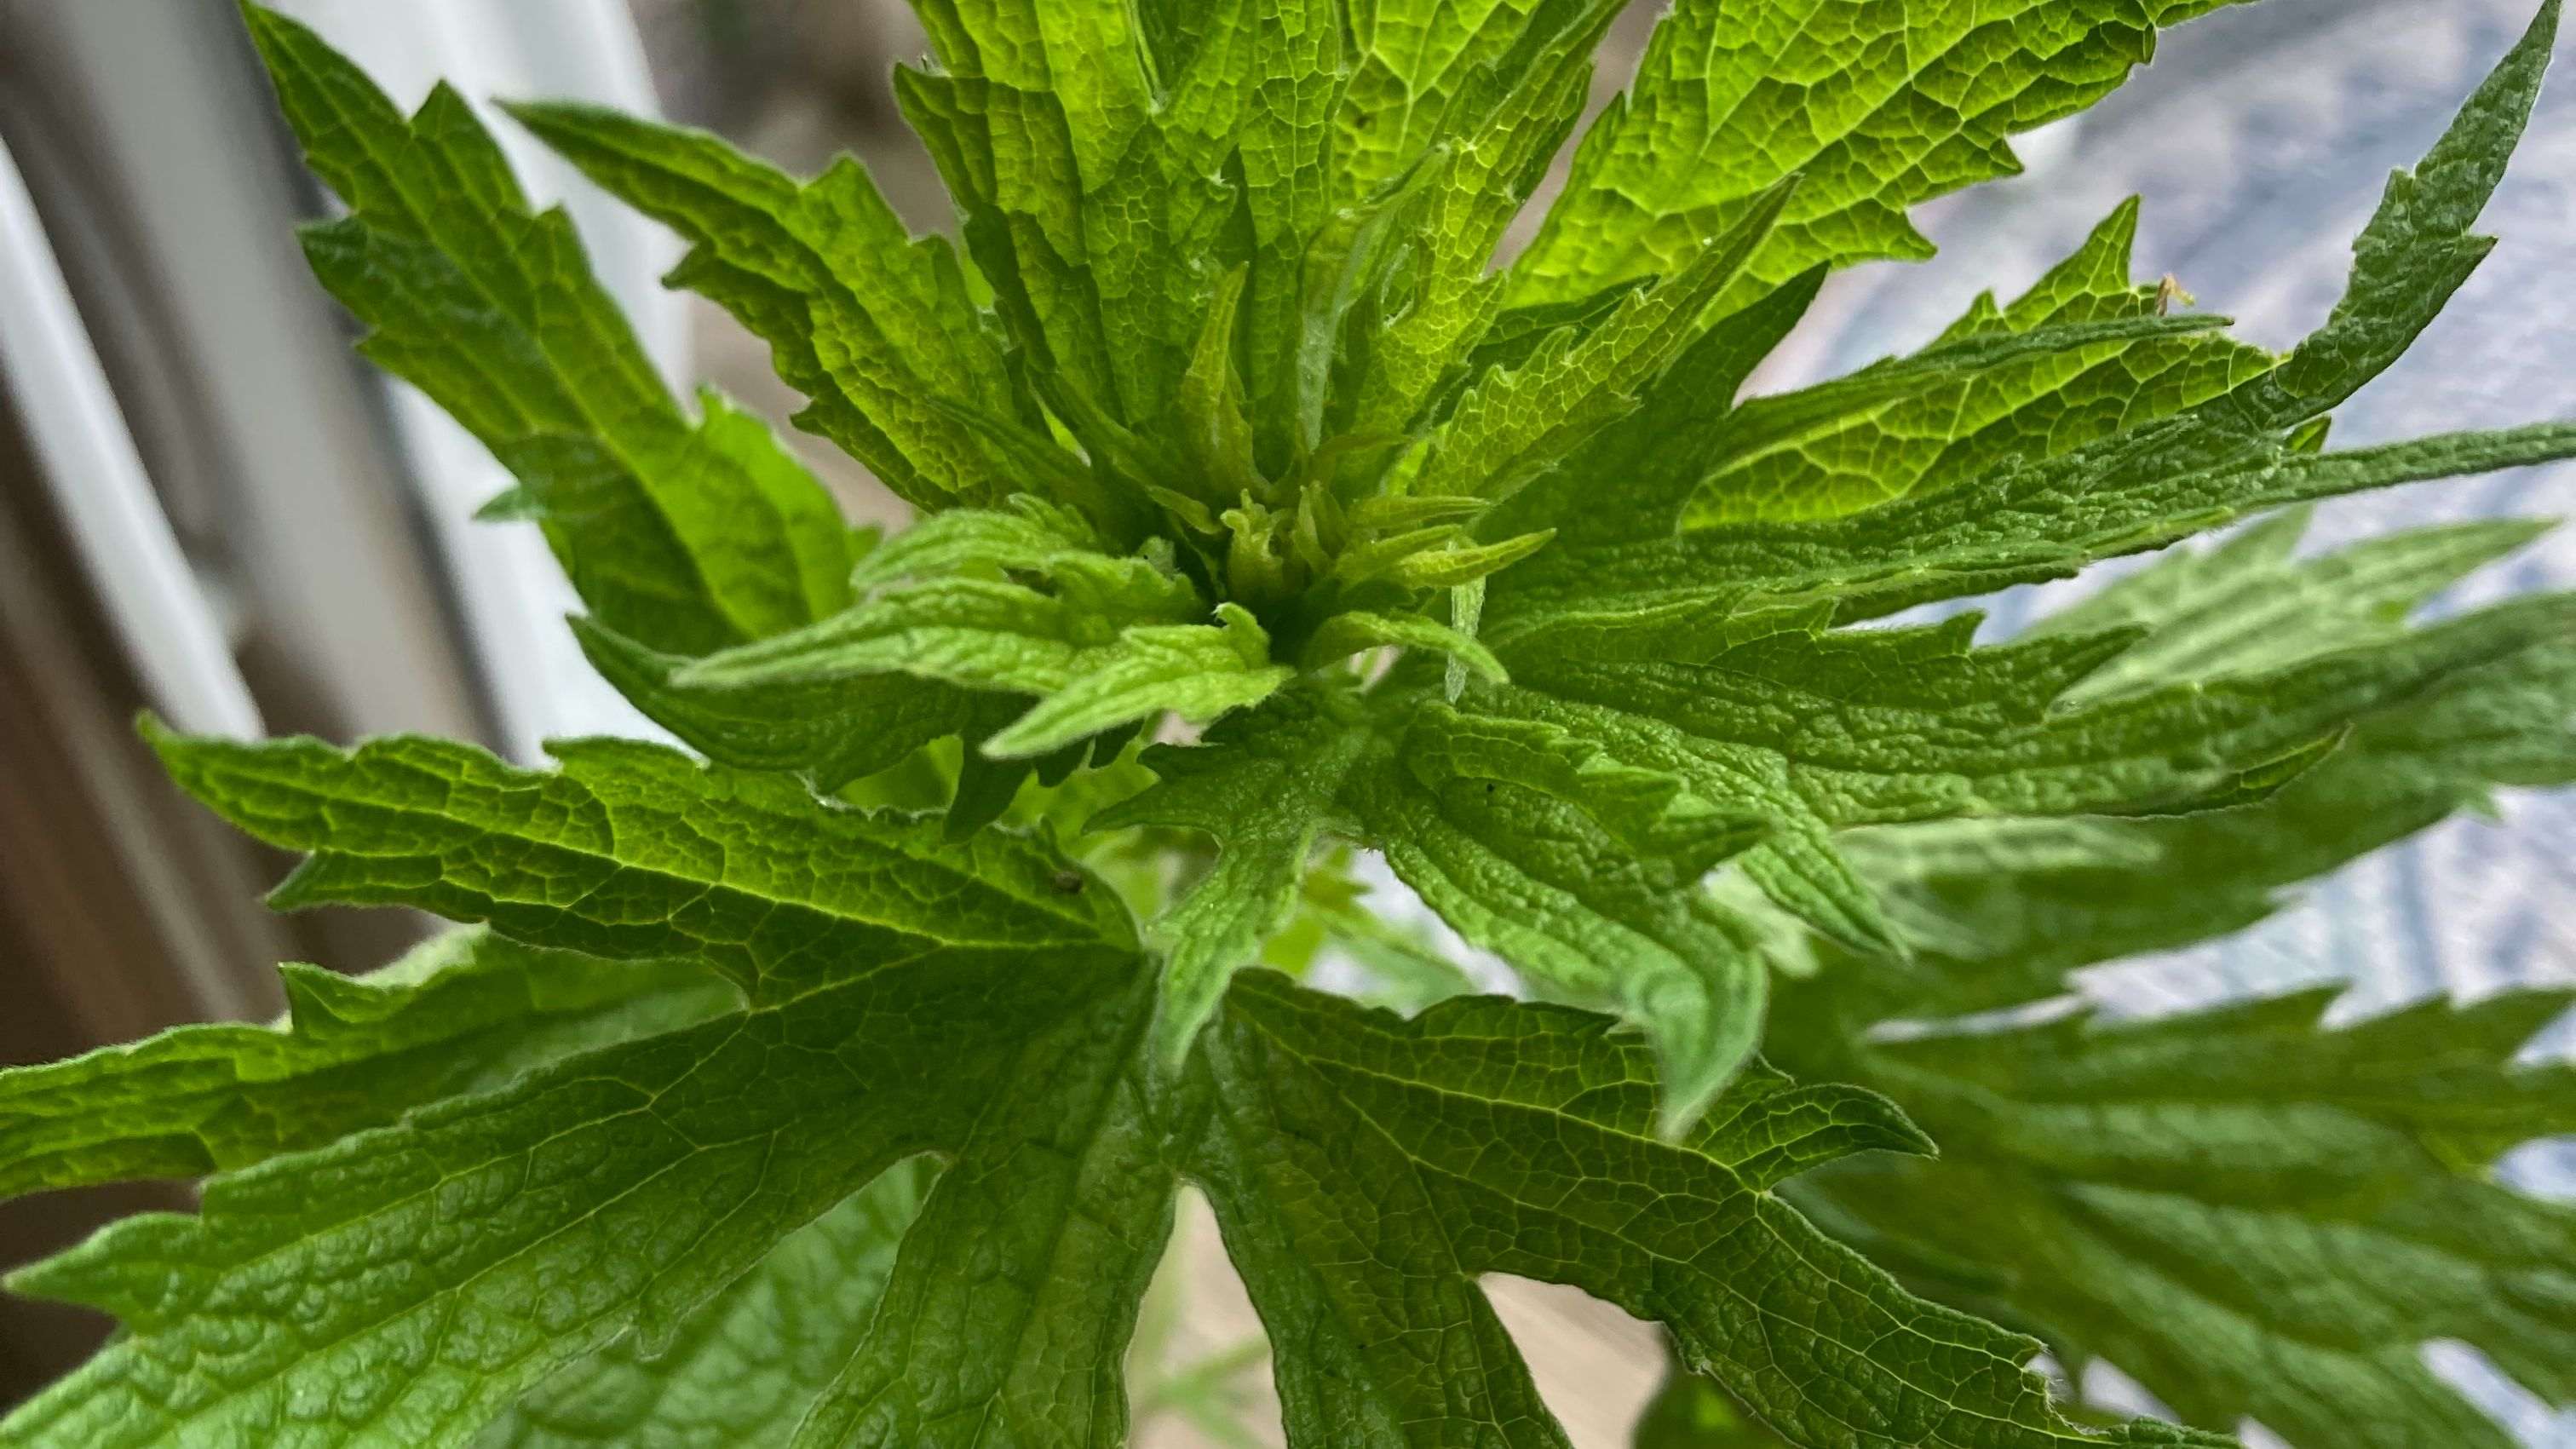
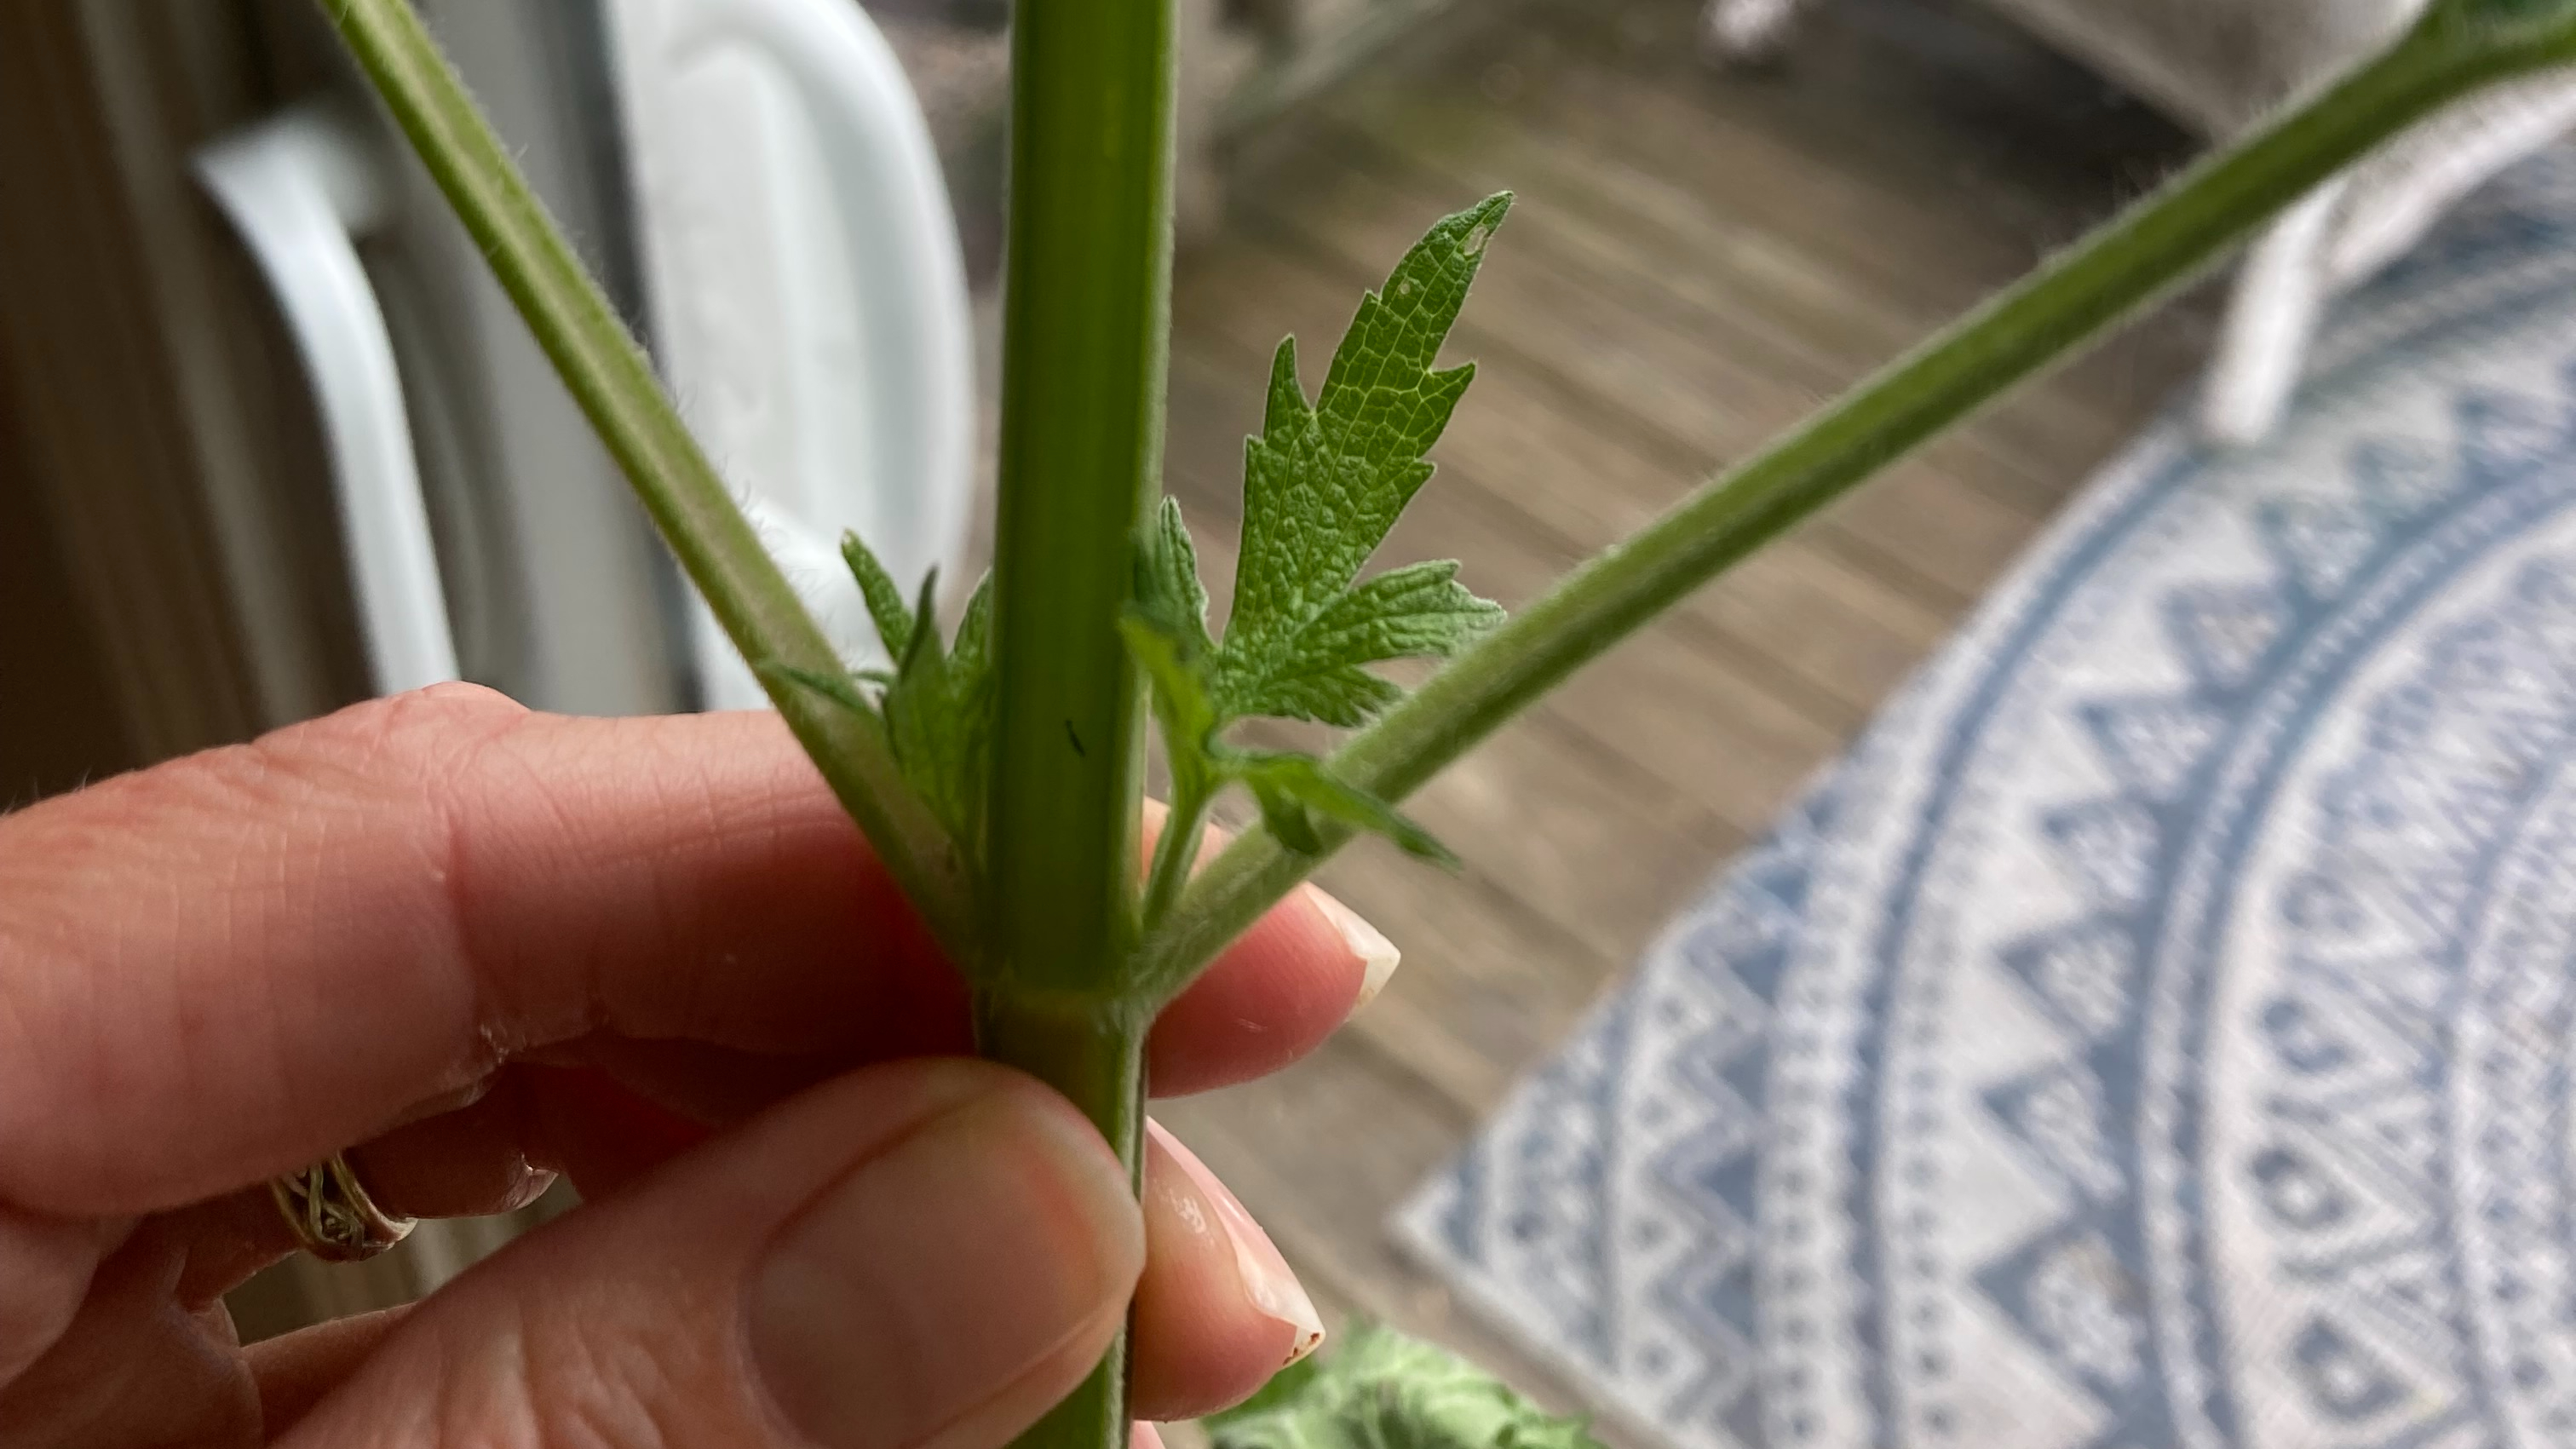
square stems of the lamiaceae; motherwort has an especially strong stem
I went back today to gather some with his permission. A member of the mint family with the characteristic square stem of that species, you can see the shape in the picture above, making it easy to identify.
The lovely leaves are drying now, which means I can make my own bottle of tincture. Pure magic.